 Articles
How to Upload Receipts to QuickBooks Desktop?
by Devil Devis Certified Public AccountantIf you are searching for a step-by-step walkthrough to upload receipts to QuickBooks Desktop, we are here to help you. All you need to do is go through this article till the very end, without missing out on any step.
Uploading your receipts to QuickBooks Desktop is an easy process if you stick to the steps provided in this article. Make sure that you follow each step in the same sequence as has been depicted in this article.
Steps to Upload Receipts to QuickBooks Desktop
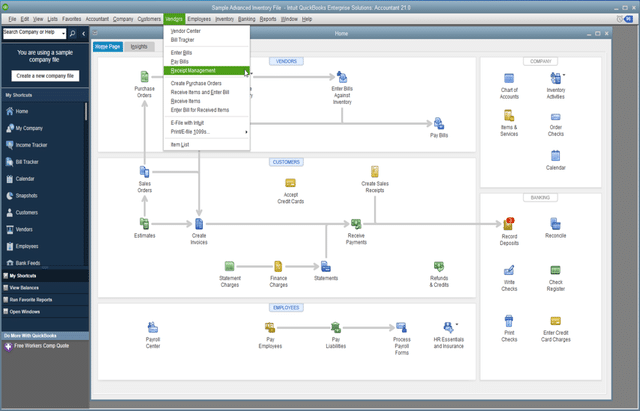
Select 'Receipt Management' from the 'Vendor' menu.
Select your Intuit Account for the company file
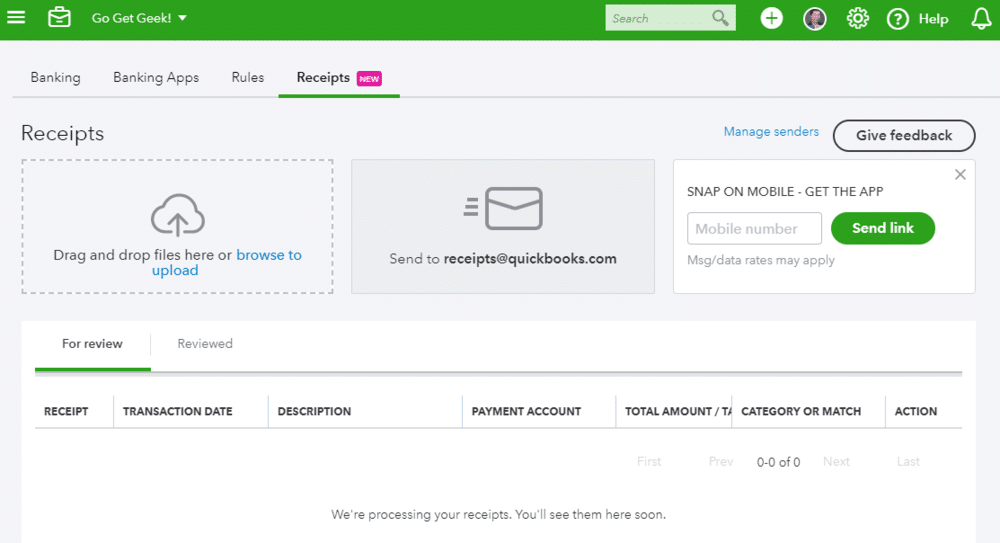
Click 'browse' to upload your receipts or drag & drop them into QuickBooks.
Select your receipts.
Steps to upload receipts from the QuickBooks Desktop iOS mobile app
Get the QuickBooks Desktop app for iOS.
Log in to your Intuit Account in QuickBooks Desktop, then select the company to which you want to upload receipts.
To upload receipts, click on the company file and then 'Continue.'
Choose 'Capture Receipt.'
To take a picture of the receipt, click the Camera icon. If you already have the photo in your gallery, go to Photos and then select your receipt. If necessary, trim and rotate the image.
Use this photo by clicking on the 'Use this photo' option.
Add a name and a note.
Choose 'Upload Photo.'
Select 'OK' afterward.
Check your QuickBooks company file to make sure you've uploaded the correct receipt.
Upload receipts from the QuickBooks Desktop Android mobile app
Go to 'Receipt Snap' from the QuickBooks Desktop Android app.
Select Company in order to upload the receipts and then click 'Continue.'
Select 'Receipt capture.'
To take a picture of the receipt, click the Camera icon. If you already have the photo in your gallery, go to Photos and then select your receipt. If necessary, trim and rotate the image.
Select 'Use this photo' from the drop-down menu.
Add a name and a note.
Select 'OK' after clicking 'Upload Photo.'
Check your QuickBooks Company file to see if the proper receipt has been uploaded.
That brings us to a conclusion
We hope that this article served your purpose and successfully assisted you in uploading your receipts to QuickBooks Desktop. If you face any complexity while implementing the walkthrough, feel free to reach our QuickBooks Customer Support Team via our toll-free 1-800-615-2347.Sponsor Ads
Created on Jun 2nd 2022 05:07. Viewed 142 times.

