Using Time Machine to Back Up Your Mac to a Windows Shared Folder
Creating a backup of your data is essential to avoid losing the same at some point. Thus, using the Time Machine method is a go-to practice for Mac users. Mac owners don’t need to have an extra Mac for creating backups. Thus, there are various methods to follow and create a backup for your data, including a Windows shared folder. However, this method requires quite a setup, but it can be easily done using the Time Machine.
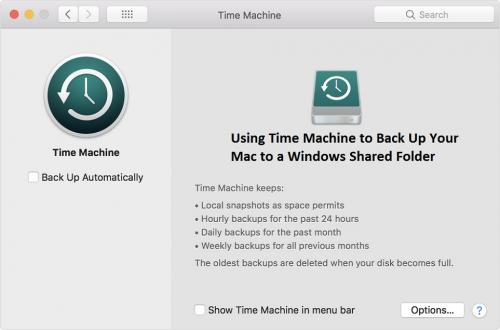
Time Machine is known to be a complex method for creating backups because of the requirement of the Apple File System (APFS).

How to Create a Windows Share Location?
It is essential to create a shared folder for your Windows system to be accessed on your Mac using the Time Machine. For instance, if your PC is named as ‘Server’ and another network sharing folder named ‘Share,’ it’ll enable you to check the connectivity. The steps for the same are:
- Go to the ‘Finder’ window.
- Click on the ‘Go’ tab.
- Select the ‘Connect to Server’ option from the menu.
- Enter ‘smb://server/share’ in the Server Address space, where ‘Server’ is the name of your PC and ‘Share’ is the name of the shared folder.
- Hit the ‘Connect’ button.
If you follow the steps correctly, a window will appear that’ll prompt you to enter the registered ID and password. Also, make sure that you save the details in your Keychain for future use. Finally, you’ll see the shared file option in the ‘Share’ section under the Finder window. An ‘Eject’ icon will also appear next to the share file name.
How to Create an ‘Image’ File?
You’re also required to have an ‘Image’ file that works as an APFS file system to create a backup for your Mac. The steps to do the same are:
- Begin ‘Disk Utility.’
- Click on the ‘File’ tab and select ‘New Image’ from the drop-down menu.
- Select the ‘Blank Image’ option.
- Tap on the ‘Down-Arrow’ present besides the ‘Where’ option.
- Select the mounted Share.
- Assign a name to your ‘Image’ file.
- Select the ‘Size’ of the backup location that also acts as the size of the disk space on the remote share.
- Set the Format as ‘Mac OS Extended.’
- Hit the ‘Save’ button. It may take a few seconds.
- Click on the ‘Done’ option.
How to Automatically Mount the Remote Share?
Mounting the remote share automatically whenever you restart your Mac is an essential step to surviving reboots. The only drawback is that the action only takes place once when you log-in, and won’t work for any other users of your system. The steps to automatically mount the Remote Share are:
- Go to the ‘System Preferences’ window.
- Click on the ‘Users & Groups’ option.
- Select your username and tap on the ‘Login Items’ option.
- Hit the ‘+’ icon.
- Click on your ‘mounted share and TimeMachine.dmg’ file that you created before.
- Click on the ‘Add’ button.
How to Make Time Machine Use the Mounted Share and File?
Finally, it’s time to use the Time Machine with Windows 10 mounted share and file. The steps to do the same are:
- Start ‘Terminal.’
- Enter the following in the space where ‘Time Machine’ is the name of the file created with Disk Utility:‘sudo tmutil setdestination /Volumes/TimeMachine’
- Enter the password when prompted.
How to Check the Time Machine?
The last step is to check the Time Machine if it’s ready for backups or not. The steps to check the Time Machine are:
- Go to the ‘System Preferences’ window.
- Select the ‘Time Machine’ option.
- A backup location of the Time machine will appear.
The complete process is way too complex than all the other backup mechanisms. However, if you have no other option, you can always use the Time Machine method to back up your Mac.
SOURCE:- Using Time Machine to Back Up Your Mac to a Windows Shared Folder

Post Your Ad Here
Comments