Steps to installer Toyota MVCI on 64 Bit Windows 8
A couple days ago, I purchased a MVCI diagnostic interface to perform diagnostics on a Toyota from an online site and it arrived with a CD containing drivers, the Techstream software, and some PDF documents with instructions.
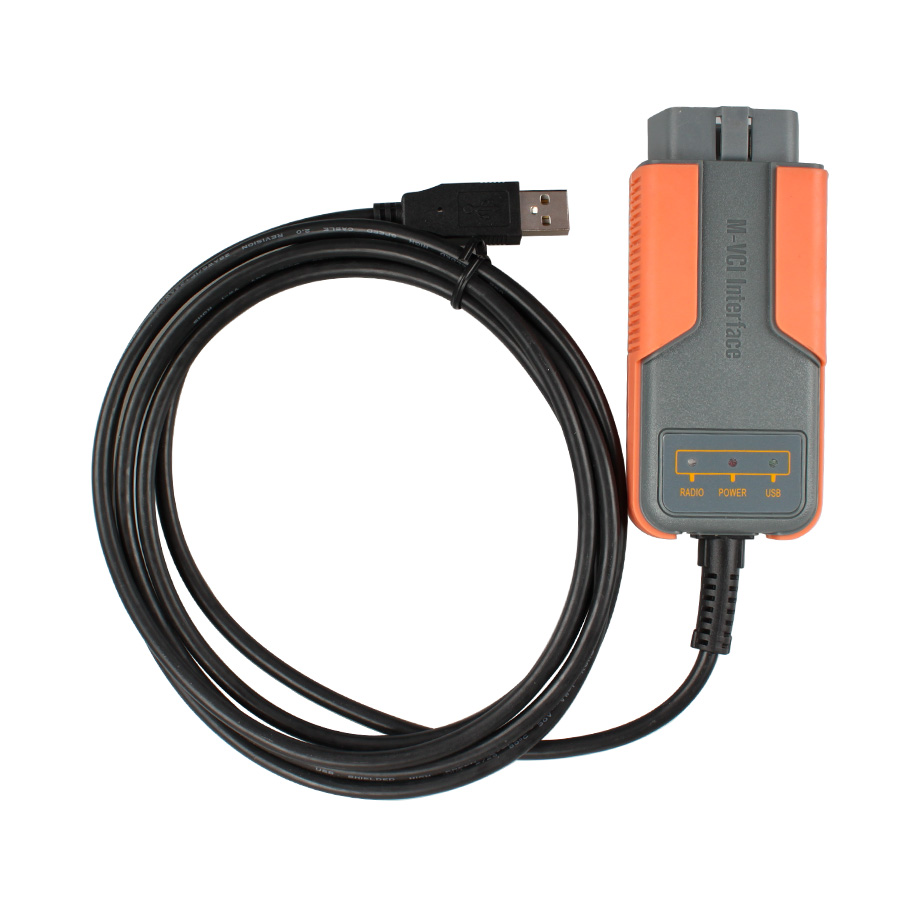
The main files of interest on the CD were ‘MVCI Driver for TOYOTA’ and ‘Toyota Techstream 9.30.002’ Reading the instructions it required me to install the MVCI driver followed by the Techstream software.
The MVCI driver repeatedly failed to install so after a quick search it appeared that other people also had this issue when using 64 bit versions of Windows 7, I was running 64 bit Windows 8. The solution was very simple are required manually extracting the MVCI driver, I used 7 zip which worked very well but there are many other applications that will extract this installer. The steps are as follows:
1. Create the folder C:\Program Files (x86)\Xhorse Electronics\MVCI Driver for Toyota TIS
2. Open the file MVCI Driver for TOYOTA.msi with 7zip and extract to the folder you created.
3. Browse to the folder with Windows Explorer.
4. Right click on the file ftdiport.inf and select install.
5. Right click on the file ftdibus.inf and select install.
Connect the Mini VCI interface and run the application Firmwar Update Tool and click the Device Info button. If your device is showing as connected then it is ready to be used with Techstream.
Post Your Ad Here
Comments