Making the Micro Gaming PC for Windows 10
Gaming is a word that seems to be making the headlines quite a
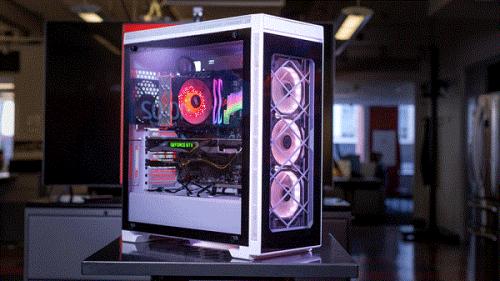
lot nowadays, and if you wish to build a micro
gaming PC, then we will help you out. Read through the blog and build an
effective gaming PC, within a limited budget.
List for Shopping
·
Microcomputer
with Thunderbolt and external graphics.
·
PCI
graphics card.
·
Thunderbolt
3 external graphics field.
Choose and Construct Micro
Computer
There
is not a large variety of micro PC’s present in the market which supports
external graphics and Thunderbolt 3. Instead, there is only one option that has
all the quality to meet these requirements and also perform well. It is made by
Intel and is known as Skull Canyon NUC. Installed with quad-core i7 processor,
32 GB RAM, 2 M.2 PCI express slots, and a plethora of networking capabilities,
the system has it all.
Choosing the External Graphics
Thunderbolt
3 is somewhat new and there are not several external graphics available in the
market. If the user wants to spend 500$, then there will be 2 options
Razer Core External Graphics
·
Cost
499$ brand new
·
500
watt of internal power supply
·
Cool
LEDs
·
4.3′
wide, 8.6” height, 13.4” length
·
Solid
quality
·
Added
Ports: 4 USB 3.0, gigabit ethernet
·
Better
ventilation
AKiTiO Node
·
Cost:
$299
·
Blue
LED
·
5.7”
wide, 8.9” height, 16.8” length
·
Better
ventilation
·
No
extra ports added
·
Includes
Thunderbolt 3 USB-C cable
·
400-watt
of internal power supply
Choose Graphics Card
This
is a simple element of the creation so just the graphics card you can afford.
The best card is the Nvidia GeForce GTX 1080. However, with the introduction of
a 1080 TI option, the cost of normal 1080 decreases from the original cost $699
MSRP. Ensure to get the card with an upgraded cooler and AMD or NVIDIA
can work out for you.
List of Final Parts
·
32 GB
2 x G.SKILL Ripjaws Series 240 Pin DDR4 SO-DIMM DDR4 2133
·
1 TB
Samsung 960 EVO M.2 SSD
·
ASUS
NVIDIA GeForce 1080 Turbo Graphics Card
·
Intel
Skull Canyon NUC
·
256
GB Samsung 950 Pro M.2 SSD or 250 GB Samsung 960 EVO M.2 SSD
·
AKiTiO
Node
·
The
total cost will be: $2,300
Fixing all the Parts
If
you want to fix all the parts, then you can follow the provided steps:
1.
Advance
the BIOS on Intel Skull canyon NUC in a new version and click on install, which
needs a reboot.
2.
Download
and install the version from Intel.
3.
Shut
down the NUC. Remove 2 screws on the back of AKiTiO Nod and take out of the
cover. Install the graphics card and ensure to plug the secondary power.
4.
With
the monitor is plugged in the Intel NUC, connect the AKiTiO Node to the Intel
NUC via supplied USB-C cable. Switch on the Node using a button on the back and
then NUC.
5.
Then
press Connect and OK. You can see the installation of a new device by checking
the Device Manager.
6.
When
the PC is shut down, shift the monitor connection from the back of Intel NUC
into the new graphics card, and it is all set to go. Turn the power on of NUC,
and it is ready to use.
Scarelett Thomas,
writer of this blog loves to write about troubleshooting tips, beginner’s
guides and other varied topics. Major topics of her interest are quicken support, quickbooks
support, turbotax support etc.
Post Your Ad Here
Comments