How RC Photo Paper Is Made: Inside the Resin Coating Process
If you’ve ever printed a photo that looked so vivid you felt you could step into it, there’s a good chance it was printed on RC photo paper. Short for resin coated photo paper, this material is loved by photographers for its durability, sharp detail, and professional finish. But have you ever wondered what goes into making it? Today, we’re pulling back the curtain to reveal the resin coating process from start to finish—and why it matters for your prints.
Step 1: Creating the Paper Base
Every sheet of RC photo paper begins with a high-quality paper core. This base is carefully selected for weight, texture, and fiber strength. A good base ensures the paper stays flat and resists curling, even after heavy ink coverage. At this stage, brands like Koalapaper RC photo paper choose premium pulp to ensure consistent quality.
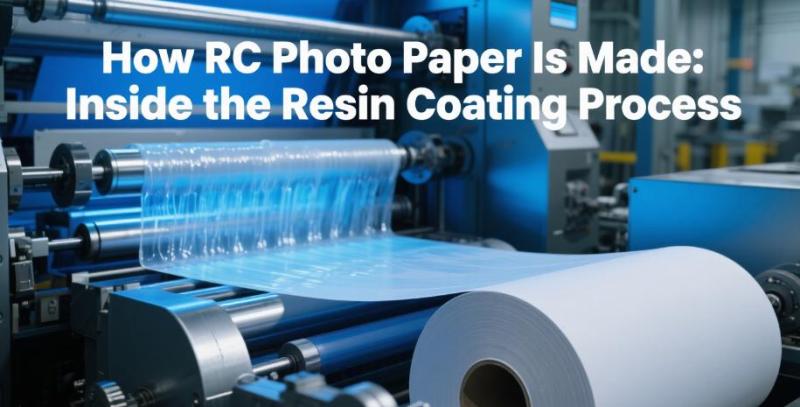
Step 2: Applying the Resin Coating
The defining feature of resin coated photo paper is its polyethylene layer. In this step, the paper passes through a coating station where molten polyethylene is applied to both sides. This resin layer seals the fibers, creating a moisture barrier and preventing ink from soaking too deeply into the paper.
Because of this sealed structure, RC paper offers faster drying times and greater resistance to environmental damage. For glossy prints, manufacturers use a specialized finish—RC glossy photo paper—to produce a smooth, mirror-like surface that enhances color vibrancy.
Step 3: Adding the Microporous Inkjet Layer
After the resin coating, one side of the paper receives a microporous ink-receptive layer. This coating contains tiny pores that lock ink droplets in place, allowing for exceptional detail and accurate color reproduction. The layer is engineered to work with specific printer technologies—so choosing the right paper for your printer is critical to avoid color shifts or dullness.
Step 4: Drying and Curing
Once the coatings are applied, the sheets travel through heated dryers. This curing process ensures that every layer bonds properly and remains stable over time. A well-cured RC photo paper sheet will have a consistent surface and will not warp under normal printing conditions.
Step 5: Cutting and Quality Control
The final step involves cutting the large coated rolls into standard sizes—such as 4×6, 5×7, or A4—and inspecting them for defects. Quality control teams check for surface blemishes, coating consistency, and weight accuracy. If you’ve ever wondered why premium papers cost more, it’s partly because of this meticulous inspection process.
If you have questions about finding the perfect paper for your projects, feel free to contact us for expert advice.
Where RC Photo Paper Excels: Common Applications
RC photo paper isn’t just for professional photographers—it’s versatile enough for a wide range of uses:
-
Photography Portfolios – Keeps colors sharp and images protected for years.
-
Wedding Albums – Adds a luxurious feel to once-in-a-lifetime memories.
-
Commercial Advertising – Produces vibrant product shots for brochures or displays.
-
Art Exhibitions – Showcases artwork with a professional finish that resists fading.
In each of these cases, the resin coating ensures the print remains flat, resists fingerprints, and maintains its original brilliance even with frequent handling.
Choosing the Right RC Photo Paper for Your Needs
Not all RC photo papers are created equal. When shopping, consider these factors:
-
Finish – Glossy, satin, or lustre. RC glossy photo paper offers the most punch for color, while satin and lustre reduce glare for display purposes.
-
Weight – Heavier paper feels more premium and is less prone to curling.
-
Ink Compatibility – Check if the paper is designed for dye-based or pigment-based inks to ensure optimal results.
-
Size and Format – Match your paper size to your project for minimal trimming and waste.
By understanding these options, you can select a product that aligns with both your printing goals and your budget.
Why This Process Matters for Your Prints
Every stage of manufacturing—from the paper base to the final cut—affects the way your prints look and last. The resin coating acts as a shield, while the ink-receptive layer captures fine detail. Together, they give you prints that dry quickly, resist damage, and hold their colors over time.
Whether you’re preparing a personal photo album, a wedding portfolio, or a gallery exhibition, investing in high-quality RC glossy photo paper ensures your work looks its best—and stands the test of time.


Post Your Ad Here
Comments