 Articles
Spiral Binding 101: Essential DIY Booklet Techniques
by Shawn William Creative Writer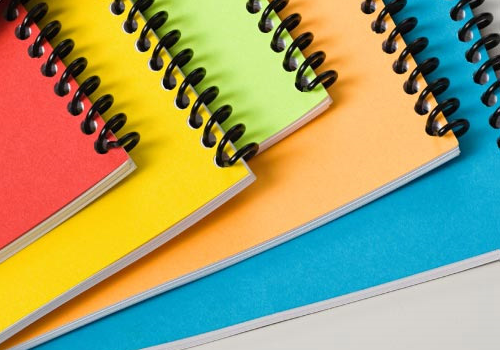
Essential DIY Booklet Techniques is your guide to mastering the art of creating beautifully bound booklets. Whether you're a professional or simply enjoy the satisfaction of DIY projects, this comprehensive resource will take you through the step-by-step process of spiral binding. So, why settle for plain stapled booklets when you can learn the techniques to create professional-looking ones that are durable and visually appealing?
Discover the secrets behind spiral binding, a technique that has been used for centuries. From its humble beginnings in ancient manuscripts to modern-day crafting, spiral binding has stood the test of time. Did you know that spiral bound booklets are more convenient and easier to read than traditional bindings? With spiral binding, your booklet lays flat and allows readers to easily flip through the pages. Plus, it offers exceptional durability, ensuring that your booklet will last for years to come. Whether you're a writer, artist, or someone who loves to create personalized gifts, mastering spiral binding is an essential skill that opens up a world of creative possibilities.
Gather Your Materials
The first step in any DIY spiral binding project is to gather all the necessary materials. Here's a checklist to help you get started:
Make sure you have all these items on hand before you begin the spiral binding process. You can find spiral binding machines, coils, and other supplies at local office supply stores or online retailers.
Prepare Your Pages
Before you start binding your booklet, you need to prepare your pages. Here's what you need to do:
1. Trim: Use a pair of scissors or a cutter to trim the edges of your pages if needed. This step ensures that all the pages are the same size and will align properly when bound.
2. Punch Holes: Use a hole punch to create evenly spaced holes along the edge of your pages. The number of holes will depend on the type of spiral binding machine you're using. Refer to the machine's instructions for the hole punching pattern.
3. Round Corners (Optional): If you prefer a more polished look, you can use a corner rounder to round the edges of your pages. This step is optional but can add a professional touch to your booklet.
4. Arrange Pages: Once you have trimmed, punched holes, and rounded corners (if desired), arrange the pages in the desired order. Make sure they are aligned correctly before moving on to the next step.
Choose the Right Spiral Binding Coil
The next step in the spiral binding process is to choose the right coil for your booklet. Coils come in various colors and sizes, allowing you to customize the look of your booklet.
Once you have chosen the perfect coil, you're ready to move on to the binding process.
Binding Your Booklet
Now it's time to bind your booklet using the spiral binding machine and coil.
Once the binding process is complete, ensure that all pages are securely held by the coil. Make any necessary adjustments to ensure a clean and professional finish.
Sponsor Ads
Created on Feb 27th 2024 03:10. Viewed 62 times.

Comments
No comment, be the first to comment.
