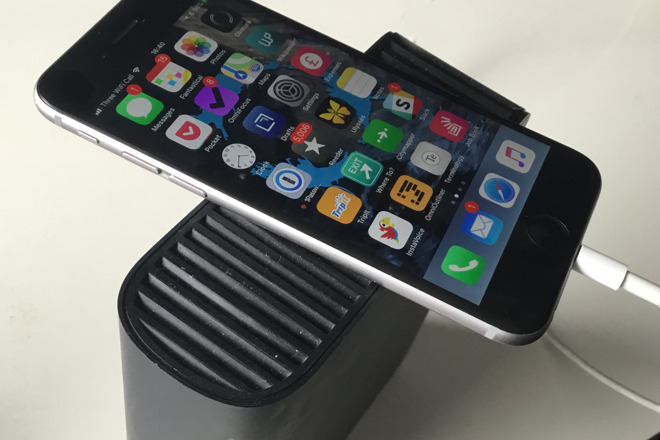
Moving iPhone or iPad backups to External Hard Drive
If you are an iPhone or iPad user and the backup files are taking up much space in your device, then you should know how to move them to an external device. We often sync multiple devices to one computer along with replacing old backups with new ones and that lead our tools to storage problem further leading to annoying user experiences. So, if you want to move your iPhone or iPad backups to an external hard drive then you can follow the below-given steps:-

1.Locating your backups
You can either find the address of your backups in a mobile sync folder by typing-/Library/ApplicationSuppport/MobileSync/Backup or can follow the steps to find them in the Finder which is here:-
- You have to go to the Dock of your Mac and then tap on “Finder”.
- Further, you have to go to the left side of the Finder and tap on the option “Your Device“.
- In further steps, you have to move to the General tab and tap on ” Manage Backups”.
- You have to choose the Specific Device and tap on it while holding the control key.
- In the next step, you have to choose Show in Finder, and here finally you will get the location of your backups.
2.Moving your backups to an external hard drive
You have to be attentive about the names of your hard drive and folders you have created along with spacing and punctuation as it will be used in the Terminal pathway when created.
- Make sure that your Mac is well-connected to the external hard drive and then open it.
- Further, you have to head to the window “Finder” where your iOS backups are stored and then choose the “Device backup folder” which may appear in the form of letters and numbers or as Back up only.
- You have to drag this form of Back up to the external drive of your device and then try to authenticate your action by entering the administrator password.
- Next step will include renaming the external drive backup folder of iOS to ios-back up and again use your administrator password by entering it to authenticate the modifications.
- Now, you have to go to Finder and then rename the old Backup of the folder as old-backup.
3. Creating a symbolic link to tell computer about new location of backups
If you want your computer to back up the iPhone you are using then, it will be the most essential and unavoidable step to follow, but before that, you have to modify the permissions for the Terminal in case you are using macOS Mojave which could be done as follow:-
- First of all, System Preference should be opened and then choose Security and Privacy and after then click on the tab of Private.
- You can choose and tap on Click the lock to make changes if you find the screen locked and then by entering your System password tap on option Unlock.
- Go to the left side of the screen and tap on Full Disk Access and further click on + to add up Terminal with proper control on the computer you have.
- Further, enter Terminal in the search box in the screen of Finder when appeared.
- Click on Open when Terminal started highlighting in the search results.
Since the name of the hard drive and back up folders are different in the device of every person and so Terminal use a language that is a proper pathway useful for working of Terminal. If you have left some space in the name of your external hard drive, then use of appropriate coding is essential. Capitalization of text is also necessary whenever needed.
- Now, use Spotlight to Choose Terminal and then enter the code >ln -s /Volumes/**External**/ios_backup ~/Library/Application\ Support/MobileSync/Backup/**4f1234a05e6e7ccbaddfd12345678f1234b123f**
- Further, tap on Return button and finally quit Terminal.
- Once you have done with the creating a symbolic link, then make sure whether it is performing well before deleting old Back up a file on the Mac you used by following these steps:-
- Go to the Dock of your Mac and tap on Finder, then move to the left side of the window of Finder and then tap on Your Device.
- Now, please move to the General tab and tap on Back up now and then go to the ios-backup folder and open it.
- Finally, make sure that the date and time match with the same which have been completed by you.
4. Disabling automatic backups when your computer gets connected
If your eternal hard drive is not connected to the Mac you are using, then you have to disable the automatic backups that have been in use in the iPhone and iPad you are using.
Go to the Doc of your Mac and tap on Finder and further hit on Your Device option. After that, you have to click on the option “Automatically sync when this phone is connected” to end this procedure.
5.Removing the symbolic link and storing your backups on Mac
If the symbolic link is not functioning correctly due to any mistake made by you, then you can easily remove it by following the steps:-
- First of all type- /Library/Application Support/MobileSync/Backup and then choose Symlink which may appear to you as a backup or in the form of numbers and letters.
- Now, click on the Symlink folder to delete it while backing up your device through a computer.
- Finally, click on an ios-backup folder to delete it on the external hard drive.
Source: https://digitalmcafee.com/blog/moving-iphone-or-ipad-backups-to-external-hard-drive/
Post Your Ad Here

Comments