HOW TO RESTORE APPLICATIONS TAB ON ADOBE CREATIVE CLOUD APP?
Adobe’s Creative Cloud App can sometimes disappear from your system while still being installed. In case you want to solve this issue, then simply follow the methods that are written below. Here is how to restore the applications tab on the Adobe Creative Cloud App.
Modifying the XML Config File
If you would like to modify the XML config file,’ then abide by the given steps.
- Shut the every Adobe related app and close all the Adobe tasks too.
- You should hold the Win + E keys at once on your keyboard to open the Windows Explorer and go to the pursuing address into the folder of Creative Cloud installation:
- /Library/Application Support/Adobe/OOBE/Configs/ServiceConfig.xml.
- Then launch the ‘XML’ file through any text editor.
- You have to modify the False value to True.
- Finally, apply changes and close. Reboot the system properly and open Creative Cloud.
- Now, to check whether the issue still comes on the display or not.
Replace ServiceConfig with a New Copy
If you wish to replace ServiceConfig with a new copy, then pursue the given instructions.
- Hold the Win + E keys at once on your keyboard and go to the pursuing address: /Library/Application Support/Adobe/OOBE/Configs/ServiceConfig.xml.
- You should copy XML to an available location as backup in case we require to replace it again.
- Then, remove the setup file from the system properly.
- Reboot the Computer and open again the Adobe Creative Cloud.
- Now, the app will notice that the file is not there, and it will download a new copy within the internet and swap it here.
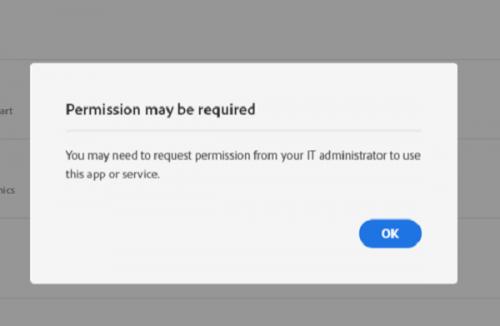
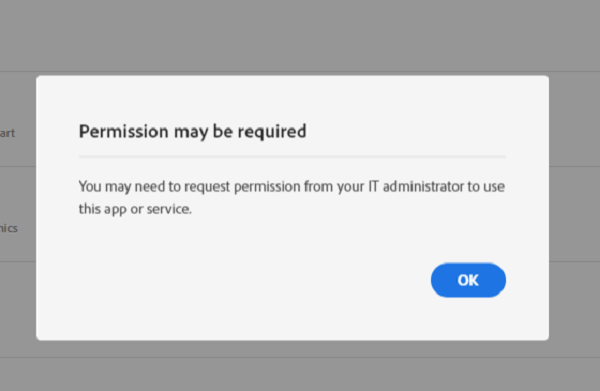
Contact the Administrator
When you are using details that belong to an organization or that an organization allot to you, there are options that they have not to open the function of Apps in the Creative Cloud access. It is a very general situation amongst offices.
Install Adobe Creative Cloud Again
If you would like to install Adobe Creative Cloud again, then abide by the given steps.
- Hold the Win + R at once on your keyboard to open the Run dialogue section.
- You should enter ‘appwiz.cpl’ into the dialogue section, then hit the Enter key.
- After reaching the app manager, browse for ‘Adobe Creative Cloud.
- Go to the ‘Adobe Creative Cloud’ and right-click on it then choose Uninstall.
- Once the Wizard helping you via the procedure, reboot the system and wait for minimum of 2-3 minutes before you switch on again.
- Reach the official site of Adobe and install the newest version of Creative Cloud.
- Now, after installing it, then Cloud will either begin automatically downloading the products by yourself, or you would have to choose what to download.
Smith is an inventive person who has been doing intensive research in particular topics and writing blogs and articles on webroot.com/safe and many other related topics. He is a very knowledgeable person with lots of experience.
Source:- https://helpwebroot.com/blog/how-to-restore-applications-tab-on-adobe-creative-cloud-app/


Post Your Ad Here
Comments