HOW TO MAKE WINDOWS 10 AUTOMATICALLY CONNECT TO A VPN ON STARTUP
Virtual Private Network is a private network that provides various services to its consumers to transfer and accept data in both public or shared networks. It works if its computing devices are connected directly to private networks. It helps to connect various VPN enabled applications running on multiple devices such as smartphone, desktop or a laptop. VPN helps you to enhance security, app management and functionalities related to your private network.
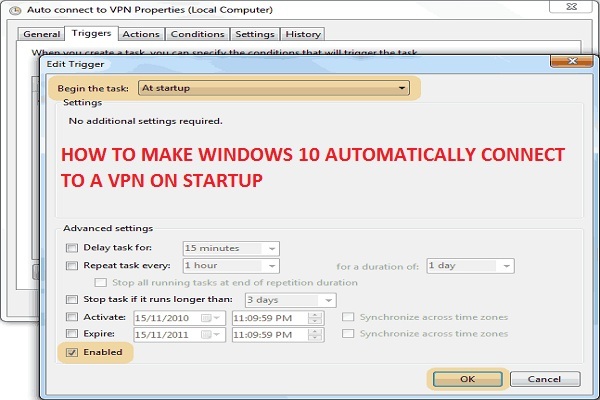
VPN also provides another feature to auto-connect applications with the launching of VPN on Windows 10. The automatic features enable your application to auto-sync to VPN when you launch it.
Pursue these instructions if you wish to connect an application to VPN on the startup:
Adding VPN Auto Triggering Feature
- First and foremost, set up your VPN connectivity on Windows 10.
- Then, you will be required to expand the interface of PowerShell on your device. To do this, same, tap on Start tab from your system desktop.
- Then, enter the keyword “Powershell” into the search menu.
- After that, apply the right mouse click on the option “Windows PowerShell” and tap on “Run as Administrator” option by navigating the menu option.
- Now, hit the “Yes” tab once the prompt appears, asking for your confirmation to access your system.
- Then, navigate to the window of PowerShell and enter the under-mentioned keywords:
< VPN_Connection >
< App_Path >
- After that, replace these with your VPN connection name and file location of the app that you wish to use accordingly.
“Add- Vpn_Connection_Trigger_Application – Name “< VPN_Connection >” –ApplicationID “< App_Path >.”
Note: Ensure that you have included quotation marks in the above path.
- Now, tap the enter key to apply your command.
- After that, a prompt will appear related to PowerShell notifying you that split tunnelling feature is set turned Off by default. If you wish to continue, give your confirmation and activate the respective feature before initiating for the trigger.
- Now, you have to enter “Y” character once the pop-up shows on your screen followed by the Enter key to proceed.
Note: It is directed to turn On Split Tunneling feature for making it auto-trigger for quick connection every time whenever you launch VPN service.
Split Tunneling splits all the currently existing traffic and only allows the relevant data comes from your expanded or connected app to flow via VPN. It prevents Windows from being routed to all the network traffic via VPN once the app triggers to launch.
- Now, enter the following command into the PowerShell and then replace <VPNConnection> with the name of your VPN:
” Set-Vpn_Connection- Name ” < VPN_Connection > ” -Split_Tunneling $_True.”
- After that, tap on the Enter key.
If you don’t need to terminate your connection and unfortunately, the app gets closed by mistake, then you may set a timeout buffer for the application to make it restart.
- After that, enter the command “Set-Vpn_Connection -Name “< VPN_Connection >” -Idle_Disconnect_Seconds < Idle_Seconds >” into your PowerShell followed by Enter key.
- Then, you have to replace the command “< VPN_Connection > with the connection’s name. Also, replace the command < Idle_Seconds > with second’s count and wait for a little until you see a confirmation prompt related to the termination of your connection.
- At last, once the app shuts off, your system’s Window will wait for about 10 seconds until VPN terminates successfully.
Checking Auto-Triggering Application to VPN
If you wish to check which application you have set for triggering for a start to your VPN, you have to different options:
- Using PowerShell cmdlet
- Navigating File Explorer and Editing Phonebook
Through Cmdlet of PowerShell
- Firstly, tap the Start button and then enter “Powershell” into the search pane followed by entering the key.
- Now, you have to apply right click on the option Windows PowerShell and then tap the menu.
- Next, choose the option Run as Administrator.
- After that, hit the “Yes” button appears via a prompt dialogue box, asking your confirmation for accessing on your device.
- Now, enter the following command followed by enter key:
“Get+ Vpn_Connection_Trigger + Connection_Name < VPN_Connection >”
- Then, replace the keyword < VPN_Connection > with your VPNs name and hit Enter.
Through File Explorer
- First of all, expand File Explorer and enter the command in the address pane:
“C:\ Users\ <User>\ App_Data\ Roaming\ Microsoft\ Network\ Connections\ Pbk.”
- Then, it would help if you replaced “< User >” with existing VPN username followed by the enter key.
- Now, right-click the option “ras_phone.pbk,” and hit the desired text editor where you wish to launch your file.
Note: Most of the “Text Editor” holds the Find feature for those who don’t wish to scroll for searching each application.
Smith is an inventive person who has been doing intensive research in particular topics and writing blogs and articles on webroot.com/safe and many other related topics. He is a very knowledgeable person with lots of experience.
Source:- https://helpwebroot.com/blog/how-to-make-windows-10-automatically-connect-to-a-vpn-on-startup/
Post Your Ad Here
Comments