 Articles
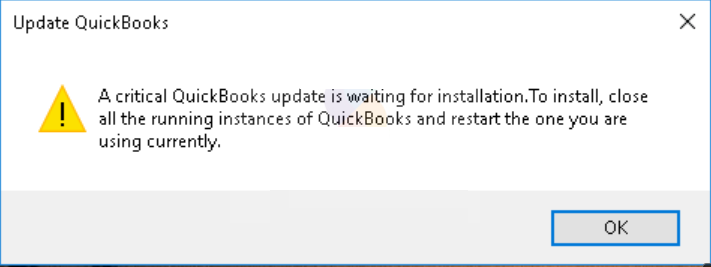
Walkthrough to Resolve QuickBooks Critical Update Errors
by Sprink Davis Accounting and BookkeepingQuickBooks users have been experiencing a spate of update errors in QuickBooks. These include errors belonging to the series Error 15xxx, Error code 1603, QuickBooks Payroll update PS038, and a wide range of other error codes. This article shall throw light on the different causes provoking the error, and the multiple solutions that can be resorted for permanent resolution of QuickBooks Critical Update Errors. So, pay an attentive eye to the troubleshooting walkthrough.
Contributors to QuickBooks Critical Update Errors
The various causes of the QuickBooks Update
Errors are:
•
Multiple versions of QuickBooks
Desktop on the system.
•
Conflicting program running
during the update process.
•
Incorrect date and time on the
system.
•
Incorrect settings of the
Internet.
•
Windows Firewall could be causing
an obstruction to the update process.
•
QuickBooks files getting
damaged.
Updated approaches to resolve QuickBooks Desktop Update
Errors
Fix the update errors using these methods:
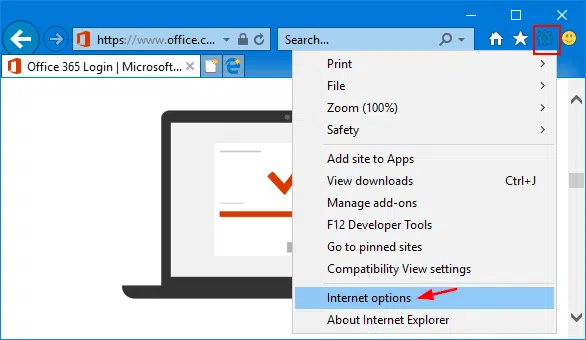
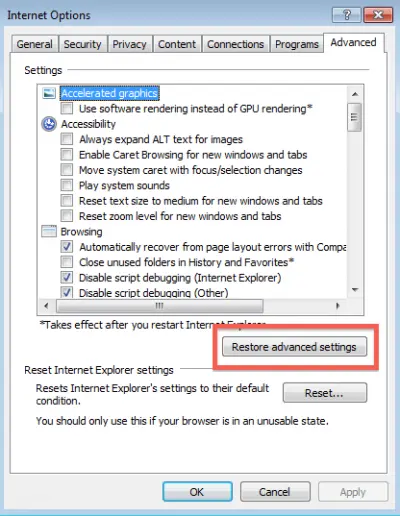
Approach 1: Restore
advanced Internet settings
•
At first, you should open the
internet web browser and then go to a random website to check the internet
connection. If the website opens fine, you are good to move ahead.
•
Now, run QuickBooks Desktop and
then click on the Help tab.
•
Following that, choose the
Internet Connection Setup.
•
Choose the option to allow the
program to connect to the Internet.
•
Now, make a move to the
Advanced settings and opt for the default settings by clicking on the Restore
Advanced Settings option.
•
Now, hit on Ok and end the
process by clicking on Done.
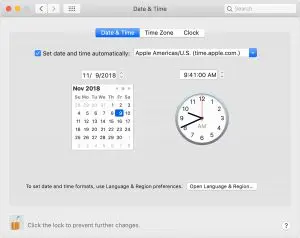
Approach 2: Fix Date
and Time on the computer
•
First, take a look at the
bottom right corner of the taskbar to check the time and date.
•
If the date and time are wrong,
right-click on the tab and then hit on the option to Adjust Date/Time option.
•
In this section, choose the
right Time Zone and also change the date and time to the current.
•
Hit on Apply to force the
changes and then click on ok to exit the window.
•
Lastly, open QuickBooks Desktop
and try to download the updates again.
Approach 4:
Configure QuickBooks Database Manager
•
Press the Windows Start button
to get started.
• Herein, search for "QuickBooks Database Server Manager" and double-click on its icon.
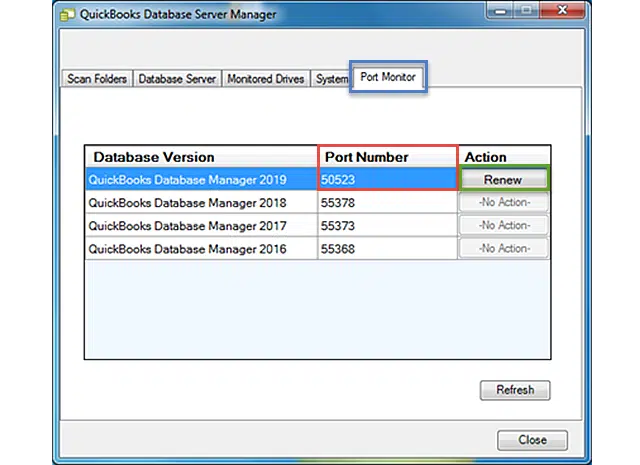
•
Thereafter, make a move to the
Port Monitor.
•
Now, type in the port number
for the version of QuickBooks Desktop on the system.
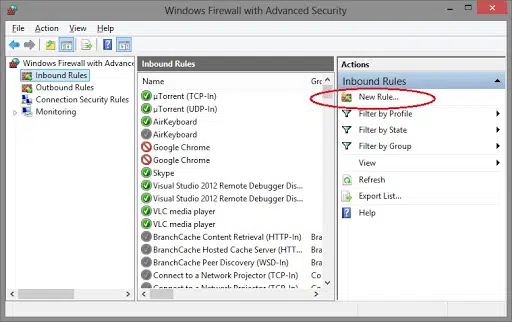
Approach 5:
Configure the Firewall settings
•
Initially, click on the Start
button again, and therein, type "Firewall".
•
Now, make a move to the Windows
Firewall window.
•
After that, go to the Advanced
Settings.
•
After that, choose the New Rule
under Inbound Rules.
•
Proceed ahead to click on Port,
and then hit on Next.
•
You then need to enable the TCP
option within the Port tab.
•
Next, choose the option for
"Specific Local Ports," and then type in the correct port
number for the QuickBooks version on the system.
•
Choose "Allow the
Connection" and then click on "Next."
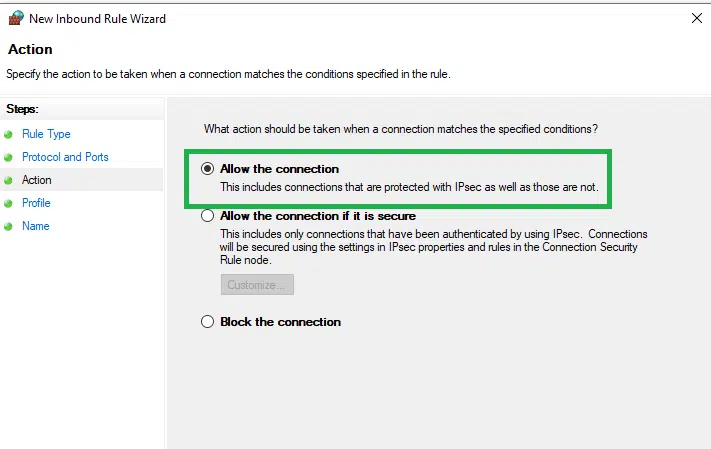
•
In the following window,
provide the newly created rule a name.
•
Repeat the steps stated above for
the Outgoing rules as well.
Approach 5: Run
QuickBooks as an Admin
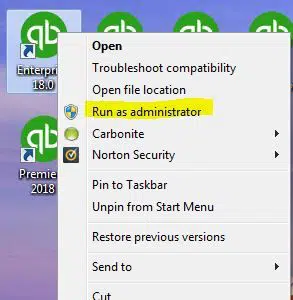
Users should make sure that they start the
update process after running QuickBooks as an administrator. For this, all that
is required is right-clicking the QuickBooks icon and then opting for Run as
Administrator option.
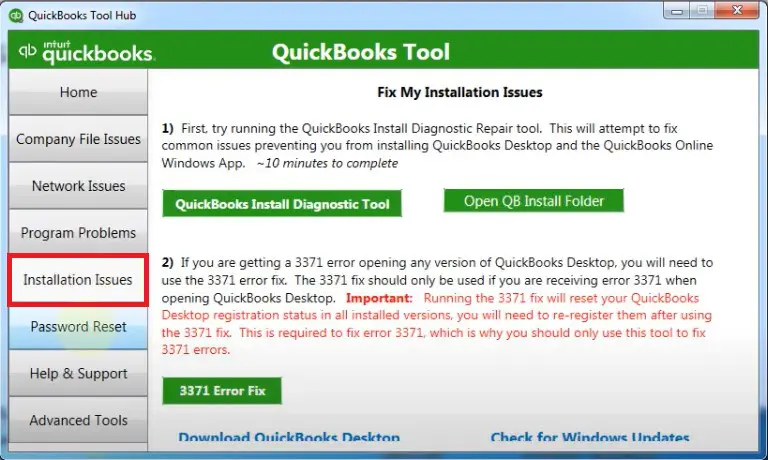
Approach 6: Run
QuickBooks Install Diagnostic Tool
• The first step requires downloading, installing and running the QuickBooks Tool Hub program.
• This tool is a haven of multiple functionalities. The user should choose the Installation Issues tab, and after that, hit on the option to run the QuickBooks Install Diagnostic tool.
•
Allow the tool to scan the
accounting program and fix any issues confronted.
•
Then, restart QuickBooks
Desktop and try the update process again to double-check if the QuickBooks
Critical Update Errors are dealt with.
Summing Up!
This article explained the multiple strategies that can help in the resolution of QuickBooks Critical update errors. For any technical assistance, just give our QuickBooks desktop error support experts a call at the helpline 1-800-615-2347.
You may also see: How to Resolve QuickBooks Registration Error
Sponsor Ads
Created on Jul 25th 2023 00:53. Viewed 161 times.

