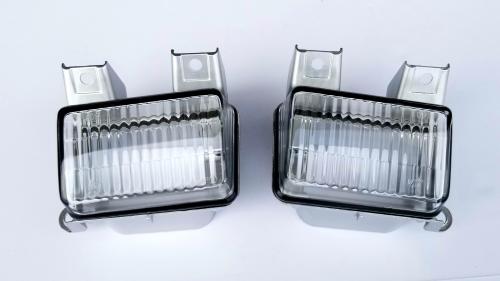
Tips For Cleaning Your Headlights and Make Then Shine

Headlights are undoubtedly one of the most important parts of your
car. Therefore it is of the utmost importance that they are maintained and
cleaned properly. Primarily, headlights serve two purposes - help you see the
road and help others see you. Headlight lenses are mostly made out of
polycarbonate plastic. These plastics are quite strong and capable of taking
the harsh conditions of the road, but they are susceptible to the sun. Over
time, the UV rays of the sun destroy the film and oxidize the plastic. Now, if
your headlights have started to turn yellow, it is a clear indication that they
are already undergoing an oxidation process. However, with the following steps,
you will easily be able to clean your headlight lenses and make them shine.
Read on.
Get The Necessary Tools
To begin cleaning your headlights, begin with the necessary tools or
get a headlight restoration kit, which usually comes with all the necessary
supplies. However, you can also choose to buy the materials individually, but
recommend that you go with a restoration kit. You’ll also need a pair of
wet/dry sandpaper, polishing compounds, UV sealant and paste wax. You should
also consider buying a blue painter’s tape and microfiber towels.
Cleaning Your Headlight
The initial step typically involves washing the headlight lenses with water and car soap. You should also consider washing the surrounding areas and ensure that the tape will stick appropriately.
Taping The Headlights
Once the headlights have been washed with soap and water, it is time
to tape it. This is because you will be sanding the headlight lenses and do not
want to sand away the surrounding areas. A painter’s tape can usually get the
job done. It is common for one’s hand to slip when sanding the headlights and
accidentally run across the car’s paint. Therefore, taping the surrounding of
the headlight lenses will protect the rest of the vehicle.
Sanding
Now comes the important part - sanding. This process remains the same
whether you use the headlight restoration kit or the individual materials.
Begin with nonabrasive sandpaper and work your way up from there. Wet the
sandpaper and start and start sanding the lenses in straight, horizontal
strokes. Make sure that the sandpaper is wet the whole time. You are expected
to spend at least 5 to 10 minutes during the sanding process. You can then
continue to sand with lower grit or less abrasive sandpaper. The next sanding
process requires you to sand diagonally. Finally, finish up the sanding process
by sanding in the opposite diagonal motion. The main thing to be mindful of is
to take your time and remain patient throughout the process.
Polishing, Waxing and
UV Sealing
The final step involves wiping dry the headlight lens and applying the
polishing compound using a clean microfiber towel. The best strategy would be
to rub the polish across the headlight lens in a circular motion and spread the
compound evenly across the lens’ surface. After the polishing is done, it’s
time to wax it out. Finally, apply the UV sealant and allow it to cure before
testing the headlights out.
Wrap Up
Sometimes it is possible to revive fading headlights, but in some
cases, it is possible that the headlights are beyond repair. This is when you
would want to replace your headlights as a whole. You can quickly swap your
headlights with better models by visiting a reputable dealer like VX Tuning. We
sell a variety of headlights models, including MK4 Jetta Headlights and MK4
Golf Headlights. Get in touch with us by filling out the contact form.
Post Your Ad Here

Comments