Move your QuickBooks Desktop file to QuickBooks Online (3 Simple Steps)
This blog post strives to meet the following outcomes:
Inform how you can transfer your QuickBooks Desktop company file to QuickBooks Online.
Move your desktop file to a QuickBooks Online business instead of starting from scratch.
Step 1: Keep your QuickBooks Desktop file ready
You may move your data from your QuickBooks Online account within 60 days of signing up for QuickBooks Online.
Ensure that QuickBooks is updated.
Your business file should not be too large to export.
Step 2: Move your QuickBooks Desktop file onto QuickBooks Online
You may utilize the QuickBooks Desktop file restoration tool if you're using a version of QuickBooks older than 2018. You may then use QuickBooks Online to import your data.
QuickBooks Desktop Pro or Premier
Log in to the corporate file as an administrator.
Select Export Company File to QuickBooks Online from the Company menu.
Choose the get the started tab.

Begin by clicking on Export.
Log in to your QuickBooks Online firm as an administrator.
Select To replace an existing QuickBooks Online business file, choose the online company option and then the QuickBooks Online company you want to replace.
Selecting the Continue option will continue the process.
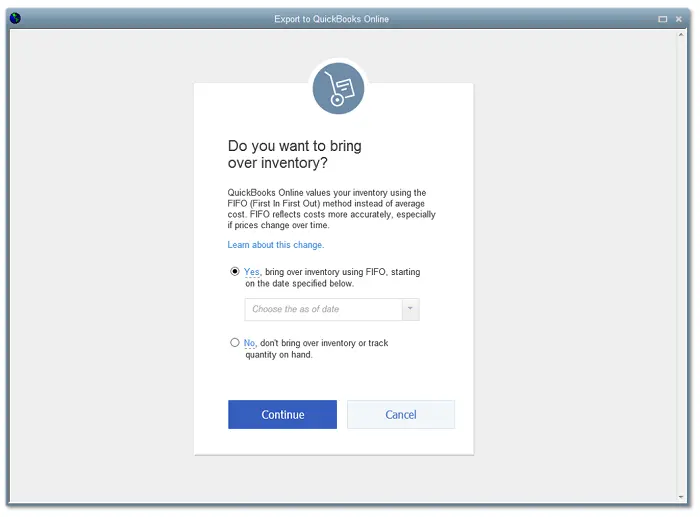
Using QuickBooks Desktop, you can keep track of your inventory:
To bring them over, choose Yes, then enter the date.
If you plan to add new items to QuickBooks Online in the future, choose No.
In the text area, type Agree, then click Replace.
After selecting Yes, proceed to update the data by selecting Replace.
QuickBooks Desktop Enterprise
Remember that some of your data won't transfer over to QuickBooks Online if you employ more complex capabilities (such as advanced reporting or advanced inventory). Learn about QuickBooks Desktop Enterprise cloud-enabled if you wish to maintain utilizing these features in Enterprise.
Go to the corporate desktop file and log in as an admin.
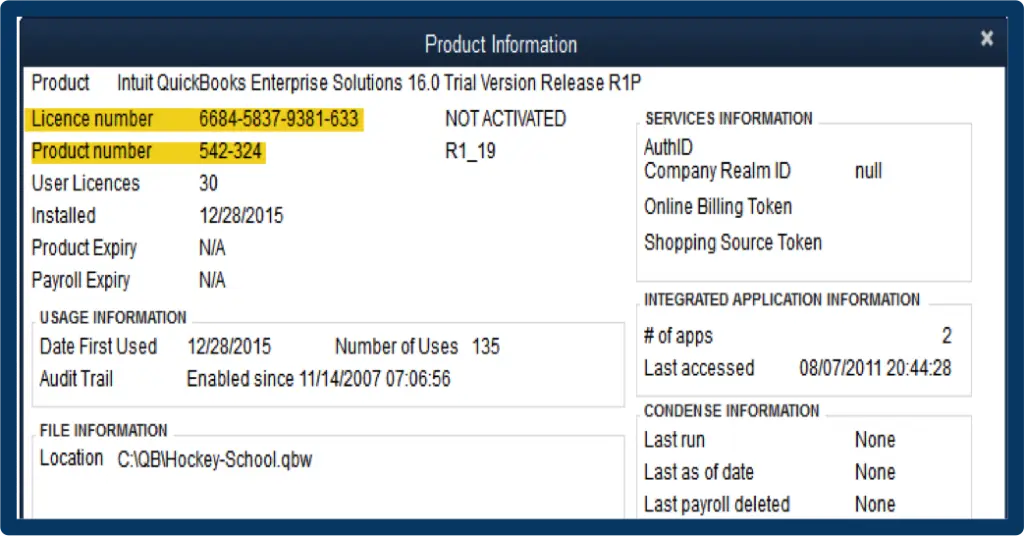
Press Ctrl + 1 on your keyboard to launch the Product Information window.
Enter the export window by pressing Ctrl + B + Q.
Click the Get Started button on the export window to begin the export process.
Log in to your QuickBooks Online firm as an administrator.
Choose the QuickBooks Online business you wish to replace with your company file by selecting Choose online.
Selecting the Continue option will continue the process.
Using QuickBooks Desktop, you can keep track of your inventory:
When prompted for the as of date, enter the day and year you want the changes to take effect.
If you plan to add new items to QuickBooks Online in the future, choose No.
Fill out a text box, and then click Replace.
After selecting Yes, proceed to update the data by selecting Replace.
Step 3: Start using QuickBooks Online

You can immediately start using QuickBooks Online after moving your file and data.
Log in with your bank or credit card information.
Send invoices to your customers.
We hope this article has answers to all your queries and you have successfully moved your QuickBooks desktop files to QuickBooks online. However, if you have any questions we couldn't cater to, please feel free to call us at 1-800-615-2347and our QuickBooks support geeks will be glad to assist you.
Post Your Ad Here
Comments