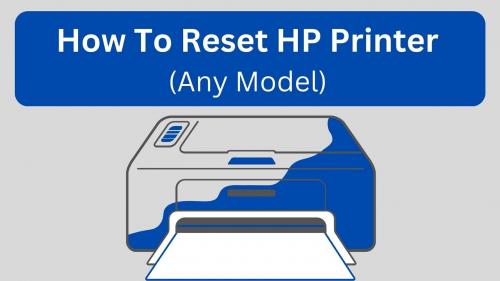
Mastering the Reset-How to Reset Your HP Printer to Factory Settings
Resetting your HP printer to factory settings can be a powerful solution to resolve persistent issues and bring your printer back to its default state. In this comprehensive guide, we'll walk you through the step-by-step process of how to reset HP printer to factory settings for a fresh start.
Section 1: Backup Important Settings
Document Your Settings:
- Before initiating a reset, take note of your current printer settings, such as network configurations and custom preferences.
Section 2: Accessing the Control Panel
Turn On the Printer:
Ensure your HP printer is powered on.
Navigate to Control Panel:
Access the printer's control panel either through the physical buttons on the device or via the printer software on your computer.
Section 3: Factory Reset Steps
Reset through Control Panel:
Navigate to the "Settings" or "Tools" menu on the control panel. Look for the option related to resetting or restoring factory settings.
Enter Administrator Password (if applicable):
Some HP printers may require an administrator password to proceed with the reset. Enter the password if prompted.
Confirm Reset:
Confirm your decision to reset the printer to factory settings. Follow any on-screen prompts to initiate the process.
Embarking on the journey to set up your HP printer on both Windows and Mac is a breeze with 123.hp/setup. In this comprehensive guide, we'll take you through the step-by-step process, ensuring a smooth installation for optimal printing performance.
Section 1: Open your Web Browser
Launch Browser:
Open your preferred web browser on your Windows or Mac computer.
Section 2: Navigate to 123.hp/setup
Enter URL:
In the address bar, type "123.hp/setup" and press Enter.
Section 3: Choose Your HP Printer Model
Select Your Model:
On the website, locate and select your specific HP printer model from the list provided.
Section 4: Download and Install HP Smart App (Windows and Mac)
Click Download:
Download the HP Smart App for your operating system. Follow the on-screen instructions for installation.
Section 5: Connect HP Printer to Network
Power On Printer:
Ensure your HP printer is powered on.
Choose Connection Type:
Follow prompts on the HP Smart App to choose your preferred connection type – USB, wireless, or wired.
Enter Network Credentials:
For wireless setup, enter your Wi-Fi network credentials when prompted.
Section 6: Complete the Setup Process
Follow On-Screen Instructions:
The HP Smart App will guide you through the setup process, including driver installation and configuration.
Post Your Ad Here
Comments