iOS 9 Data Recovery: How to Retrieve Lost Data from iOS 9 Devices
iOS devices like iPhone, iPad or iPod are one of the most popular smart mobile device on the market. They’re always known for running speed, quality, various apps, and continuous updates of operating systems that bring lots of new features to iOS users. So when a new operating system like iOS 9 is released by Apple, you may can not wait to update the new system on your iPhone, iPad or iPod devices, right? You may know that lots of bugs will be fixed in the new operating system, but it is inevitable that new bugs or crashes will also be happended. So when you’re deciding to update to iOS 9 or further system, you always be suggested to backup your iOS data before updating. However, you may still lost something important during the updating process due to different reasons, so you wish to get them back, right? If so, that’s why we write this article here.
Even though you can use the iTunes restore function to restore the whole backed up data to your iPhone, but it is time-consuming and troublesome because you have no choice to restore the selected data as you like. So if you want to get back specific files from your iOS 9 devices, you’d better to find a reliable yet professional iOS 9 Data Recovery software as your assistant. With it, you can easily and quickly recover all your needed files as you like.
MobiKin Doctor for iOS
Mistakenly deleted important data from your iPhone, iPad or iPod touch? Don’t worry, MobiKin Doctor for iOS is here to help you restore deleted, lost or formatted data from iDevices on Windows system.
- 2 Different Modes to Get Back Your Data
- Restore up to 10+ Types of Files from iDevice
- Backup iOS Data on Local Computer
- Get Back iDevice Data on Various Situations
Steps to Retrieve Lost Data from iOS 9 Devices.
Step 1: Make sure your iPhone, iPad or iPod is jailbroken and detected by the launched iOS 9 data recovery software. Choose the Recovery Mode.
Step2. When the scanning is finished, select categories and view files according to your own needs.
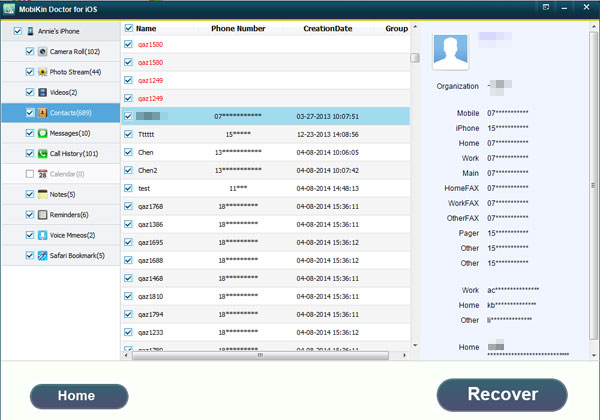
Step3. Find the lost files and tick them one by one, click “Recover” button.
Post Your Ad Here
Comments