 Articles
HP laptop is not connecting to Wi-Fi in Windows 10
by Joy Wilson Professional Social Media ExpertHow to fix HP laptop not connecting to Wi-Fi in Windows 10
Solution 1: Enable wireless key or button
Most laptops have a button or key that turns on/off the wireless signal. Check its status to verify that your wireless signal is on.
Press the button or key once, wait 10 seconds, then check if the wireless connection icon changes, or if the LED light on the wireless button or key goes on.
If there is no light, hover your mouse over the wireless connection icon on the taskbar to confirm the connection status. If the signal is on, try and connect to the Internet again. If it is off, press the button or key again to turn it on, then try connecting again.
Solution 2: Update wireless network drivers using Windows Update, HP Support Assistant, Device Manager, HP updates, or from other trusted sites
Windows Update
- Go to the search box and type Windows Update settings
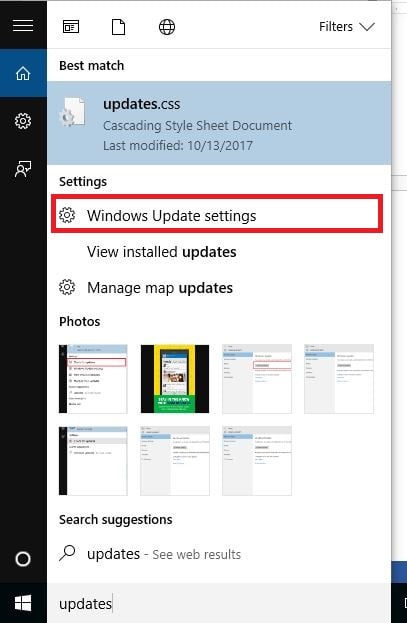
- Select Check for Updates

- New updates will be installed after which you can try connecting to the internet again
HP Support Assistant
- Go to the search box and type HP support assistant (if it isn’t installed, download and install it from the HP Support Assistant site)
- Select and click your device from the devices listed in My devices tab
- Click Check for updates and messages tab
- Check the MY PC section for a list of updates. If none are available, try a different method to update drivers.
- If there are available updates, click Updates to display the Updates available screen
- Click Install now icon next to the update and then try connecting to the internet again
HP Updates
HP may have more current versions of drivers so check their customer support page, enter your PC model number and find the driver, which is usually part of the chipset driver package. Check first for a wireless driver then the chipset driver.
Driver updates from Device Manager
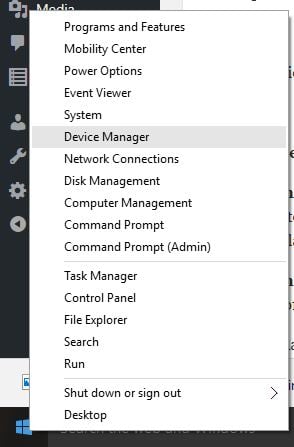
- Right click Start
- Select Device Manager
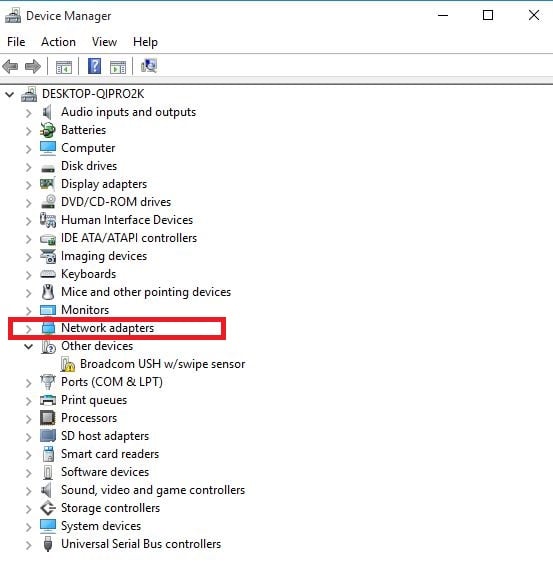
- Go to Network adapters and click to expand the list
- Right click on your adapter and select Update driver
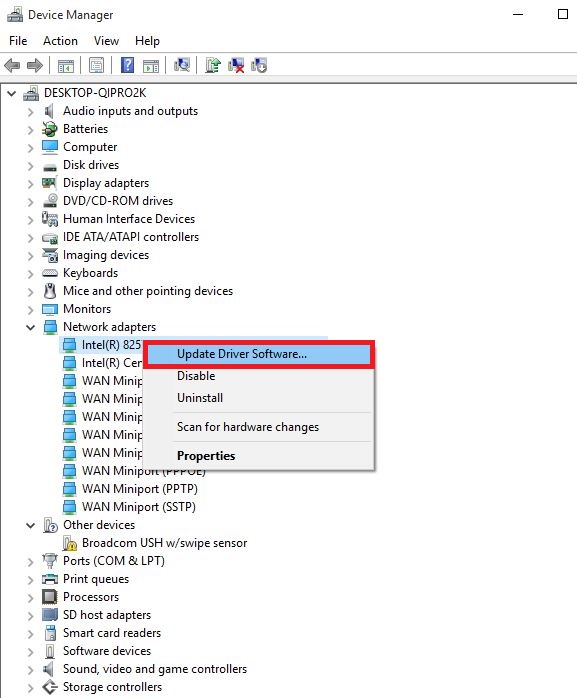
- Select Search automatically for updated driver softwarethen install any driver found.
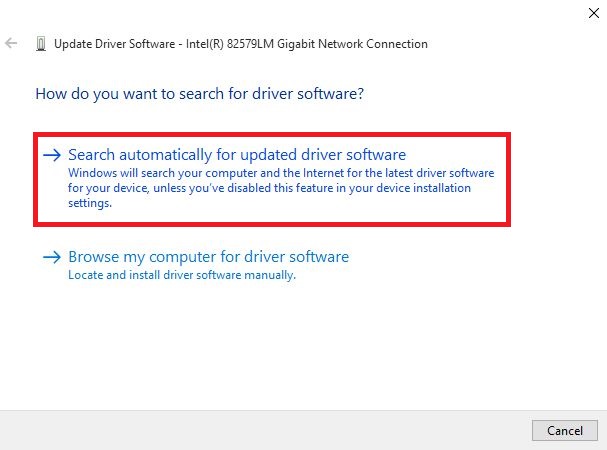
- If no driver is found, check the wireless adapter’s manufacturer website for it – you can find its details by right clicking and selecting Properties then Driver
Solution 3: Use automatic troubleshooting
HP Support Assistant is a software support diagnosis and troubleshooting tool that resolves many types of network and internet connection issues specifically for HP machines. If you don’t have it, use the automated troubleshooter that comes with Windows 10 by doing the following:
- Press the wireless key or button on your computer to enable the wireless adapter (if it lights up a blue color, it is enabled), then try connecting to the internet again.
- If your computer doesn’t have a wireless key or the light remains off or orange, go to the search box and type HP support assistant
- Select and click your device from the devices listed in My devices tab
- Go to Troubleshooting and fixes tab
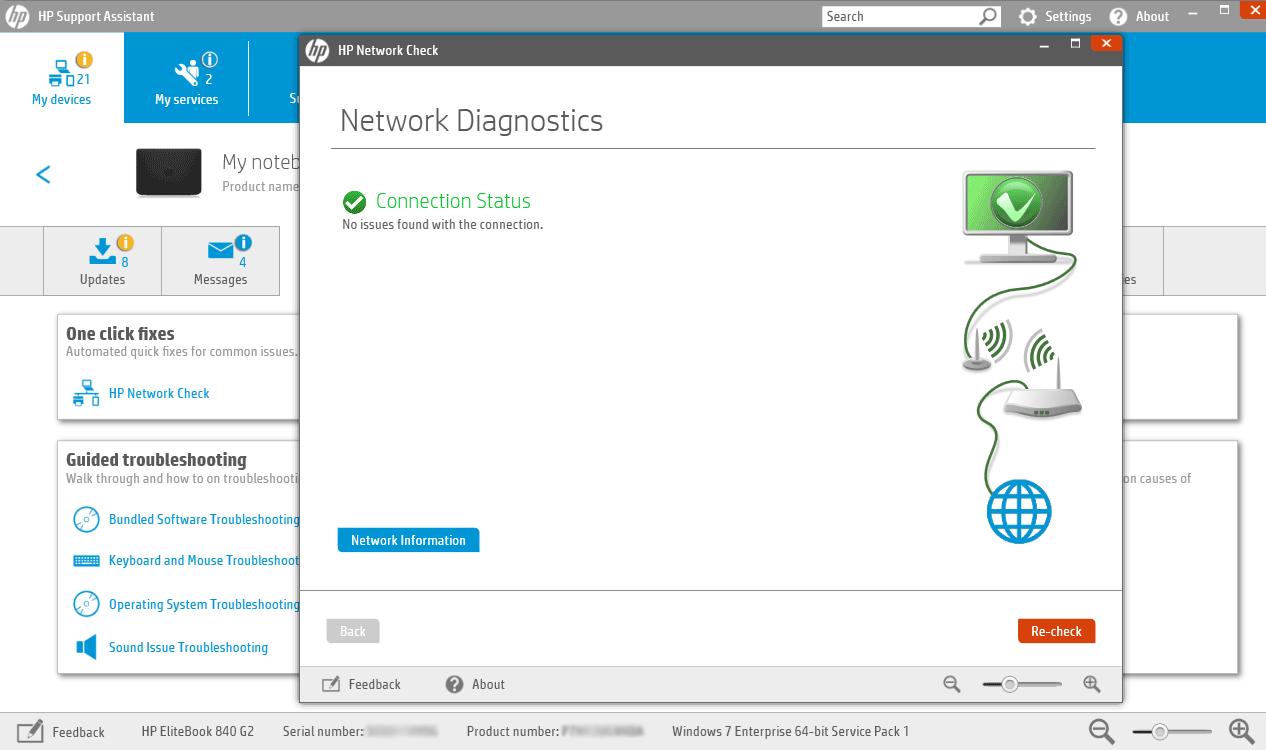
- Click HP Network Check
- If a user account control message is displayed, click Yes
- On the HP Network Check welcome screen, click Next to run the network diagnostics. If it finds any issues, continue with the next step.
- Expand Possible Root Causes if necessary
- Click one of the causes listed and click on the tool icons for instructions to resolve the issue and follow the steps
- Click Re-check
Repeat until the network connectivity issue is resolved or all root causes and repairs have completed, then try connecting to the internet again.
If your HP laptop is not connecting to Wi-Fi in Windows 10, use the Windows Network and Internet Troubleshooter using these steps:
- Enable the wireless signal by turning on the wireless key or button on your computer
- Right click the wireless connection icon on the taskbar and select Troubleshoot problems
- The Windows Network Diagnostic window will open and begin troubleshooting process
- After troubleshooting is complete, see the list of problems found and what was fixed plus remedial actions to resolve the problems, then perform the suggested actions.
- Try and reconnect to the internet again.
Solution 4: Check and reset hardware
- Turn off your laptop
- Disconnect the power cord from your router if your network includes a wireless router/gateway/modern or router combination
- Disconnect the power cord from the broadband modem if your network includes a separate broadband modem
- Wait 5 seconds and reconnect the power cord to the router and/or broadband modem
- Wait till all lights are on and reflect normal internet and laptop activity. If lights are off after reconnecting power, check your power source or use a different power outlet. If only power light is on, a network connection isn’t detected, so ensure the cable carrying the internet signal is connected to the broadband device. If the internet light blinks or doesn’t indicate a connection, the problem may be with your ISP so check with them or wait till it’s restored
- Turn on your laptop then wait until Windows automatically connects to your wireless internet network. If it doesn’t connect automatically, click the wireless connection icon and select your network, then click Connect
Solution 5: Reinstall the wireless network adapter driver using the HP Recovery Manager (preferred method), or Device Manager
Reinstalling wireless network adapter driver using HP Recovery Manager
- If using an external USB wireless network adapter, unplug it and restart your laptop then plug it back into a different USB port
- Go to search box and type HP Recovery Manager
- If a user account control window opens, click Yes
- Click Reinstall drivers and/or applications, Hardware Driver Reinstallation or Drivers and Applications Reinstall
- Scroll through the list of drivers and select your laptop’s wireless adapter then click Install
- Once the driver installs, restart your computer if prompted to
- Try connecting to the internet again
Note: If you get a message saying Disabled: HP Recovery no longer supports this feature after Windows upgraded, use Device Manager to reinstall the driver.
Reinstalling wireless network adapter driver using Device Manager
- Right click Start
- Select Device Manager
- Find Network Adapters and click to expand the list
- Right click on your wireless network adapter and select Uninstall
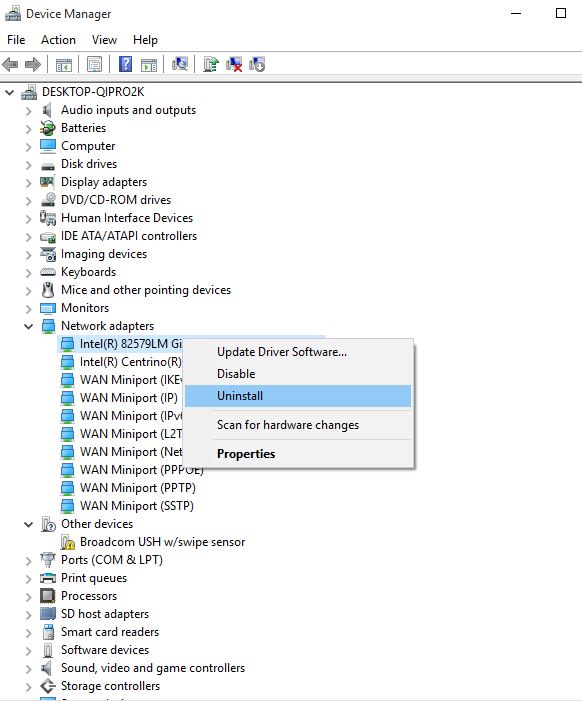
Note: if the adapter is missing from the network adapters’ category, then the network adapter hardware is disconnected or the device driver cannot plug and play. Shut down your laptop and check the hardware connection, or service the laptop if any issues are found.
- Select Delete the driver software for this device then click Uninstall
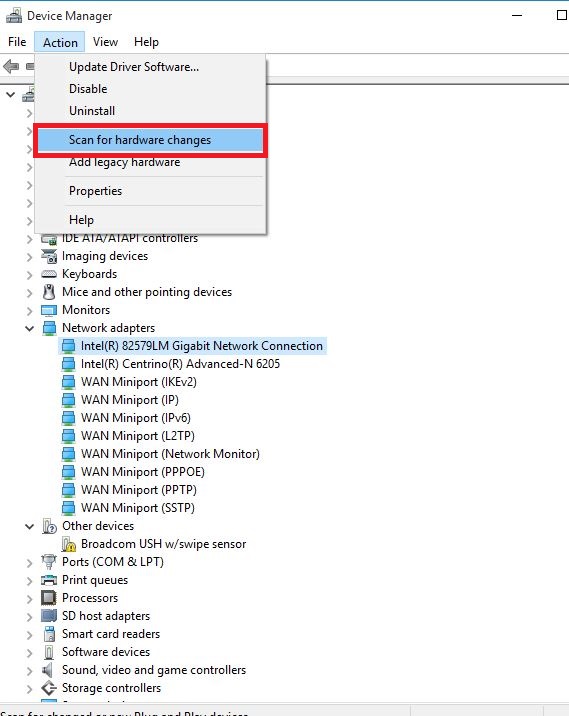
- Go to Device Manager window and ensure Network adapters is highlighted
- Click Action tab
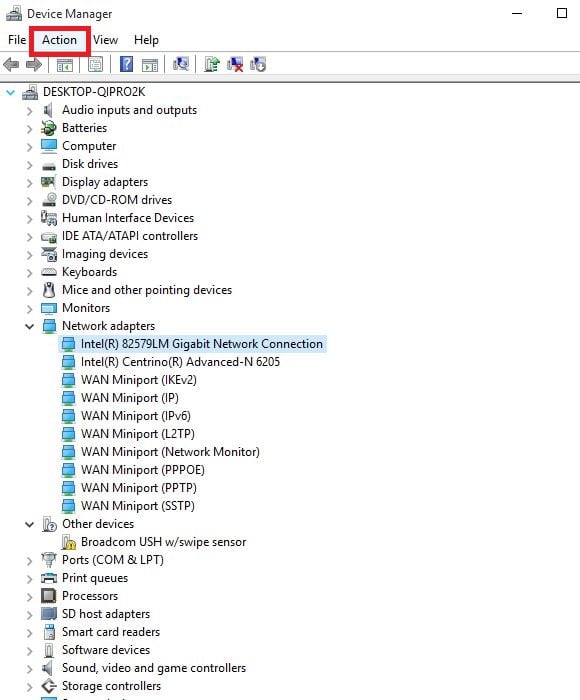
- Select Scan for hardware changes
- Close Device Manager and restart your laptop then try connecting to the internet.
Solution 6: Perform a System Restore
Here’s how to do this:
- Perform a hard reset – turning on and off the PC – by pressing and holding the power button for 10 seconds.
- While booting, turn off the computer once you see the Windows logo. Do this at least three times
- After the third run, the Recovery Screen will display
- Select Advanced Options
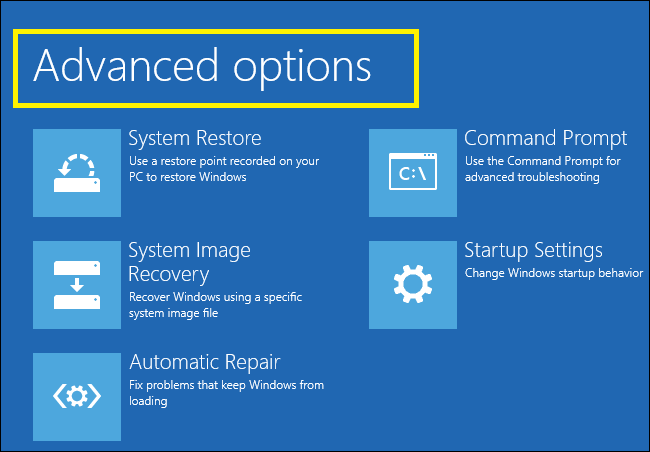
- Select System Restore. Choose the restore point where the issue did NOT exist.
Note: This will remove recently installed apps, drivers, and updates that may cause problems to your PC, but it will not affect your personal files.
- In the System Restore dialog box, click Choose a different restore point
- Click Next
- Click a restore point created before you experienced the problem
- Click Next
- Click Finish
Did any of these solutions work for you?
Source: Hp Support Phone Number
Sponsor Ads
Created on Oct 3rd 2018 05:24. Viewed 453 times.

