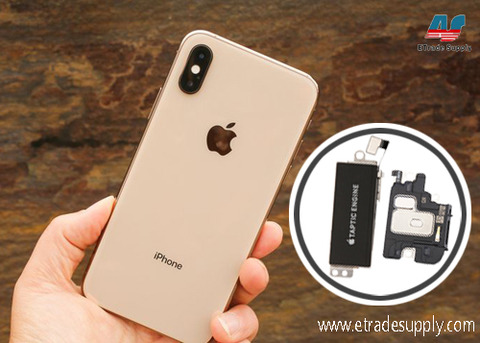
How to Replace iPhone XS Taptic Engine & Loudspeaker

1. Tear down iPhone XS and take off the display screen
1.1 Power off the phone, take out the iPhone XS SIM card tray and loosen the two pentalobe screws on the bottom
1.2 Use hot air gun blowing the edge on the display, in 80℃ for about 2 minutes
1.3 Use the suction cup to make a gap between the display and the frame, then insert the ultra-thin plastic sheet to slice around the gap to separate the display screen from the phone
1.4 Pry and flip over the display screen carefully, loosen the four Y-type screws and a Phillips screw, remove the metal bracket with tweezers
1.5 Disconnect the battery flex cable first, then the touch flex cable and the display flex cable. Remove the display screen away after it is entirely disconnected
2. Replace the iPhone XS taptic engine and loudspeaker
2.1 Loosen the seven Phillips screws and the Y-type screw, then remove the small metal brackets which are for fixing the taptic engine modules carefully with tweezers
2.2 Disconnect the iPhone XS loudspeaker flex cable and then use spudger and tweezers to pry up and remove the loudspeaker. The taptic engine is connected under the loudspeaker, just be careful and don’t bring it up
2.3 Take down the taptic engine after the loudspeaker is removed
2.4 Place the new replacement iPhone XS taptic engine in the phone and connect the flex cable
2.5 Install the new loudspeaker into the phone and connect the flex cable
2.6 Place the small metal brackets back and fix them with the eight screws
3. Reinstall the iPhone XS display screen
3.1 Connect the flex cables back, includes the display flex cable, the touch flex cable and the battery flex cable for the last
3.2 Turn on the phone and test the function of the new replaced elements. Test the screen 3D touch to check the vibration response. Go to Settings >> Sounds & Haptics. Play ringtone and adjust the volume to see if the loudspeaker is normal
3.3 Disconnect the flex cables as the orders in Step 1.5 and remove the display screen, clear out the frame adhesive glue
3.4 Attach a new iPhone XS frame adhesive back to the phone
Post Your Ad Here
Comments