How to Reconcile in QuickBooks for Mac Operating System?
Do you want to reconcile your accounts to match them to your bank or credit card statements?
As you balance your checkbook likewise, you need to review your accounts in QuickBooks to make sure that they match your actual life bank or credit card statements, and this process is known as reconciling.
You are suggested to reconcile your checking, savings, and credit card accounts every month. After you receive your bank statements, you have to compare the list of transactions you entered in QuickBooks. And if everything matches, then it implies your account is accurate or balanced.
Here in this article, we mention some steps if you are reconciling an account in QuickBooks Desktop for Mac. So, keep reading it till the end.
Steps to Reconcile Bank accounts with QuickBooks Desktop for Mac
Following are the quick methods to reconcile a bank account with QuickBooks desktop for Mac:
Step 1: Review your opening balance
Before you begin with reconciliation, confirm that you have backed up your company's file.
First time If you're reconciling an account, review the opening balance.
Step2: Prepare for the Reconciliation
Ensure that you have put all transactions for the bank statement period you plan to reconcile. If there are transactions that are left which haven't cleared your bank yet and aren't on your statement, wait to enter them.
Step 3: Start your reconciliation.
You can start reconciling after you get your bank statement.
If you're negotiating various months, start with your oldest bank statement. Reconcile each month differently, one word at a time.
Necessary: If you're reconciling a Merchant or Payments account and QuickBooks Desktop sees that you aren't signed in, you'll see a sign-in window.
It will tell you that your account is successfully linked to a valid company ID.
Firstly, go to the Banking menu, then select Reconcile.
Select out the bank or credit card account you want to reconcile in the Account field.
The Statement Date is automatically filled in. Usually, this may take up to 30 or 31 days after the statement date of the previous reconciliation. Modify it as needed to match your bank statement.
QuickBooks will automatically enter the Beginning Balance. Therefore, it uses the ending balance from your last reconciliation to get its number.
Now Enter the Ending Balance based on your bank statement.
After entering the balance, now enter the Service Charge and Interest Earned based on your bank statement.
Review the fields. If the info is correct, then press Continue or OK tab.
A few tools that can help you if your beginning balance doesn't match your statement are:
Select Locate Discrepancies if numbers don't match. It gives you reports that you can use to look out for discrepancies and other reconciliation issues.
If you still face issues, here's how to fix your opening and beginning balance.
If you want to start over from scratch, you can choose Undo Last Reconciliation.
Step 4: Differentiate your bank statements and QuickBooks
To reconcile, compare the list of transactions on your bank statement with what's in QuickBooks.
When reviewing your information, ensure that you have the correct dates or transactions.
Before you start
Here we are writing a few things you can do to make your reconciliation easier.
If you only want to see transactions for the statement period you're working on, choose to Hide transactions after the statement's end date.
When you are reconciling a credit card account, the sections are Charges and Cash Advances (purchases) and Payments and Credits (payments to the credit card company). Focus on one area at a time.
For online banking, if you are reconciling an account, select Matched.
Then, press on the enter Statement Ending Date from your bank statement. It automatically chooses out the transactions QuickBooks downloaded and matched.
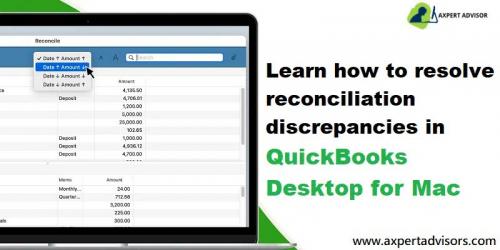
Wants to sort the list and choose the column's header or title.
If there is more than one transaction in QuickBooks than on your bank statement, resort to the list.
Conclusion
I expect the above article will be helpful for you to reconcile accounts in QuickBooks desktop for Mac, and we also suggested the following steps you should be taken care before intervening.
I hope the above steps might be helpful for you, but still, you find yourself unable to fetch, then contact our QuickBooks desktop support team of experts by dialing 1-800-615-2347 who will help you every time.

Comments (1)
Marketing Consultant...14
Business Growth Consultant
Dear APSense member, share a connection request with me : http://www.apsense.com/addconn/55213982