How to plant Vegetables in 20 Gallon Grow Bag

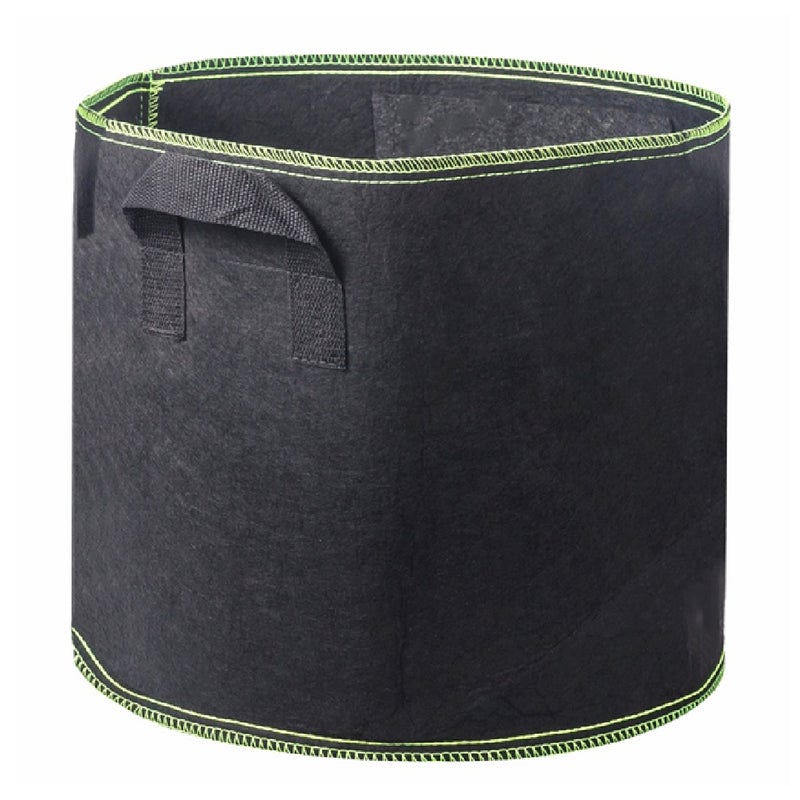
Grow bags are softer and breathable versions of your beloved ceramic or plastic pots that are crafted from lightweight materials like polypropylene. To make lifting the bags simpler, they frequently have handles attached. Grow bags, which come in a wide range of sizes and shapes, are easier to maintain because they are lighter than hefty terra cotta pots. However, the bags’ look is typically completely functional as opposed to attractive, which might make them more suitable for veggies than for flowers.
In this article, we will cover how to plant vegetables in 20-gallon grow bags.
1. Check for grow bags aeration
Growing roots inside grow bags are “air-pruned” as they reach their porous sides, causing them to branch out rather than grow in a circle as they would in pots. As a result, unlike plants in hard pots, plants in bags won’t get root-bound. This aeration also enables water to flow out of the container’s sides and bottom, preventing gardeners to overwater their plants.
2. Water the grow bags plant frequently
If you are growing any plant in grow bag; for example- growing corn in grow bags You will notice that the bags get dried out so soon, once the plants they contain have grown big enough. Therefore, throughout the sweltering summer, you’ll probably need to water the bags at least once daily. By lifting one corner of the container, you can examine if the plant needs water. The plants likely don’t need any additional water if the bag is heavy; however, if are light in weight, they most definitely need water. Sometimes keeping the bags pushed up against one another will help slow down the rate of drying.
You might also need to provide trays to save the water that drains out of the grow bags. The most effective containers should be trays filled with gravel because grow bags are less likely to decay if they aren’t constantly placed in water or sitting on moist soil.
3. Select the Plant wisely
Brassicas, salad greens, radishes, and other plants with relatively shallow root systems are the greatest choices for the best results. Artichokes, asparagus, lima beans, melons, parsnips, pumpkins, sweet potatoes, and winter squashes are examples of plants that require more “leg-room” or a bed in which to sprawl and are less likely to thrive in grow bags.
However, you may frequently find these veggies in dwarf varieties that are better suited for growing in containers. Examples are the names “Minnesota Midget” for melon, “Jack Be Little” for pumpkin, and “Jersey Golden Acorn” for winter squash. Brassicas, root crops, or salad greens are likely better choices if your grow bags receive fewer than 6 hours of direct sunlight each day because they need less light than tomatoes, peppers, or other brightly colored plants.
4. Fertilize your plant frequently
Only a small quantity of soil is available for plants growing in containers to get their nutrients from, and regular watering causes those nutrients to leak out. Therefore, grow bag plants require more regular fertilization than garden plants do. If the potting soil you choose already contains slow-release fertilizer, it should be helpful. If not, you should include some, as per the fertilizer container’s directions.
After planting your grow bag, you can use a liquid fertilizer to replace the slow-release fertilizer. For small grow bags for tomatoes, mix half the recommended dosage if applied weekly and for every 2 weeks, you can use full power.
In conclusion,
Grow bags do wonders for gardeners as these do not require much space and can be managed easily and in a clean manner. If you are also amazed by these ideas, then buy tomato grow bags online which can also be used for growing many other plants.
Post Your Ad Here
Comments