HOW TO MANAGE QUICKBOOKS BILL ONLINE?
QuickBooks is one of the amazing software for providing the best features and specially designed for small and medium-sized businesses. For the successful and smooth running of small businesses, it is necessary to manage your bills completely. In order to manage your bills online via QuickBooks is one of the enhanced and reliable ways. To use the QuickBooks and want to give effects to any transactions, one may need to set up some new accounts in which users can easily record their cash accounts. Many times, while managing the bills users may face much trouble. Here we provide you complete stepwise guide for managing bills using QuickBooks online.
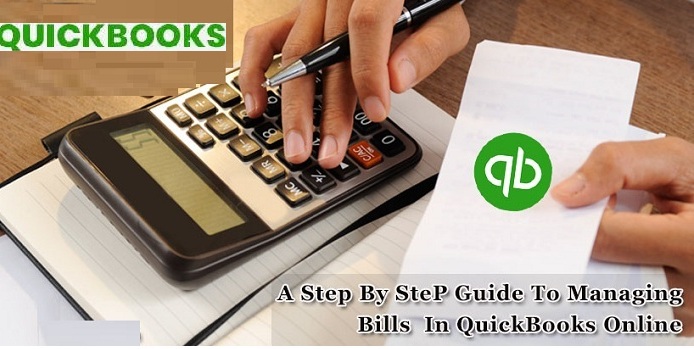
Here we provide you an easy and basic guide to show you how to manage QuickBooks bills online. The steps are simple and easy to understand, but we suggest you follow these steps in the right sequence as mentioned below. Doing in the correct sequence will save lots of time and takes fewer efforts.
- Initially, enter a recorded bill.
- Provide a full or part payment available on the bill.
- Now, set the reminders just to make payment of your future bills on time.
- After every new transaction check all the financial statements carefully.
Steps to Manage QuickBooks Bill Online
However, for managing QuickBooks Bills online, one can make as several expense account as they want to. Below is a stepwise guide on how to easily enter all the bills and their details into QuickBooks online. Here how to do it.
Steps to Enter Bill in QuickBooks Online
In order to enter the accounts payable in QuickBooks, you need to follow few simple steps:
- Press the ‘Vendors’ option.
- Choose the ‘Enter Bills’ option.
- Now, tap on the ‘Enter Bills located in the heading of ‘Vendors or Supplier’.
- From the scroll-down menu, choose a ‘Supplier’ option.
- Next, choose Bill Date, Due Date, and Terms.
- After that, enter your expense account or choose it from the scrolling menu list.
- Then, enter a complete description of the bill.
- Type the total amount and the additional tax rate.
- Press the ‘Save’ tab followed by ‘Close’ tab.
Finally, you have entered a bill into QuickBooks. However, these transactions mentioned above has been saved and recorded into the correct accounts.
Steps to Pay Bills in QuickBooks Online
After entered the bills in QuickBooks online, now you have to manage that how to easily pay bill and when you have to pay these bills. Although you can pay all the bills by utilizing expense form which is offered or by simply utilizing the ability of printing checks from within QuickBooks accounts. Furthermore, users can pay their bills directly from the Suppliers/ Vendors page.
Here we have many ways by which you can easily be able to make payments. One of the fastest and smartest ways of paying bill is directly from the Suppliers. Here how to do it:
- Tap on the ‘Suppliers’ option.
- Press on ‘Pay Bills’: On the header of the ‘Supplier’s page, there are two choices available related to easily filtering bills which you want to pay from your expense account. Select to view pending bills or due bills.
- Verify and tap on the ‘Supplier bill’ which users would like to pay.
- Now, the QuickBooks will automatically show particular bill related information on the screen.
- After that, enter the total amount that you want to pay.
- Choose the account you want to pay from.
- Press the ‘Pay Selected Bills and wait for few seconds, you will notice that payment will be in process.
- Lastly, click on the ‘Save’ tab followed by ‘Close’ tab.

Post Your Ad Here
Comments