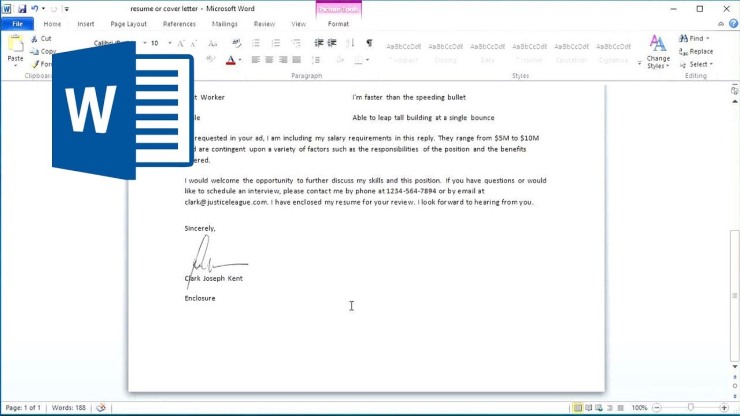
HOW TO ADD A SIGNATURE TO A WORD DOCUMENT
You can add a signature to a Word document, by inserting the handwritten sign, adding the signing line, or you can make a Signature Auto Text Entry by finding with the first or last name, identification and other information which you like to include it. To know how you can add a signature to a Word document, follow the guidelines mentioned below.

Digital Signature in a Microsoft Word
How to Add a Digital Signature in a Microsoft Word Document?
Follow the steps listed below to add a digital signature in a Microsoft Word document:
• Move the mouse pointer where the users wish to go through the procedure for creating a new signature.
• Open the “Insert” option.
• Choose the “Signature Line” located in the “Text” box.
• Choose the “Microsoft Office Signature Line” option.
• Now, the signature setup will start showing on the screen.
• Enter the detail the users wish to show below the “signature line”, which includes the first or last name of the users, title, email ID and other required information.
• Choose the “Allow the Signer to Add Comments in the Sign Dialog” option in case the users wish to permit the signer for entering the reason for signing.
• Choose the “Show Sign Date in Signature Line” in case the users wish to put a date on their Word document which was signed is appearing on the screen.
• Now, you need to right-click on the “Signature line” and after that, choose the “Sign” option for adding the signature to the Word document.
• Enter the name as the users wish to show that name on their screen.
How to Add a Handwritten Signature?
In case the users have a scanner, then they can simply upload the picture of their signatures. After saving that signature on the system, they can insert it in Microsoft Word.
Follow the steps for Word 2010, Word 2013, Word 2016 and Word for Office 365:
• You need to make a signature which includes your last or first name on the white plain paper.
• Now, you have to go through its scanning procedure and you can do so by saving the signature as a gif, jpg, png, bmp file.
• Go to the “Microsoft Word” window.
• Open the “Insert” button and choose the “Pictures” option.
• Go to the “Signature” folder and after that, tap on the “Insert” button.
• Choose the “image” and turn on the “Picture Tools” option.
• Choose the “Crop” button and you need to crop the picture for removing the empty spaces near the signature you had done.
• Now, you have to right-click the picture and choose the “Save as Picture” option.
• Type the “name”, select that place where you wish to store it and after that, choose the “Save” button.
• In case you wish to insert the created signature in MS Word document, then you can do so by clicking on the “Insert” option, choose “Pictures” option and after that, find the converted file.
Follow the steps Word 2016 and Office 365 for Mac:
• The users need to do signature by writing their name on a white place sheet.
• After that, scanning that signature and convert it as a gif, png, jpg, bmp file.
• Go to the “Microsoft Word” document.
• On that window, click on the “Insert” option and tap on the “Pictures” option.
• Go to that folder where your converted signature is stored and after that tap on the “Insert” button.
• Tap on the “Picture” for choosing it and enabling the “Picture tools” option.
• Tap on the “Crop” option and start cropping the picture for deleting the empty space near the signature you had made.
• Now, you need to right-click on the picture and select the “Save as Picture” option.
• Type the “name”, select the folder where you wish to store it and after that, tap on the “Save” button.
Source By :
Signature to a Word Document, Webroot support
Post Your Ad Here
Comments