Kindle is an electronic book (e-book) reader introduced by Amazon. It is wireless, which really makes it easy to carry and use, and helps to access the store without connecting the device to a computer. The Kindle application on the iOS device gives the user complete access to the Amazon Kindle library. The user can even transfer different kinds of files from PC to iOS device application to read.
Part 1. Installing the Kindle Application
- Launch the Application Store. Hit the Application Store icon on the iOS device’s Home screen to launch the Application Store.
- Find for the Kindle Application. Enter “Kindle” into the search pane above right of the Application Store interface and selecting the Search tab.
- Install the iPad version of the Kindle Application.
- Choose the iPad version of the Kindle Application.
- Hit the “Get” tab near to the Kindle Application in the iPad section of the search results.
- Hit “Install.”
- Type user’s Apple ID password and hit the OK button to install the Application.
Part 2. Downloading Previous Purchases
- Launch the Kindle Application. Tap the Kindle App icon on user’s Apple device’s Home screen to open the Kindle Application. This icon automatically appears once the application successfully gets downloaded.
- Register user I devices to the Amazon account. Type the Amazon username and password and hit the Sign on the tab.
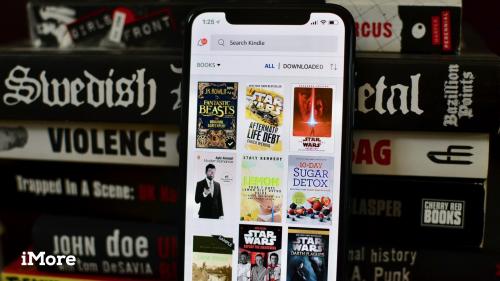
- Hit the “Cloud” button on the screen. It will make the user see all of the Kindle purchases associated with the user’s account.
- Hit the cover of a book to start downloading it to the iPad. The user can see all his or her downloaded Kindle books in the “Devices” tab.
Part 3. Buying New Kindle Content on iOS
- Launch the iPad’s Safari network. Due to Apple Store limitation; the user is not free to buy the content through the Kindle Application, so the users need to use Amazon’s site. Hit on the Safari icon to start from the user’s iPad’s Home Screen.
- Visit the Kindle Store. Type amazon.com/ipadkindlestore into the address and click Enter.
- Sign on to user Amazon account if prompted. Type the user Amazon account (email address and password) and hot “Sign on using a secure server.”
- Browse Kindle books. By using the search bar at the above of the screen, the user can find specific titles, authors or keywords; check out ongoing deals and bestsellers, and many more.
- Buy the book. To download book automatically to using iPad’s Kindle Application, hit “Buy,” and “Read now,” from the product detail page, the user will be directed back to Kindle app’s library.
- All the bought books have stored in the user account, so a user can download them whenever they want.
- If a user wants to browse any book, he or she can hit “Try a sample.” A portion of the text downloaded to the user’s Kindle Application, which allows the user to read it, which later the user can decide to buy it or not.
- Generate a Kindle store icon for Home screen (optional). By using this icon, a user will directly go to the Kindle Store in the future.
- Navigate the “Share” button at the above screen in the Safari Menu bar.
- To add on the iPad Home screen, choose the “Kindle Store” icon from the pull-down menu.
- Hit “Add.”
- Kindle Store icon will be visible on the Home screen.
- If a user wants to return to the Kindle Store, just hit on the Kindle Store icon.
John Morrison is a Microsoft Office expert and has been working in the technical industry since 2002. As a technical expert, John has written technical blogs, manuals, white papers, and reviews for many websites such as office.com/setup
Source : www.office.com/setup
Comments