Few Steps to Fully Utilize Your Canon DSLR Camera
If you’re a photographer or videographer, you must update yourself to fit in the competition race, whether it’s shooting fast, getting more vibrant colors, or knowing your battery life quickly. Here I am going to teach you some steps to fully utilize your Canon DSLR:
- Maintain warmth with the Ambience Priority option – Before you press the Info button, go to the White Balance option in the main shooting menu and convert it to Auto. Now you have two options: White Priority and Ambience Priority, and the latter one will be best for you if you want to maintain the feel of candlelight or any other warm sources that may else be lost.
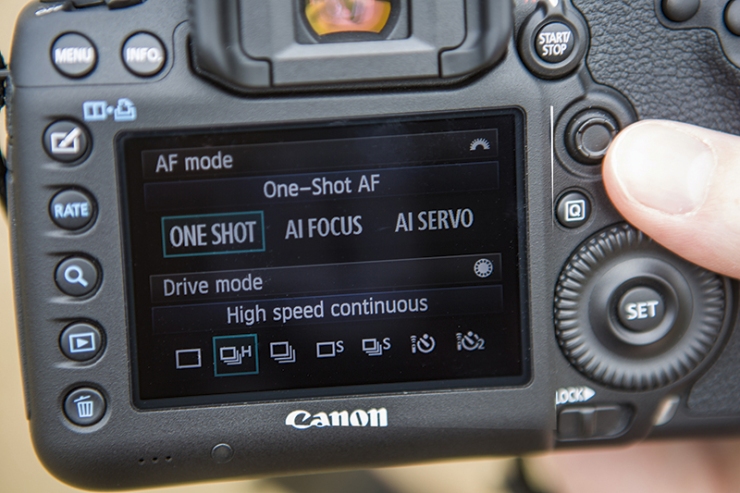
- Set up your viewfinder – Canon’s Viewfinder provides you a lot of extra information, but you may not notice this at first because of its default settings. Now go to Viewfinder Display in the Tool section, and you can bring up notification for battery life, drive mode, image quality and a few other things.
- Directly jump to 100% when viewing your images – If your DSLR has a magnify button, you can quickly get to subject by pointing your fingers towards to Magnification(apx) in the Playback menu and choosing Actual size(from a selected point). Once you’re there, just push the magnification button when playing back your images and you’ll go straight to the image’s full size.
- Be aware of your batteries – You can check the life of every battery you have through the Battery Info option in the tools section.
- Overcome color channel clipping – To enable this, go to the Playback menu and search the Histogram disc option before you select the RGB settings. Now when you hit the info button, if you review back images, those three histograms should come up to the side of the shot.
- Keeping your photos into a separate folder in DSLR – Press Folder is the option you have to hit in the Tools menu, and it provides an option to create new folders.
- Embedded your name to every photo – If you’re worried over your image might get stolen online, it can be sorted out by going to the Copyright information option in the Tools menu, and you can attach your name, the year, your email id and even your website. When next time you click an image, these details will have embedded in your every photo.
- Set AF Microadjustment to boost focusing correctly – You confront this problem when you use a telephoto lens where a depth of field is very shallow, and mis-focusing usually happens. You can fix this problem by heading over the Autofocus section in the Custom menu, AF Microadjustment lets you adjust where a lens focuses in fine increments.
- Make your portrait photos fill the entire screen – When you click an image in a portrait mode then half your screen is left empty, you can sort this out by pressing the Auto-rotate options in the Tools menu, Under this you have to push the middle option as it will allow you to see your portrait images to the full in your camera’s LCD screen.
Stephen Strange is a self-professed security expert; he has been making the people aware of the security threats. His passion is to write about Cybersecurity, cryptography, malware, social engineering, internet and new media. He writes for Norton security products at www.norton.com/setup
Source : norton.com/setup
Advertise on APSense
This advertising space is available.
Post Your Ad Here
Post Your Ad Here
Comments