Follow these steps to create zip folder and then through your Gmail
A user knows, sending multiple files at the same time consumes time, by creating a zipped file your work gets easy and you are able to send all files in a single click. There are a number of users who are not aware how to create a zipped folder and then attach it to your Gmail. Follow these given points in order to create a zip folder and send through your Gmail or you can take help from Gmail Technical Support team.
Steps to create a zip folder and send this file through Gmail
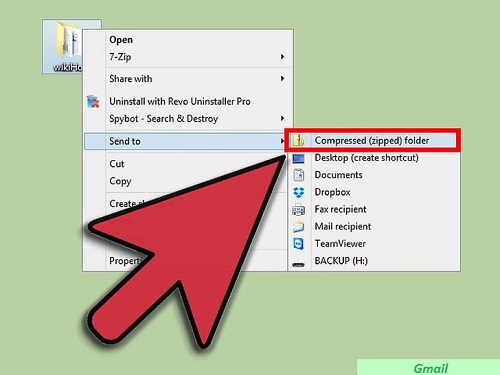
- If you have multiple files that you are looking to send a recipient, put the entire file in a particular folder.
- Then, right click on that folder and go to “Send” option, there you will get an option “Compressed folder”, click on that.
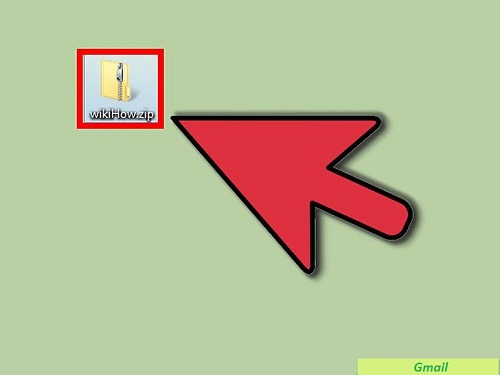
- Now, you’ll be able to see a zipped folder with the same name you created your file.
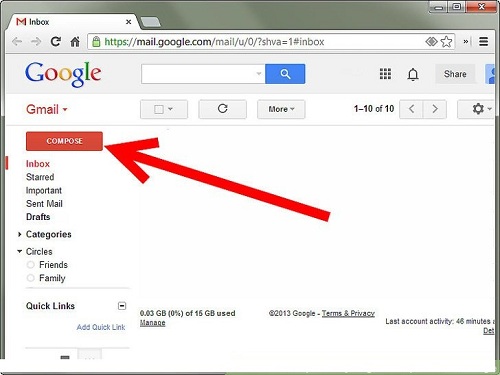
- Now, open your email account and click on “Compose mail”.
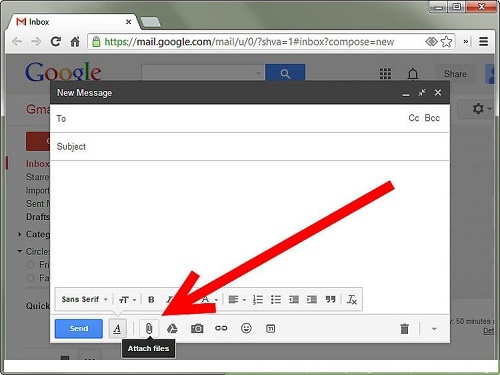
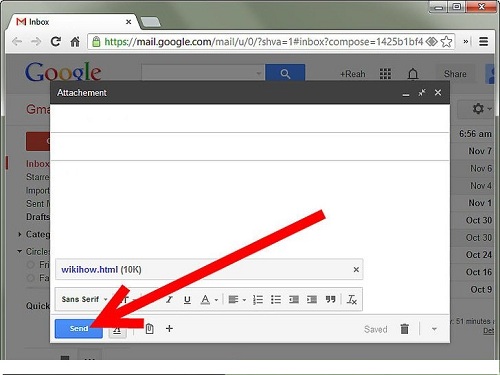
- Now, enter the recipient email address and click on the file attachment.
- In the next step, you will select that zipped folder from your PC and add it to your attachment.
- Once this zipped folder is attached, you’ll be able to see that file in your email attachment.
- Next, click on “Send” option and you are done.
This is how one can create a zip file and can send it through their Gmail account. Sometimes, it seems a kind of challenging job for many email users. In case, you face any trouble, no worries, you can converse with an expert by dialing Gmail Technical Support Canada 1-844-888-3870. Technicians are available for full time just to resolve the queries you have.
Related Keywords:
How to Email Large Files as Gmail Attachments?
How to Zip or Compress Files before Attaching Them to Emails?
How do I make a zip file to post an attachment?
Post Your Ad Here
Comments