Step-by-Step Guide to Fixing a Cracked Phone Screen in Las Vegas
Now what?
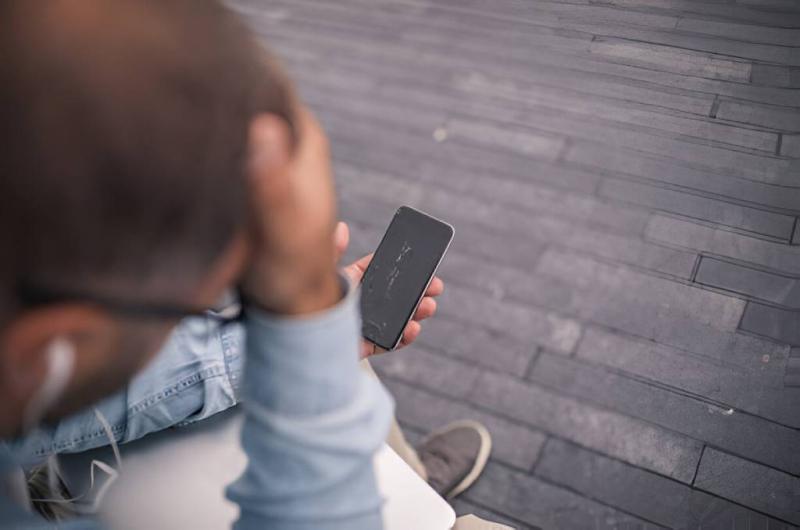
This happens to almost everyone.
A cracked screen makes your phone hard to use.
It can cut your fingers, and it looks bad.
However, you can fix it yourself.
This guide shows you exactly how to do that.
We'll explain everything in simple steps, what tools you need, how to do it safely, and when to get help from a phone screen repair in Las Vegas.
Different Types of Screen Damage Explained
Not every crack needs the same fix. Here are different types of screen damage:
Hairline Cracks: These are thin lines across your screen.
The touch screen still works fine, and it doesn’t stop you from using your phone.
But it looks bad and can spread if you ignore it.
Spiderweb Cracks: Spiderweb Cracks look exactly like their name.
It is when multiple cracks are spread out from one point.
This type of damage is serious and usually needs to replace the whole screen.
Black Spots: Black Spots mean the LCD or OLED layer underneath the screen is broken.
The glass might look okay, but the screen is damaged inside. You might see dark patches or weird colors.
Touch Problems: It happens when the digitizer (the component of a touchscreen that senses and converts your touch actions) breaks.
Your screen won't respond in some areas and might get ghost touches where the phone acts on its own.
Scratches: These are surface damage from keys or sand.
They make your screen look cloudy, but usually don't affect performance.
A screen protector can hide those minor issues.
When Water and Heat Cause Extra Problems
Las Vegas is dry, but water damage still happens.
Pools, spilled drinks, and condensation from temperature changes can get inside your phone. Which makes the adhesive (a substance used for sticking objects or materials together) melt.
Tools You Need for DIY Repair
Good tools make repairs safer and easier. Here's your shopping list:
Precision screwdriver set with Phillips, Pentalobe, and Torx bits
Plastic prying tools and opening picks that won't scratch your phone
Suction cup to help lift the screen
Curved ESD-safe tweezers for handling tiny parts
Heat gun or hair dryer to soften the glue
Anti-static wrist strap to prevent electric shocks
Isopropyl alcohol for cleaning old glue
Replacement screen that matches your exact phone model
Adhesive strips or LOCA glue to seal the screen
Always buy genuine parts. Cheap copies don't fit right and can cause touch problems.
Step-by-Step Screen Replacement Process
Follow these steps carefully for the best results.
Step 1: Prepare Your Workspace
Put down a soft cloth on a clean, bright table and organize all your tools so you can reach them.
Wear your anti-static wrist strap and attach it to something metal.
Step 2: Power Down and Remove Everything
Turn off your phone completely and remove your SIM card and SD card trays.
Step 3: Open the Phone
Start by warming the screen edges with your heat gun on low for 30 seconds.
This softens the adhesive underneath. Once the glue is warm, place your suction cup near the bottom of the screen and pull gently to create a small gap.
Slide a plastic pick into this gap and work it slowly around all the edges to cut through the adhesive without breaking anything.
Step 4: Remove the Broken Screen
Lift the screen gently like opening a book.
You'll see small screws holding metal covers in place.
Remove these screws first.
Then use tweezers to disconnect the battery cable. This step keeps you safe from electric shocks.
Next, disconnect the screen cables. Now you can remove the old screen completely.
Step 5: Install the New Screen
Clean off all the old glue with alcohol and let it dry.
Position your new screen in place and connect the screen cables. Next, reconnect the battery cable.
Finish by replacing the metal covers and screws.
Step 6: Test and Close It Up
Before closing your phone, turn it on and test the touch screen in every area.
Check if the display looks clear.
If everything works, power it off again.
Apply new adhesive strips around the frame and press the screen down firmly.
Insert your SIM tray back in and power on one last time to make sure everything works perfectly.
Mistakes That Ruin Your Repair
Avoid these common errors that ruin repairs:
Using too much force breaks delicate internal parts
Forgetting to disconnect the battery before touching the screen cables
Skipping the glue cleanup
Applying too much heat warps plastic parts and melts solder
Using regular household glue instead of proper adhesive clouds your screen
When to Choose Professional Repair
Some situations require expert help.
Call a professional if you see extensive spiderweb cracks with bleeding colors or if water damage combines with cracks.
Premium phones still under warranty should always go to authorized centers.
You have two options for professional repair.
Authorized repair shops use real parts and protect your warranty with a 90-day guarantee.
Third-party shops offer faster service and lower costs, but they might use lower-quality parts.

Post Your Ad Here
Comments (1)
Leavesden Taxis6
Warner bro studios Airport taxi
Call a professional if you see extensive spiderweb cracks with bleeding colors or if water damage combines with cracks.