Connecting Solar to the Grid: Steps to a Successful Interconnection
More companies, utilities, and homeowners are switching to solar energy because it's affordable and eco-friendly. To use solar power efficiently, they need to connect their solar photovoltaic (PV) systems to the electric grid. This connection process is called interconnection. It allows electricity to move safely and smoothly between the solar system and the utility grid. To make this happen successfully, you need to follow a few important steps.
What is a solar interconnection agreement?
This agreement lets homeowners send extra solar energy back to the utility grid. In return, they can draw power from the grid when their solar panels don’t produce enough. Most importantly, the agreement allows them to join net metering. Through net metering, eligible users earn credits for the extra energy they share with the grid.
Do you need an interconnection agreement for solar?
To get the most from your solar panels, connect your system to the grid. Without approval, extra energy goes to waste, and you won’t earn solar credits. Some utilities pay less for extra energy, but many net metering programs allow unused credits to roll over for up to a year. Always check your utility's specific interconnection rules.
Process for a solar interconnection agreement?
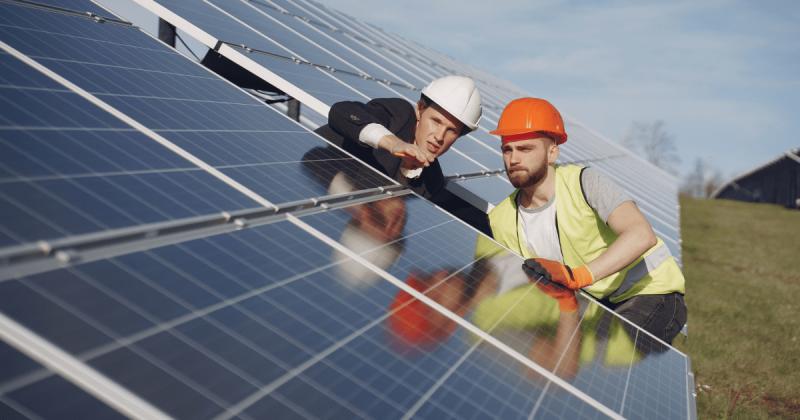
The solar installation company handles steps, making the process easier.
1. Understand local interconnection requirements
Start by learning the rules and standards set by your local utility. Each area may have different fees, technical guidelines, and application steps. To get the most accurate and up-to-date details, contact your utility or talk to a certified solar installer.
2. Submit your interconnection application
Next, you need to officially apply with your utility. This application includes your system design, technical details, and sometimes a layout of your property. After you apply, the utility reviews it to make sure the grid can handle the extra electricity safely. Depending on your system's size and location, they might also require equipment upgrades or a detailed impact study.
3. Utility Inspection and Meter Installation
Before you connect your system to the grid, your utility will usually do a final inspection. During this step, they may install a bi-directional meter. This meter tracks both the electricity you use from the grid and the extra power your system sends back. If you’re part of a net metering program, this step matters even more. For help with this process, you can search for Solar installation near me to find local experts who understand your utility’s requirements.
4. Get Permission to Operate (PTO)
After the utility completes all inspections and gives final approval, they will issue a Permission to Operate (PTO). Once you receive the PTO, you can turn on your solar system. At that point, it will start powering your home or business and sending any extra energy back to the grid.
End Note
Connecting a solar PV system to the grid takes planning, coordination, and knowledge of local rules. By following each step carefully, you make the process smoother. This way, you get the most from your solar investment while helping build a cleaner, more reliable energy future.

Comments