The Complete Guide to Raising Baby Chicks
Welcome to Chick Raising 101
So, you’ve decided to raise baby chicks—congrats! Whether you’re starting a backyard flock for fresh eggs or just love the idea of having happy hens scratching around your garden, it all begins with one exciting (and slightly nerve-wracking) step: raising day-old chicks.
But here's the thing—those fluffy little bundles of cuteness need more than just grain and good vibes. The first few weeks of a chick’s life are crucial. If you’re not properly set up from day one, things can go sideways quickly.
That’s why we’ve created this no-fluff, Aussie-friendly guide to help you raise chicks the right way—from choosing the best brooder setup to keeping them warm, fed, and growing like champs. Let’s get started!
What Happens Right After Hatching?
When chicks hatch, they’re vulnerable. They can’t regulate their own temperature, they don’t know how to find food or water, and their immune systems are still getting started. It’s like sending a newborn baby into the world without a cot or bottle—total disaster.
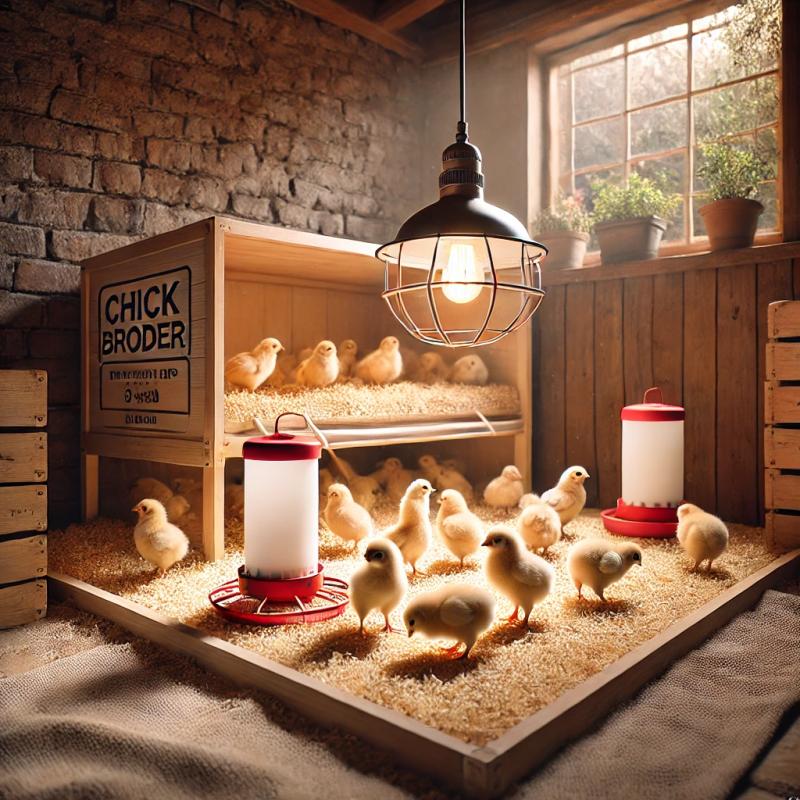
Chicks rely on their environment (and you!) for everything in their first few weeks. That’s why a solid setup is essential before you even bring them home. One of the best ways to start is by creating a secure, warm brooding area—like this step-by-step guide on setting up a chick brooder at home tailored for Aussie backyard farmers.
First Step: Build the Ultimate Brooder
Think of the brooder as your chick nursery. It’s where they’ll live, grow, eat, sleep, and explore until they’re strong and feathered enough to head outside.
What You Need in a Brooder Setup
A container or box (plastic tubs, wood crates, or commercial brooders)
A reliable heat source
Clean, chick-safe bedding
Food and water stations
Ventilation—but no drafts
A container or box (plastic tubs, wood crates, or commercial brooders)
A reliable heat source
Clean, chick-safe bedding
Food and water stations
Ventilation—but no drafts
The brooder doesn’t have to be fancy, but it must be safe, warm, and clean.
Keep ‘Em Toasty – Heating Tips That Work
Temperature is life or death for baby chicks. If it’s too cold, they’ll pile on top of each other and risk suffocating. Too hot? They’ll overheat and become dehydrated. Your goal is to give them just the right amount of warmth—like a good hug from mum.
Your Heating Options:
Heat Lamp
Affordable and easy to set up
Hang above one end of the brooder (so chicks can move away if too hot)
Must be secured very well—loose lamps are a fire hazard!
Affordable and easy to set up
Hang above one end of the brooder (so chicks can move away if too hot)
Must be secured very well—loose lamps are a fire hazard!
Brooder Plate
Mimics a mother hen
Safe, low energy, and perfect for small flocks
Chicks huddle underneath when they want warmth
Mimics a mother hen
Safe, low energy, and perfect for small flocks
Chicks huddle underneath when they want warmth
Week-by-Week Temperature Guide
Chick Age Brooder Temp Week 1 35°C Week 2 32°C Week 3 29°C Week 4 26°C Week 5 23°C
Watch your chicks:
Huddled and chirping loudly? Too cold.
Panting and staying away from the heat? Too hot.
Moving freely and chirping softly? Perfect.
| Chick Age | Brooder Temp |
|---|---|
| Week 1 | 35°C |
| Week 2 | 32°C |
| Week 3 | 29°C |
| Week 4 | 26°C |
| Week 5 | 23°C |
Watch your chicks:
Huddled and chirping loudly? Too cold.
Panting and staying away from the heat? Too hot.
Moving freely and chirping softly? Perfect.
Heat Source Safety Checklist
Always secure heat lamps with clamps and chains
Never place directly over flammable bedding
Use a thermometer to monitor heat daily
Avoid drafts but allow some airflow
Always secure heat lamps with clamps and chains
Never place directly over flammable bedding
Use a thermometer to monitor heat daily
Avoid drafts but allow some airflow
A note from seasoned keepers: Spend a few nights checking in every hour. That’s how you learn what “comfortable chicks” look like. Trust us, it’s worth the lost sleep.
Choosing the Right Bedding for Baby Chicks
Bedding is more important than most people realize. It’s not just about comfort—it’s about cleanliness, traction, and health. Poor bedding choices can lead to leg issues, infections, and even death in some cases. So, it’s worth putting thought into what you use.
Recommended Bedding Types
The gold standard for chick bedding is pine shavings. They’re absorbent, low in dust (if you choose the right kind), and soft enough to keep chicks comfortable. They also help control odor, which is a huge bonus if your brooder is indoors or in a small space.
Other decent options include chopped straw, shredded paper (non-glossy), or paper towels for the first few days. Paper towels are great during the first week because they give the chicks a non-slip surface and make it easier to monitor droppings for signs of illness.
What to Avoid
Some materials are a definite no-go. Avoid cedar shavings entirely—cedar contains oils that can cause respiratory issues in chicks. Newspaper might seem like a cheap option, but it's too slippery and can lead to leg problems like splayed legs.
Also steer clear of cat litter, sawdust, or anything too fine or dusty. These can be inhaled or eaten by curious chicks and cause serious health problems.
Cleaning Schedule for Healthy Chicks
A clean brooder is a healthy brooder. Plan to spot clean daily—remove wet or soiled bedding, especially around the waterer, where spills tend to happen. Once or twice a week, depending on how many chicks you have, replace all the bedding and sanitize the brooder.
If you’re raising chicks in a humid area or during rainy weather, you might need to clean more often. Wet bedding breeds bacteria and can quickly lead to problems like respiratory infections and foot issues.
Feeding Chicks the Right Way
You can’t raise healthy chicks without giving them the right nutrition. Chick feed isn’t one-size-fits-all—it changes depending on their age and what you plan to raise them for. Whether you’re growing layers or meat birds, you’ll need to start with quality starter feed and go from there.
Starter Feed vs. Grower Feed
For the first 6 weeks, chicks need a specially formulated starter feed. This type of feed is high in protein—around 18 to 20 percent—and provides all the essential nutrients they need to grow strong bones, feathers, and immune systems.
After week 6, you can switch to a grower feed, which has a slightly lower protein content and helps support steady growth until they’re ready to lay or reach full size.
If you’re raising meat birds, some brands offer broiler-specific feeds that optimize muscle development. For laying hens, consider switching to layer feed after about 16 to 18 weeks.
How to Set Up Feed and Water Stations
Use chick-sized feeders and waterers, not regular adult poultry gear. Adult dishes are too deep and can lead to drowning or feed contamination. Make sure they’re easy to clean and placed at chick chest height. This helps prevent tipping and reduces bedding and droppings getting into their food and water.
Keep feeders and waterers away from the heat source—warm water goes stagnant fast, and feed can spoil in heat. Also, consider placing them on a small platform to reduce bedding getting kicked into them.
Supplements and Grit: Do You Need Them?
If you’re feeding only commercial chick starter, you don’t need additional grit or supplements. However, if you plan to give your chicks treats or introduce scratch grains, you’ll need to offer chick grit to help with digestion.
Electrolytes and probiotics can also be helpful during times of stress—like the first few days after arriving or during sudden temperature shifts.
Monitoring Chick Health and Behavior
Even if your setup is perfect, you’ll want to keep a close eye on your chicks for the first few weeks. Chicks can go downhill quickly if something is off, so observation is key.
Normal vs. Concerning Behavior
Healthy chicks will be active, chirping gently, and moving around their brooder. They’ll explore, nap in groups, and take turns under the heat source. Their droppings should be firm and brown with a bit of white.
If you notice chicks huddling constantly, spreading wings and panting, or separating themselves from the group, something’s not right. Lethargy, loud chirping, and diarrhea are also signs that something is off.
Watch for pasty butt—where droppings stick to the chick’s vent, blocking future droppings. If you see it, clean it gently with warm water and a cotton ball. Left untreated, it can be fatal.
Signs of Illness and What to Do
Here are a few red flags:
Drooping wings
Labored breathing
Runny or bloody droppings
Persistent chirping
Loss of appetite
If you see these signs, isolate the chick and monitor closely. Many issues can be solved with proper hydration, heat, and clean conditions, but don’t hesitate to call a vet if things escalate.
When to Call a Vet
You likely won’t need a vet for every sneeze or soft dropping, but if a chick isn’t responding to care or starts showing serious symptoms (like rapid weight loss or extreme weakness), a vet visit can be the difference between saving one or losing the whole flock.
Socializing and Handling Your Chicks
While it’s tempting to constantly scoop up those fluffy little bodies, early handling needs to be done with care. The first few days are about warmth, food, and acclimation—not cuddles. That said, socializing your chicks is important if you want friendly, easy-to-handle hens in the long run.
How to Tame Chicks Gently
Start slow. Let them get used to your presence by simply placing your hand in the brooder while they eat or explore. Don’t make sudden movements or loud noises. Gradually, you can begin offering treats like small bits of scrambled egg or finely chopped greens from your hand.
Once they start associating you with safety and snacks, you’ll find they come running to greet you. When lifting chicks, always support their body with two hands. Never grab them by the wings or legs, as this can cause injury.
Avoiding Overhandling
Even tame chicks can get stressed if they’re handled too often—especially when they’re just days old. Keep interactions short and sweet, and avoid handling chicks immediately after eating or during nap times. Watch for signs of stress, like heavy breathing or excessive chirping, and give them space if they seem overwhelmed.
Helping Chicks Bond with You
Routine is your best friend. Feed them at the same time daily, use a calm voice, and be consistent in your approach. The more positive experiences they associate with you, the more relaxed and social they’ll become. This kind of bond also makes future tasks—like transitioning to a coop or performing health checks—a whole lot easier.
Preparing for the Transition to the Coop
Eventually, your chicks will outgrow the brooder. When they start flying up to the brooder edges and stretching their wings more than usual, it’s time to think about next steps.
When Are Chicks Ready?
Most chicks are ready to leave the brooder by 5 to 8 weeks of age. This depends on:
Whether they’re fully feathered
If outdoor temps are stable (ideally above 18°C)
How well they’re eating, drinking, and exploring
Chicks without full feathers can’t regulate body heat, so if you move them too early—especially in colder climates—they can get sick or die. Always match their development with the conditions.
Coop Setup for Young Hens
Before moving chicks, make sure the coop is:
Clean and predator-proof
Dry and draft-free
Equipped with food, water, and bedding
Separated from Older chickens (if introducing to an existing flock)
Young birds should have a small, secure area to explore the coop first before full integration.
Introducing Chicks to Older Flock Members
For smoother introductions:
Wait until chicks are similar in size to adults
Introduce during free-range time so hens are distracted
With a little time and supervision, your chicks will adapt to their new environment and gradually find their place among the older flock members.
Common Questions About Raising Baby Chicks
Can I raise chicks indoors?
Yes, many people raise chicks in a spare room, laundry area, or garage. Just make sure it’s well-ventilated, easy to clean, and not too cold. Keep pets and kids supervised.
How many chicks should I start with?
Four to six is a great number for first-timers. Chickens are social, so don’t raise them alone. Even two can be risky if one dies. A small flock allows for a better social dynamic and is easier to manage.
What if my chick looks sick?
Isolate them immediately. Make sure they’re warm, hydrated, and have access to clean food. Observe closely. Many issues can be fixed early with good care, but don’t hesitate to call a poultry-savvy vet.
Final Thoughts
Raising baby chicks is equal parts heartwarming and challenging—but it’s absolutely worth it. With the right tools, knowledge, and setup, you’ll raise healthy hens that provide eggs, entertainment, and enrichment for years to come.
The early days are your chance to give them the strongest possible start. Set up your brooder, keep them warm, feed them well, and get to know their unique personalities as they grow. They might start small, but they’ll soon be ruling your backyard—and your heart.
FAQs
What is the best age to buy baby chicks?
Most chicks are sold at 1 day old. That’s fine if you’re prepared. If you’re new, buying chicks that are 1–2 weeks old gives you a slightly easier start.
How long do chicks need a heat lamp?
Chicks typically need supplemental heat for 5–6 weeks. You can gradually reduce heat as they grow feathers, but always watch their behavior for cues.
Can you raise one chick alone?
No. Chicks are social and will become stressed and unhealthy without companions. Always raise a minimum of three, preferably four to six.
What temperature should chicks be kept at?
Start at 35°C in week one and lower by about 2.5–3°C each week. By the time they’re fully feathered, they can handle outdoor temps.
What do baby chicks eat in the first week?
Chick starter feed is specially formulated for newborns. Avoid treats or grains until they’re a bit older and stronger.
Post Your Ad Here
Comments