7 Easy Steps to Fix QuickBooks Error Code H101
QuickBooks is accounting software every business owner uses to simplify their accounting tasks. Through this, most of the business tasks get facilitated and save time. QuickBooks software also provides quality remuneration services to benefit business owners. And also contains a few technical glitches, which sometimes cause problems.
In this article, we have discussed one of the common error that is QuickBooks error code H101. This error generally occurs when switching to multi-user mode. In order to resolve this problem, keep reading this article till the end.
Explaining QuickBooks Error H101
The QuickBooks Error H101 usually shows up when someone is accessing a company's file on another system. The other reason behind the popping up of Error H101 is when someone is switching QuickBooks to Multi-user mode. To troubleshoot this issue on QuickBooks, follow the solutions mentioned below.
Why does the QuickBooks Error H101 Arise?
The main reasons behind Error H101 are:
The firewall interruption when accessing the computer where the company is saved.
If the .ND files have false hosting configurations or are damaged, which causes QuickBooks Error H101.
If QuickBooks couldn’t find the computer’s IP Address.
QuickBooks is facing some Conflicts with the DNS server.
Lastly, Error H101 occurs when the firewall settings of QuickBooks block access to files.
Steps to Troubleshoot QuickBooks Error H101
Below are a few relevant troubleshooting solutions for fixing QuickBooks Error H101:
Step 1: Firstly, demonstrate hosting
The first step is to run QuickBooks on each system.
Then click on files and select utilities.
Next, if access to Host Multi-user is visible upon the list, move to the next system.
Now, click on the icon “Stop Hosting Multi-user Access.”
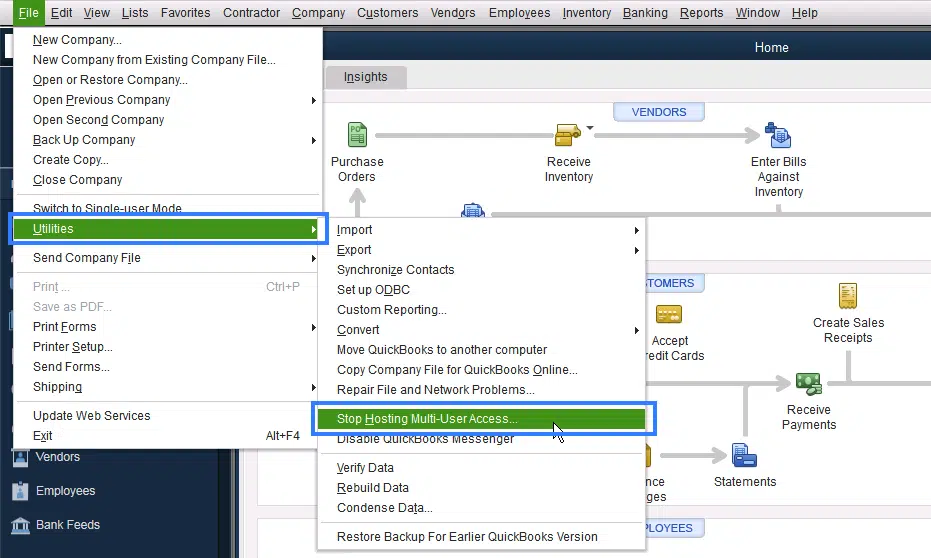
Lastly, do these steps on each computer.
Step 2: Open the Database Server tool on QuickBooks
Start with navigating the server system (that system in which QuickBooks file is stored physically)
Next, click “Start” and type the database inside the system hosting company files of QuickBooks.
Next, click on QBDSM, i.e., QuickBooks Database Server Manager.
Next, if any location of the folder is not shown, click on “Browser” and search that folder in which the QuickBooks company file is present & click OK.
Next, select the “Start Scan” button, which will start repairing the permissions of the firewall. This will also allow QuickBooks to correct errors and fix them.
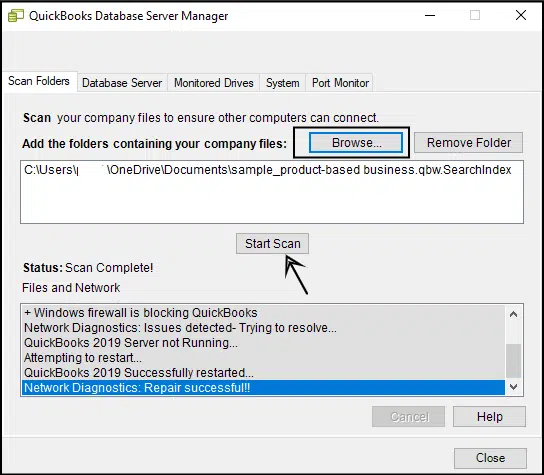
Finally, select the “OK” option & later on, try operating Multi-user Mode in various workstations in QuickBooks.
Step 3: Make a new folder regarding Company’s File
Firstly, make the new folder & then share the folder on the hosting system
Next, set up the window for achieving entry to share company files.
Next, copy the “.qbw” file onto the new folder.
Lastly, open files of the company in various user modes.
Step 4: Authenticate the services of QuickBooks
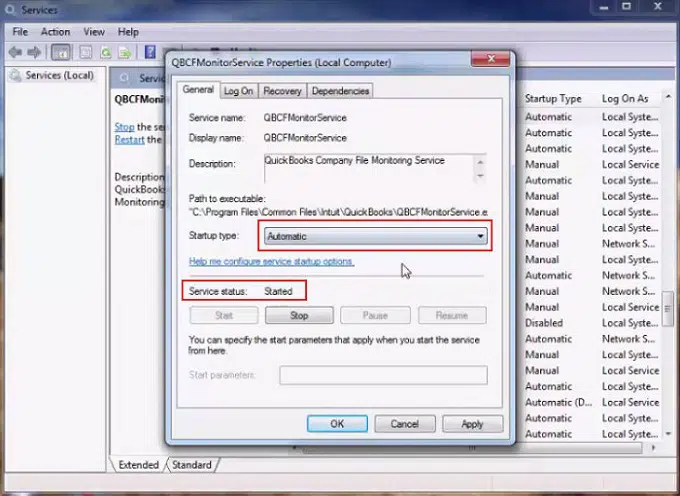
Firstly, open Run Box by pressing the buttons “Windows key + R.”
Next, type the words “Service.MSC” & click on Enter.
Now, scroll down & search QuickBooksDBXX Services.
Next, confirm that the service is running & automatic Start-up is set.
Now, select the recovery tab.
Next, choose restart service from the drop-down list.
If this fails, do it repeatedly and click on the Ok button.
Next, repeat the first six steps for QBCF Monitor Service.
Lastly, operate the QuickBooks software on all workstations, which are affected in various user modes.
Step 5: Add the server to the host file of Windows
The first step is finding the system Name & IP address of the workstation and server. To do this,
Shoot “Windows key + R” keys.
Then type the word “Cmd” & click on enter. This will open the window of Command Prompt.
Then type the phrase ipconfig/all, press enter, and write down the IP address & hostname.
Next, repeat these steps on other connected systems and edit the Windows host file.
Step 6: Then stop the access to Multi-User on Workstations
The Multi-user mode must be enabled only on the server. To do this:
Open QuickBooks at the place QuickBooks Error H101 is troubling.
Then go on file, click utilities, and stop hosting Multi-user Access.
Step 7: Run the Doctor Tool on QuickBooks File
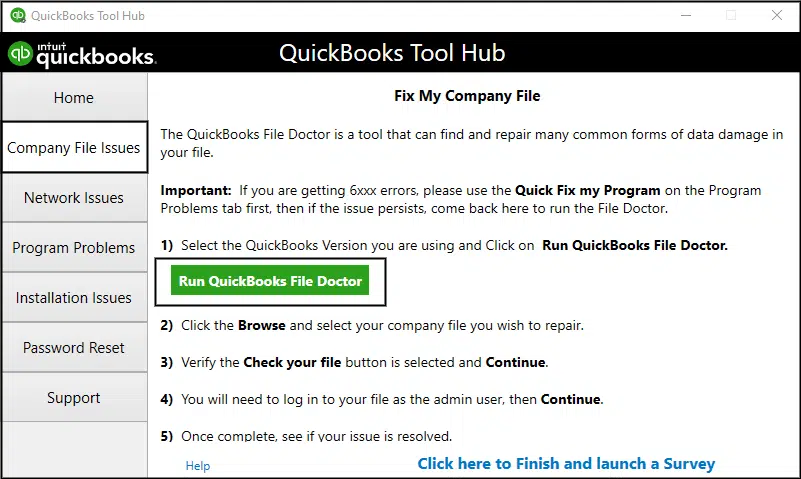
This QuickBooks file doctor tool will help to detect all the issues. In addition, this tool will also help in troubleshooting errors.
Install this tool on the system & run. The QuickBooks File Doctor Tool will help in fixing Error H101 in QuickBooks.
The Conclusion
There are various reasons behind the occurrence of QuickBooks Error Code H101. Above, we covered all ways in which one can get rid of from this problem. Hope that these solutions will help you troubleshoot the issue simply and correctly. However, you can also take help from our 24/7 QuickBooks error support team in case of further assistance.
Comments