 Articles
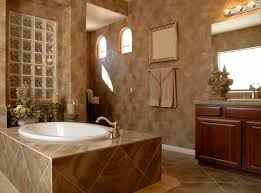
Renovate your Bathroom without Breaking Old Tiles
by Jhon Harry Digital MarketingThis bathroom tile, it goes out through your eyes. But you are not exactly good at DIY, and the idea of starting work of this magnitude frightens you.How to give a face lift to your wall covering, without breaking everything?Fortunately, you can simply recirculate over it, or cover it with a special paint. Here are four ways to renovate your bathroom without much trouble.
Renovate your bathroom with tile paint
Apply a decorative resin on a wall tile
Lay tiles over the old one: carefully prepare the adhesion!
Cover the old polished concrete floor tile, a durable material
1. Renovate your bathroom with tile paint
You are not really focused on the work and even if you can not stand this salmon faience that adorns the walls of your bathroom into your shower, you do not want to leave all your savings in its renovation. The solution for everyone, and all budgets, is the special tiling paint. Economical and easy to use, it can revive any wall covering a little old.
The main advantage of tiling is its ease of use: it is designed to adhere directly to your old wall covering. It is not recommended to cover your tiles with an "all surfaces" paint, because of the humidity in the bathroom, and the cleaning products to which it is exposed. If the result will be the same right after the application, the life of your paint may be shortened. If you really care about it, apply a suitable undercoat.

However, avoid matte finishes, which would leave traces of limestone: prefer glossy or satin finishes, closer to the "normal" appearance of a tile. Note that the acrylic resin paint has a weaker odor than the others. To paint, equipped with a roller, a brush to Hampshire (for corners and other places difficult to access), masking tape, a sponge, a tray and a mixer . Before starting work, thoroughly clean the tiled surface with washing up liquid for greasy stains and white vinegar to remove limescale. Rinse with plenty of water, then allow to dry or wipe with a clean cloth. Protect the floor with a tarpaulin and stick tape on the ends of the tile,
Pour your underlay into a tray and mix well to make it even. Start by painting the ends and joints with the brush to Hampshire, then roll the roll over the entire surface by crossing the passages well to stretch the underpayment. Repeat the operation 12h later with the first coat of special tiling paint. If the initial support is dark, do not hesitate to make a second pass, respecting 12h of laying to let the first coat dry. Do not hesitate to ventilate to optimize the drying while reducing the strong paint odors, sometimes uncomfortable. Once you're done, wait 48 hours before reusing your bathroom. It would be a shame to ruin all your work by reinvesting the bathroom too early! For maintenance, Avoid using bleach or other cleaning products that are too aggressive for repainted tiles. Prefer a mixture of one volume of white vinegar to two volumes of hot water, spray on your walls and floors and scrub with the soft side of a sponge.
2. Apply a decorative resin to a wall tile
The colored resin is the all-in-one solution. It can cover an aging tile without underlay and has a very good resistance to moisture (essential in a bathroom!) Before applying it, be sure to clean the tiled surface to avoid unpleasant surprises.
You will need a sander, wire brush, dish washing liquid, rollers, masking tape and a cutter. Start by preparing your surface by decreasing the walls with a sponge soaked in washing up liquid. Rub the joints well (otherwise your work will degrade early!), Rinse thoroughly and wipe with a clean cloth. Sand your tile to reinforce the adhesion. Pour your resin into the container provided, and mix it well with the hardener, until you obtain a homogeneous mixture. With a foam roller, apply it directly to your wall tile trends, without underlayment. Make several passes without pressing to stretch the material well. Unlike painting, the resin does not emit an odor, a sacred more! Wait about 24 hours to let this first layer dry, then prepare your finishing resin, following the same process. This step is important to properly seal your tile.

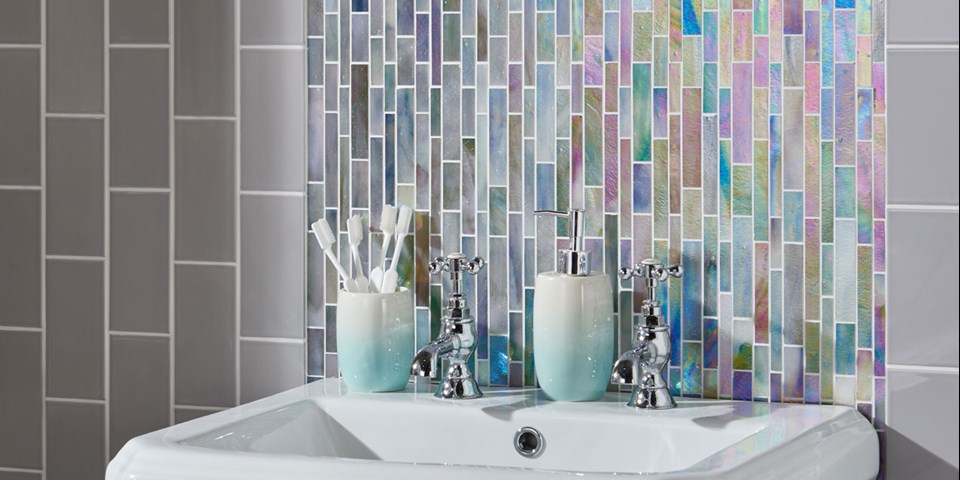
3. Lay tiles over the old one: carefully prepare the adhesion!
Ask a new tiling without removing the old, it's quite possible! It is even the ideal solution for anyone who wants to give a facelift to their bathroom without changing the type of coating.
There are now commercially available adhesion primers that you can apply directly to your old earthenware, and which will prepare your old tile to accommodate the new. Before you start, a few things to check: * Your old tile is not damaged, no tile moves, and the surface to be covered is flat. * Your surface is clean: use dishwashing liquid to degrease and white vinegar to descale. Your old tiling must absolutely be clean for an optimal result and that lasts in time. * Your new tile is laid with a very good quality adhesive recommended by a professional. Avoid the first prices and invest in good equipment, the waterproofness of your tiles depends on it!
4. Cover old waxed concrete floor tiles, a tough material
Not wanting to repaint or re-stitch? No problem: you can revamp your bathroom without removing anything, with an ideal material for water features: waxed concrete. With its different finishes and colors (gray, beige, white, but also brown, red, blue ...), it gives a facelift to his bathroom. Both decorative and water resistant, waxed concrete can be placed directly on your old bathroom tiles, and can play on the effects of material.
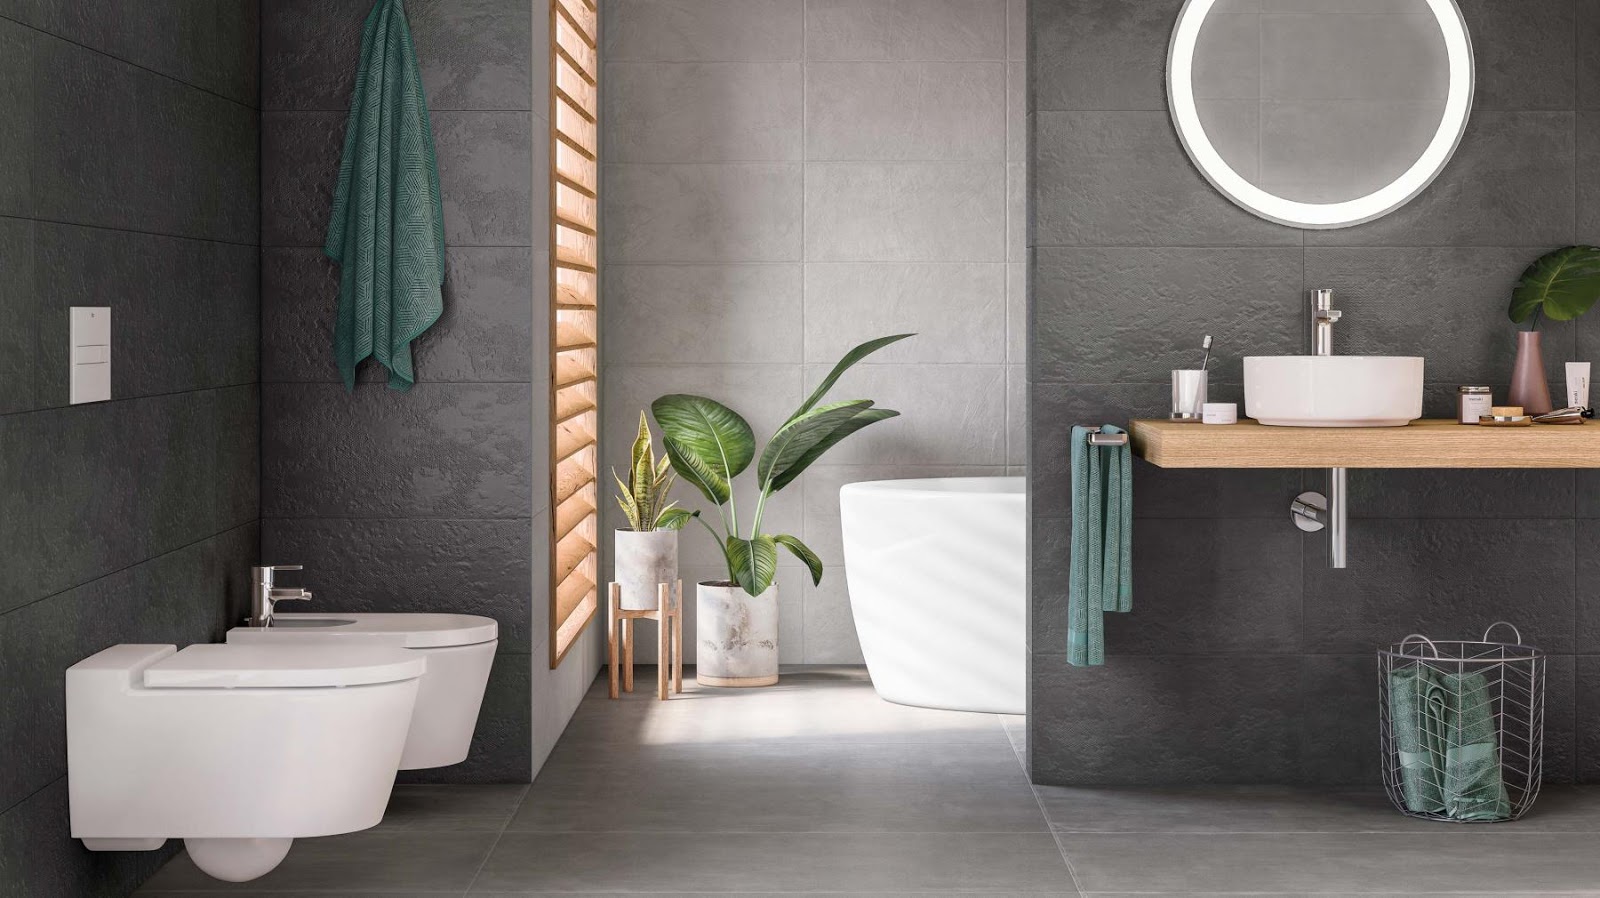
Aesthetically, concrete is a strong choice: this coating does not require a seal, it creates a visual continuity between the wall and the floor, or between several rooms. This continuity gives a feeling of openness and space, in addition to a raw, mineral side. Associated with a basin and a modern storage column, it will easily give a trendy look to the room. But what exactly is waxed concrete? In reality, it is rather cement-based mortar, laid in several layers, which require to respect drying times and sanding moments. Before starting the installation, it is necessary to perfectly clean the support, and to make sure of its solidity. Indeed, the concrete layer will marry this support as a second skin: a non-stabilized material such as wood would cause cracks or breaks in the concrete. To avoid any unpleasant surprises, the ideal is to have this coating installed by qualified professionals. This coating remains a porous material: it is better to treat it to protect it and to avoid any infiltration or attack by moisture or hygiene products, maintenance ... One can use a filler with a waterproof varnish, a wax ... And renew them regularly. For maintenance, it avoids too stripping products and black soap is preferred, for example. a wax ... and renew them regularly. For maintenance, it avoids too stripping products and black soap is preferred, for example. a wax ... and renew them regularly.

Sponsor Ads
Created on Jun 23rd 2019 11:27. Viewed 533 times.

