 Articles
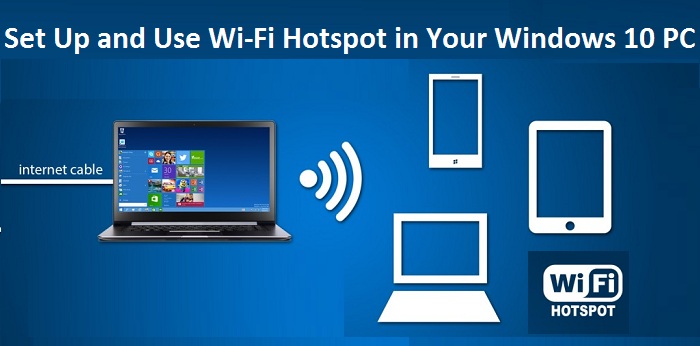
How to Set Up and Use Wi-Fi Hotspot in Your Windows 10 PC
by Jeniffer Leio ExcutiveWindows 10 allows the users to broadcast the internet connection as Wi-Fi hotspot. You can broadcast any internet connection either you’ve Ethernet, Wi-Fi, or cellular data. By doing some simple settings in the settings app, you can set up a Wi-Fi hotspot in your Windows 10 PC. Once you complete settings, you can connect and use the internet on your mobile or other devices.
How to set up a hotspot in Windows 10 from the Settings app
Until now, you might have been familiar with the Settings app of your Windows 10 device. If you’re, then possibly you’ll find this method simple. Here is how can you create a hotspot from Windows 10 settings.
1. Open the quick access menu by hitting the Windows logo button.
2. Click the ‘Settings’ icon. It is at the lower left corner just above the Power icon.
3. Under Windows Settings, click the third option ‘Network & Internet’ to open settings for it.
4. Select ‘Mobile hotspot’ from the left column. It is at the last third option below Airplane mode.
5. Use the toggle switch under Mobile hotspot to turn on and off mobile hotspot.
6. Open the dropdown below “Share my Internet connection from” to choose the connection type you would like to share.
7. If you want to change or edit your hotspot name or password, click the ‘Edit’ button at the center of the right menu.
8. If you want to turn on or off the hotspot remotely, then enable the switch under “Turn on remotely.” Once you enable this option, you’ll be able to turn on or off hotspot with any paired device.
After setting up everything, turn on the mobile hotspot with the above switch. Your hotspot is now visible to other devices, and they can connect to it by entering the correct password.
How to set up a hotspot in Windows 10 using the Command Prompt
Although the above method is simple, if you like to create a hotspot with commands, then you can use this method.
Note: You need administrator account access to create a hotspot with this method.
1. Open the quick access menu by hitting the Windows logo button.
2. Type ‘command prompt’ into the search field.
3. Right click on ‘Command Prompt’ under Programs. Laptop users can tap with two fingers to right click.
4. Select ‘Run as administrator’ from the right-click menu.
5. Click on ‘Yes’ button when prompted. The command prompt window will open on the screen.
6. Now type “NETSH WLAN show drivers” command.
7. Hit ‘Enter’ button. This command displays the information regarding hosted network support, which tells you either your PC support hosted network feature.
8. Check if “Yes” is showing next to “Hosted network supported.” Yes, means your computer supports the feature, and you can create Wi-Fi hotspot; otherwise, you can’t.
9. Now, enter the next “netsh wlan set hostednetwork mode=allow ssid=NETWORKNAME key=PASSWORD” command. Change NETWORKNAME with the name you want for your hotspot and PASSWORD you want for connecting to it.
10. And hit ‘Enter’ button.
11. Now, enter “NETSH WLAN start hostednetwork” command.
12. And press ‘Enter’ button.
Your Wi-Fi hotspot has been completely set up and activated. You can open Properties of Wireless Network Connection under Control Panel to customize the sharing settings.
Aurora is an engineer by day and writer by night. Previously, Aurora worked as a certified technicians for a tech hardware startup. In her free time, she likes to write about printers, routers, web browsers, and other technical stuff. She majorly writes for epson printer support, brother, Lexmark printer etc.
Source: Use Wi-Fi Hotspot in Your Windows 10 PC
Sponsor Ads
Created on Jul 4th 2019 01:59. Viewed 300 times.

