 Articles
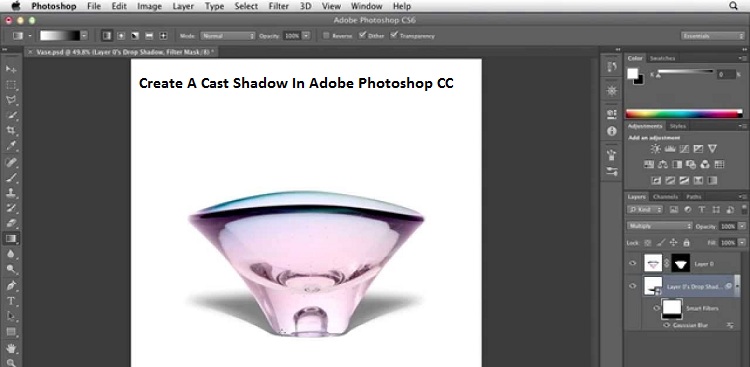
Create A Cast Shadow In Adobe Photoshop CC
by Lucia Mandela softwareYou can add realistic shadows to captured photos with Adobe Photoshop CC.
It is not so easy to add cast shadows that appear realistic to the captured images in Photoshop. It is a difficult task to master, but the users can do it with some practice. You will need to select any object from the background to create the Shadow. After that, you have to move the selected object to a different layer.
Steps to Create a Cast Shadow In Adobe Photoshop CC
- The users can start the process with the addition of a drop shadow. Further, they can use the tool Free Transform for adjusting it.
- The users will need to choose the object by using the Lasso tool.
- Then, choose the option Layer Via cut while right-clicking the selected object.
- The users will need to go to the layers panel and search at the bottom.
- After selecting the option Fx, click on it.
- Then, select the option Drop Shadow and click on it.
- Note: If you are not able to find out the layers panel, then go to Window and then click on Layer.
- You will need to insert the specific settings and then click on Ok.
- Settings to be entered are: Angle :180 degrees, Distance:69px and Size should be 5px.
- Note: The users can also experiment with the given settings for adjusting the effect of Shadow.
- Once you select the layer of the Shadow,go to Fx and click on it.
- The Fx option will be seen beside the name of the layer.
- Then, the users will need to select and click on the option Create layer appearing in the list.
- To ignore the warning, you will need first to select and then click on Ok.
- After selecting the layer of Shadow, go to the Edit option and click on it.
- Now, you will be redirected to the option appearing as Free Transform, click on it.
- While right-clicking the selected object, choose the option Distort and tap on it.
- Start dragging the handles if you want to adjust the position of the selected Shadow.
- While dragging the handles, you will need to press down the Enter key.
- Now, you will need the right tap on the layer of Shadow.
- Further, you will need to choose Duplicate Layer and tap on it.
- Now, choose the option Ok and click on it.
- When the copy layer of Shadow is selected, then you will need to go to Filter.
- Choose Filter and click on it.
- Clicking on Filter will redirect the users to the option Blur and then click on it.
- Again, you will be redirected to the Gaussian Blur option and click on it.
- You need to move the slider to the right side if you are willing to blur the visible edges of the selected Shadow.
- After moving the slider to the right, choose, and then click on, Ok.
- Now, the users will be required to select the copy layer of the Shadow and then choose the icon Add Layer Mask.
- The users will further need to select the mask.
- Now, choose the Gradient tool and select the white color to set it as foreground and black to Set it as the background color.
- Start drawing a gradient of about one-fourth of the distance.
- The distance should be from the bottom of the selected Shadow.
- It should be to the top for fading the Shadow into the selected distance.
- Select the Opacity option for adjusting the palette in the layer.
- It will make the appearance of the Shadow more natural.
After completing the whole process, the users can save the images in the form of a PSD file.
Source: https://yelubook.com/blog/create-a-cast-shadow-in-adobe-photoshop-cc/
Sponsor Ads
Created on Jun 23rd 2020 03:50. Viewed 53 times.

Comments
No comment, be the first to comment.
