 Articles
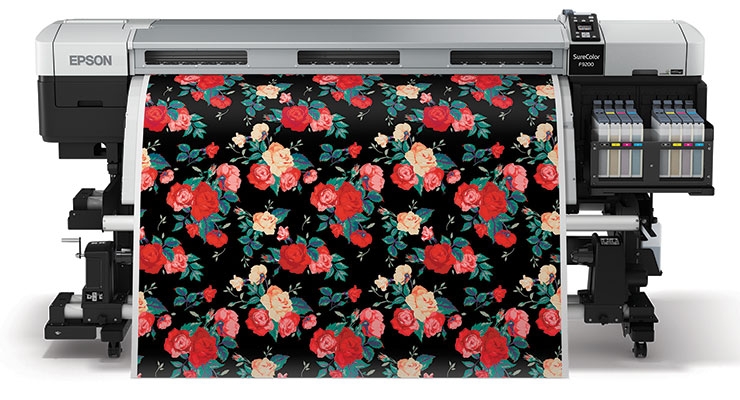
The process of printing on digital textiles
by Justin Langer Content ManagerThe possibilities for digitally printed fabrics are almost endless. a wide range of colors, exquisite detail, and gorgeous texture and contrast representations captured on camera. Only the width of the cloth may be used as the size of the artwork, and you can construct stunning placement prints for a garment or a set of curtains.
We wanted to share with you that we have learned as a Top Three of what to do and what to avoid since textile technology, like other technologies, has strengths and flaws.
To Do
1. Establish files properly
The most crucial step in producing excellent results is effectively setting up files from the outset. Each printer will have a distinct preferred file format and work procedure. It's essential to keep in mind that your job is a component of that flow if you want to achieve your goals.
2. Recognize the technique
The power of the technology enabling a great design play to the strength of the design itself. The greatest outcome will come from using the technology to its full potential. The power and uniqueness of digital printing are shown by its use of color, gradient, and texture. Different textiles might be strong duty and matte finished, or they can be light weight and full of shine. Considering this while designing will always improve your results. Keeping in mind that the actual process of ink and dye transfer onto a fabric differs greatly from what you see as a picture on a computer when viewing a design
3. Sample
First, test or sample. Make a file that represents your design style. Use a variety of colors, textures, and pictures that you want to use. By printing this, you may use it as a reference to assess what your design does and doesn't do well. Prior to mass printing, printing a sample of an artwork will always provide you a glimpse of the final result and enable you to make modifications to the piece. Always check for prospective regions that may not translate as planned with the printer. For the sample printing, choose this digital textile printing.
To Prevent
1. Steer clear of using a lot of dark color
Ink is applied to the fabric's surface during printing to produce the image. Large dark flat printed color regions don't often print as intensely as they do on a screen. Blacks with printed patterns might seem a touch more retro depending on the cloth. This is so that the printed cloth will mimic a dyed fabric that has been submerged in a dye bath. Large dark print regions should be broken up to appear better.
2. Steer clear of slight tonal changes
Images are projected at us from a light source in high quality when we see them on our displays. There are many various tones in dark colors, and subtle color differences are clearly discernible. Subtle differences are not always transferable from the realm of a projected picture to the world of ink and fabrics. Where you would see three identical shades of grey on a computer, a solid gray might be seen in fabrics. When similar colors are used close to one another in designs, it is beneficial to increase contrast.
3. Steer clear of photographs of poor quality
A pixelated picture of poor quality will print as a pixelated print of poor quality. If the original artwork or picture you use for your design is of poor quality, it will seem as such in the print. Always make sure that photos are scaled to 1:1 for printing.
Sponsor Ads
Created on Dec 18th 2022 01:35. Viewed 90 times.

