Step by step instructions to Use the WordPress SmugMug Embed Block

The WordPress Block Editor includes
different insert devices that make it simple to join outer media into your
WordPress page or blog entry. For clients who need to share their photography
(or component other picture takers' work, with authorization obviously) on
their WordPress site, the SmugMug install block is a fabulous device. It's a
straightforward method for installing wonderful pictures solidly into your blog
entry or page in WordPress.
Keen on figuring out how to implant your
SmugMug pictures on your WordPress site? In this article, digital marketing agency
in sydney speak concerning how to get a photo from SmugMug to show on your
page or post. This is one of the many implant apparatuses accessible to
WordPress clients by means of the Block Editor, and it's incredible for adding
a little pizazz to your site's tasteful.
As we get into the post, we'll share bit by
bit directions on the best way to get your SmugMug implant consolidated into
your site. You'll likewise figure out how to change and change the square's
settings inside the Block Editor. Then, at that point, we'll be sharing a few
prescribed procedures and as often as possible posed inquiries to move you in
the correct course.
Could it be said that you are prepared to
start? How about we bounce in.
Step by step instructions to Add The
SmugMug Embed Block To Your Post Or Page
To get everything rolling with the SmugMug
insert block, you should open your WordPress dashboard and start another blog
entry or page draft. Whenever you have your new draft prepared, head over to
SmugMug and sign in to your record.
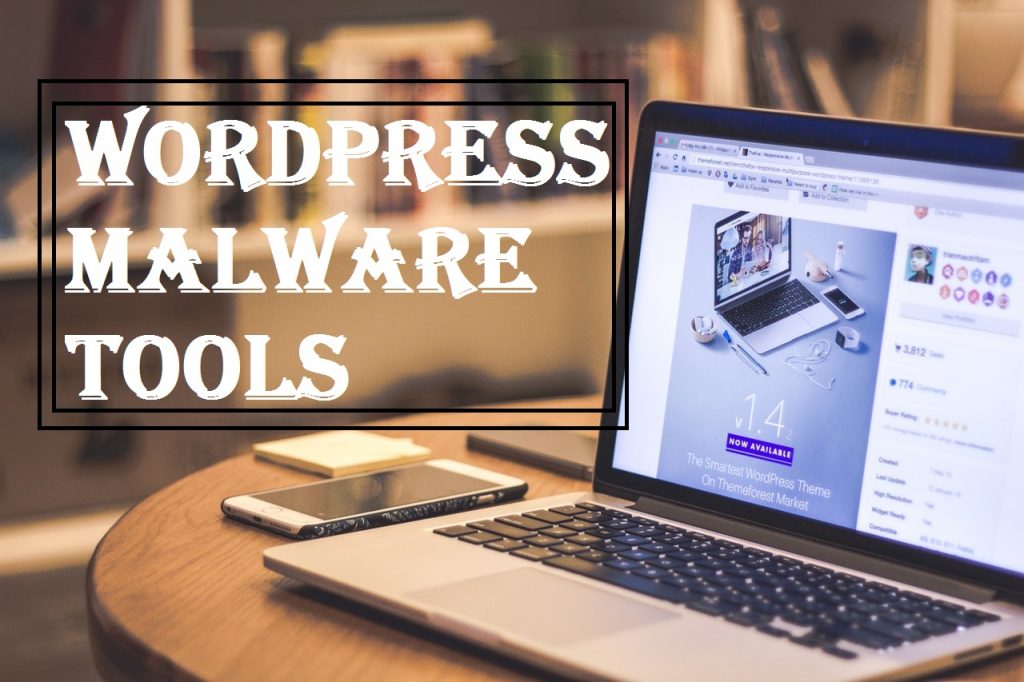
Read
Also:-- Top WordPress Malware Scanner Tools for
Your Website
On the off chance that you haven't yet
added pictures to your SmugMug account, you'll have two choices to do as such.
To start with, you can transfer your own photos to your record. On the other
hand, you can utilize a portion of SmugMug's sans eminence stock pictures to
begin. For this situation, I transferred one of my own photographs.
Adding
The SmugMug Embed: Step-By-Step
At
the point when you're done, return to the Block Editor and follow these means:
1. Click inside your Block Editor. A
little, black box with an or more sign inside will show up on the right half of
the manager screen.
2. Click the in addition to sign, and
you'll see a popup window with different choices for adding one more piece of
content. In the event that you click "Peruse all," you will actually
want to see the whole rundown. A portion of the apparent choices incorporate
adding a passage, gathering, picture, or sections.
3. Type the particular install block you
need to use into the inquiry bar. For this situation, that is
"SmugMug." Once digital marketing
company in melbourne observed the square you need to add, click on it.
4. Presently, the SmugMug square will show
up in the WordPress manager. You'll see that there's a spot to enter the
picture URL.
5. Explore over to your SmugMug record to
snatch the URL for the picture you're wanting to share. Whenever you've
observed the picture, click the offer button on the left-hand side of the
screen.
Post Your Ad Here
Comments