Interior car detailing is a complex process that takes hours to complete. It includes using specific products and cleaning equipment. The purpose of interior car detailing in Adelaide is not just to clean up your car, but also keep it in good condition for a long time. If done correctly, an interior detail can help preserve the value of your vehicle as well as prolong its life expectancy.
The steps involved in interior car detailing
Interior car detailing is different from a regular car wash. In fact, it’s something you can’t do on your own at home even though it uses similar steps as spring cleaning. If you want to have interiors that look just like they did on day one, then interior car detailing Adelaide needs to be done right.
The steps involved in interior car detailing are the same, but done with precision and right products that will make your vehicle looks brand new — no matter how old or new it is! You don’t have to worry about this process being too complicated because with our help, we simplify everything for you so there are no hassles involved in getting the job done properly.
1. Vacuum the carpet
Vacuuming the carpet is an important step in any interior car detailing Adelaide process, as it removes dirt and debris from deep within the fibers. Use a vacuum with a soft brush attachment to gently clean your carpet and keep it in good condition for as long as possible. You may also use a microfiber towel instead of the vacuum if you prefer; however, this method requires more effort on your part because you will have to manually remove all of the dirt particles that were loosened by vacuuming.
2. Use a microfiber towel to clean the dust
When you’re cleaning your car, use a microfiber towel instead of any other material. Microfiber towels are made of polyester and polyamide, which are synthetic fibers that are 100 times finer than human hair. They’re ideal for removing dust from surfaces because they absorb moisture very well without leaving behind lint or fuzz like other types of cloths might do.
3. Dust the vents with a soft brush
To clean the vents, you’ll want to use a soft brush. A microfiber towel will also work well as long as it is not abrasive. It’s best to avoid using paper towels and rags with dirt embedded in them because they can scratch the surfaces of your car’s interior.
- Dust the vents with a soft brush or microfiber cloth.
- Alternatively, use a vacuum cleaner to clean out the dust from the vents.
4. Apply Vacuum all the surfaces
Vacuum all the surfaces. You should use a soft brush to clean the vents and a vacuum to clean all other surfaces.
You can use your microfiber towel to pick up most of the dust, but be sure to get in there with a second pass using only your vacuum cleaner and no microfiber towels.
5. Use a microfiber towel to clean the dust, again!
Now that you’ve cleaned your car with a microfiber towel, it’s time to use another microfiber towel to clean up all the dust left over from using your first one. Microfiber towels are great for cleaning and drying. They can be used on almost any surface without worrying about scratching it or leaving lint behind.
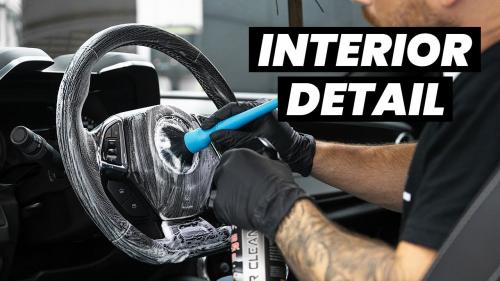
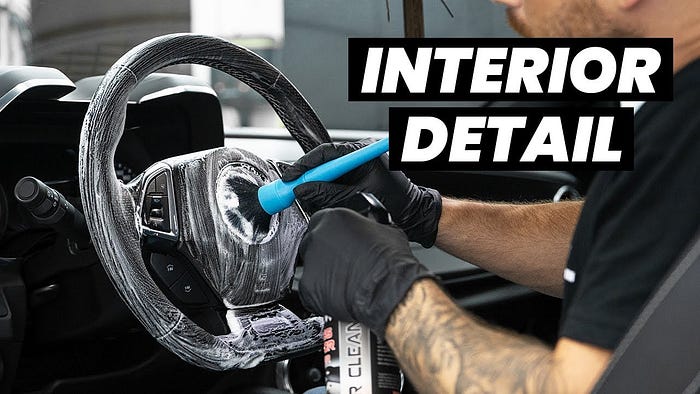
6. Clean the door panels, gear shift and steering wheel
You can clean these surfaces with an old rag or a microfiber towel. Use it to wipe off the dust and dirt from all cracks and crevices. Glass surfaces inside and out should be cleaned with glass cleaner to eliminate any streaks or smears.
7. Clean all the cracks and crevices
The next step is to clean all the cracks and crevices. To do this, you’ll need to use a Q-tip or cotton swab. You can use a toothbrush to clean the cracks, but be careful not to damage any of the trimwork by pushing too hard on it. If that happens, you might have to get some touch up paint from your local auto parts store so that it looks good again!
You should also use a cotton swab in order to clean out all of those little nooks and crannies where dirt tends to collect over time; this includes around door handles and window sills as well as around speaker grilles (if needed).
8. Wipe all glass surfaces inside and out to eliminate any streaks or smears
The last step in the interior cleaning process is to wipe all glass surfaces inside and out, including your windshield and rear windows. Use a microfiber towel or glass cleaner with a circular motion to clean the glass, then use another clean microfiber towel to dry it.
Takeaway : With these steps you can have interiors that look just like they did on day one
Interior car detailing Adelaide is a step above spring cleaning at home, but not quite as involved as the exterior detailing process. The steps involved in interior car detailing could be the same, yet it’s done with a lot of precision and right products.
You can have your interiors looking bright and new again, just like they did on day one!
Conclusion
We hope this guide has been helpful in understanding the process of interior car detailing Adelaide. It’s important that you take your time and do it right, so that you don’t end up damaging your vehicle or making a mess. Always remember to use the right products for cleaning!
Comments