How to Set up and Use Class Tracking in QuickBooks Desktop?
Looking for
the process to set up and use
class tracking in QuickBooks Desktop? Well, your search ends
with this post. If you want to go beyond standard account-based tracking in
QuickBooks, extending Class Tracking is one of the best options. This gives you
a customizable way to track specific expenses, categorize expenses shared
across multiple accounts, and manage accounting for one-time and non-recurring
expenses. One of the key benefits of class tracking is that it provides greater
control over cost classification, making it much easier. This blog is entirely
focused on how to set up and use the class tracking feature in QuickBooks in
the best possible way. So, make sure you follow the blog till the end. For further
queries and questions, you have you call us at +1-800-910-3136. Our certified experts will get in touch with you
to resolve your problems. Our technical support team will be happy to assist
you.
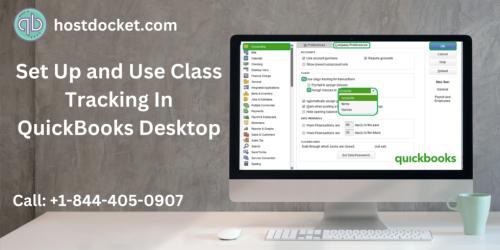
Steps to set up class tracking in
QuickBooks
Let us walk
you through the steps to set up class tracking in QuickBooks Desktop. Make sure
you follow the steps with special attention and do so carefully.
Step 1: Enable
class tracking
Before
looking at the sub-steps to enable class tracking, there are some indicators to
consider:
·
You
only need to set up your account and withhold taxes once. Next time you want to
calculate withholding tax, just use the existing withholding tax entry.
·
Configure
the layers based on the type of reporting you want to perform and consider how
you want to view business segments in the report.
·
Finally,
set up an “other” class to classify miscellaneous transactions, i.e.
transactions that don't fit anywhere.
Steps for Windows users:
The steps to
enable class tracking in Windows are as follows:
·
The
first thing is to open the company file.
·
Then
go to the edit menu, also select the preferences option.
·
The
next step is to select Accounting and then navigate to the company options tab.
·
Once
completed, check the Use layer tracking for transactions box.
·
The
final step is to click the OK tab.
Steps for Mac users:
The steps
for Mac are quite different from the steps for Windows.
·
If
you are a QuickBooks for Mac user, you must first go to the QuickBooks menu and
select the preferences option.
·
Then,
select the transaction in the workflow section. Next, check the Use layer
tracking box. Alternatively, close the options page to save your changes.
Step 2: Set up class categories for
expenses and accounts
Now comes
the second step where you need to configure class categories for expenses and
accounts.
For Windows users:
·
Windows
users should go to the List menu and select Class List.
·
Then,
select the new option from the layer drop-down menu.
·
The
next step is to enter the class name.
And also, if it's a subclass then you need to select the checkbox
subclass and then search for that class.
·
The
final step is to click OK to add it.
For Mac users:
·
Access
the List menu and then select Layers.
·
Then,
select the Create option.
·
The
next step is to enter the class name. Also, if it's a subclass, make sure you
check the subclass checkbox and search for that class as well.
·
The
final step is to click OK to add it.
Conclusion:
As
we end up this blog we hope that the information given is helpful for you. Also,
the steps given above will help you set
up and use class tracking in QuickBooks Desktop. For the smooth working of
your software, it is essential to resolve this issue as soon as possible.
However, if you are stuck while applying the fixing methods given above you can
contact our customer support team. Our QuickBooks
enterprise support team will
assist you immediately. To contact our QuickBooks experts call us at +1-800-910-3136.
Post Your Ad Here
Comments