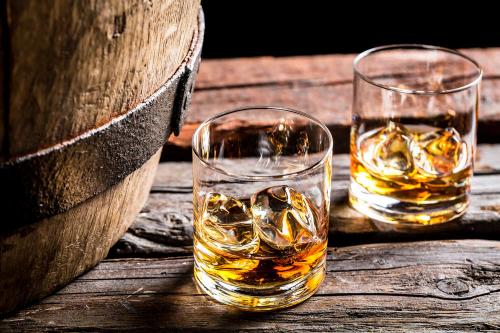
How to make whiskey at home

Whiskey is one of the most preferred element in the
cocktail and beverage cart. Conventionally speaking, whiskey is an amber-colored distilled spirit mainly made from fermented grains. The potential
process of making whiskey is complex and requires highly crafted hands. The
store-bought whiskey typically offers a bittersweet taste. But making whiskey
at home allows one to instill the desired amount of flavor and taste.
Making your own cup of whiskey might be a prolonged process
but it is definitely worth it. You will need the following ingredients –
1.
Suitable grain for malting
2.
Appropriate amount of water
3.
Yeast
Furthermore, you would need several types of equipment-
1.
Thermometer
2.
Grain grinder
3.
Kettle Pot (Electric or Stovetop)
4.
Fermentation container
5.
Air lockers
6.
Distiller
7.
Oak Barrels
8.
Cheesecloth
First things first, you must choose the base for your
beverage. Single malted high quality whiskey is generally made from barley but
you can choose any other grain like rye, corn, wheat according to the
availability. Corn yields more sugar and hence we will proceed with it because
it is also least expensive.
Step 1- Sprouting/Malting
Sprouting simply means soaking
the corn in warm water and letting it grow. Put 4.5 kg of untreated kernel corn
in a sack and place the sack in container. Then, add warm water in the sack so
that the corn gets immersed completely.
Keep the bag in the warm, dry and
dark environment for about a week and a half (8-10 days). During this time,
make sure the temperature of corn stays between 62⁰ and 82⁰ F (17⁰ and 30⁰ C).
After the sprouts grow 0.6cm
long, rinse the corn with clean water. Try to remove the sprouted roots and
discard them. Malting allows the enzymes in the corn to convert starch into
sugar which eventually take the shape of alcohol.
Step 2: Mashing
It’s time for crushing the corn
using a rolling pin or any other large implement like grain grinder. This is
known as Mashing. Once all the kernels have been broken apart. It’s time for
the yeast. Some online whiskey shops also furnish the ingredients and ways for
whiskey making.
Step 3: Fermentation
Add 5 gallons (18.9L) of boiling
hot water to the pile of mashed corn. Allow the mash to cool down to 30⁰C.
The mash must be considerably warm for yeasting to happen. Once the required
temperature is reached, add the yeast to the top of the mash and close the lid
on the fermented.
Vent your fermenter with an
airlock. Air lockers allow the carbon dioxide to escape but no air to get into
the mash. If any air gets into the mash, the yeast wouldn’t work.
Now let your mash ferment in a
warm environment. The very process will take somewhat 5-10 days. It’s important to use hydrometer to constantly
track the temperature. It is ready for distillation if the temperature is same
for consecutively 2-3 days.
Step 4: Distilling
Now strain the mash using cheesecloth into a
still. Try to keep the transferred mash solid free. The clean mash not
containing any particulate solids is called the wash or sour mash. At this
point 15% of alcohol is already achieved.
Now heat the wash in the
container slowly until it starts boiling. You don’t want to rush the process or
else the wash will burn and the flavors will wash off. Take a good about 30 minutes
to 1 hr until it begins to boil.
The temperature zone must be
between 78⁰C
– 100⁰C.
When the alcohol inside the mash will turn into vapor, use a condenser to
convert the vapor back into liquid. The formed liquid gets poured into a new
container via the condenser. That is your liquor. The first 100ml should be
discarded because they are a mixture of volatile compounds and are not advised
to be consumed. It can be compared to pure methanol.
After 100ml the actual
good alcohol that must be collected in batches. When the condenser hits 80-85⁰
C, you will see the valuable matter. It is referred to as the body of
distillate. Collect the body until thermometer hits 96⁰C. Turn off the heat source
and let the pot still cool down completely.
Step 5: Maturing/Ageing
At this point you
have high AVB whiskey so now you need to dilute it down to 40-50% ABV (Alcohol
by Volume). You can use the proof and tralle hydrometer to test the ABV.
Ageing makes it smoother and gives
it a distinctive taste. Generally the whiskey is aged in oak barrels. When bottled, they stop aging.
Barrels must be carefully charred and toasted first. After your whiskey is aged
dilute it before you bottle it for a comfortable drinking experience. Cheerio!
Post Your Ad Here
Comments