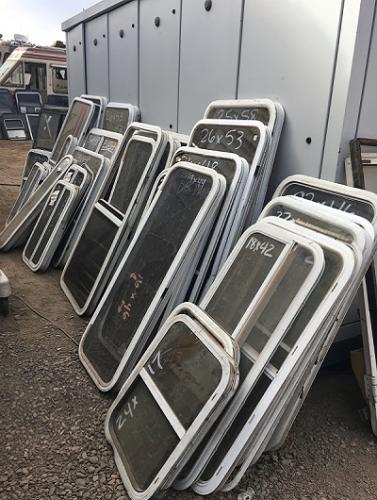
How to Frame an RV Window

Recreational vehicles or RVs are known for their oversized windows which allows the passengers to enjoy the outside view when they are travelling or stopping somewhere. These large and over-sized windows can be framed with your choice of wood. If you’re planning to frame the window of your RV on your own, then this blog-post by Xinyi Glass is meant for you. We are an RV window manufacturer in Canada and we’ll be going over how to frame the window.
Tools Required for Framing
- Wood
- Thin Crafting Wood
- Measuring Tape
- Stain
- Saw
- Pencil
- Level
- Nail Gun
- Caulk
#1- Choose a Frame Style
Start by selecting the style of frame you want to have in your RV. If you want a rustic vibe in your cabin, then stick to the traditional styles where the top and bottom parts are longer than the sides.
#2- Select a Wood Style
When you choose wood to frame your RV window, you should always select lighter options like cedar or pine. This is because heavier wood-species makes the frame heavy which may create a problem when the car is on the move. Also ensure that the wood isn’t too thick otherwise you may have to trim it a bit before working on it.
#3- Measure and Trim
After you’ve chosen the wood, the next step is to measure the windows of your RV. Ensure you’re careful with the measurements to get a clear idea about how much wood you need to cut. Once you’re sure of the measurements, now you can trim the wood with a saw. You may want to select the same width of wood for all the windows, but you might need to change it according to the furniture and another layout in your vehicle.
#4- Stain or Paint
This selection depends on what you like. For instance, if you want to paint the frame like another wall colour, then you can do that. On the other hand, you can also stain it which will require several layers of staining. But, make sure you also paint or stain the backside of the frame as it might be visible from the outside.
#5- Attach Wood
Once you’re ready with the wood, you can attach it to the wall. You can use screws or pop rivets but using nail gun is easy and fast. If you use the latter tool, then you will also be able to remove it without creating any damage. Just remember to level it which might need a second hand for doing the job accurately.
#6- Caulking
This is the last step where you need to fix the gaps left between the wall and the wood for a neat look. Caulking is a flexible sealing compound that is used to seal joints and gaps. So, use this element and close the gaps of your framed RV window.
By following all these steps, framing the window of your RV won’t be too challenging a task. Remember, to take the measurements of your windows properly, then cut the wood and attach it to the wall. If you’re planning to replace or buy new RV windows, then you can get in touch with us. We manufacture RV windows, laminated windshields, tempered glass, rubbermoldings and accessories at decent rates. We also offer safe, quick and affordable shipping services.
Post Your Ad Here


Comments