How To Fix Screenshot Not Working On Mac?
Best ways to fix
screenshot not working on Mac
Are you not been able to take a screenshot on your Mac device?
Getting worried about the same? If the answer to these question is yes, then
the foremost thing that you should know is that this can be easily resolved.
You can solve this problem by going through this blog carefully.
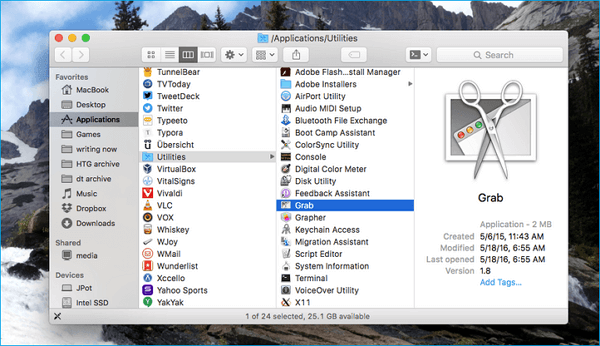
The correct method of taking a screenshot on a
Mac device
1.
Firstly, press the combination of Command+Shift+3 together on
your keyboard.
2.
Then, note that inside the Preview application, you are required
to visit the menu of File, search ‘Take Screenshot’ menu options and choose
anyone from a total of three options given over there.
3.
After that, you need to use the new application added with Mac
operating system Mojave and newer one known as Screenshot. After you go to that
application, you shall get several options to take screenshots.
Look for the keyboard
settings
1.
Firstly, press the symbol of Apple. It shall be towards the
above at the left-hand side of the display.
2.
Then, press on System Preferences.
3.
After that, press on the Keyboard.
4.
Next, tap on Shortcuts.
5.
Then, on the left-hand side, press on Screenshots and look for
the settings that get displayed at the right-hand side of the screen.
6.
By chance, the keyboard shortcuts are disabled, then press on the
slide for enabling.
7.
Lastly, note that at the end of a window you shall view Restore
Default option that you shall be able to press for starting up the computer
with keyboard shortcuts.
Prefer resetting NVRAM of
your Mac device
1.
Firstly, shut down the Mac device of yours.
2.
Then, turn on your Mac.
3.
After that, long press the given below combination:
4.
Option+Command+P+R
5.
Note that Apple suggests pressing the combination mentioned
above for 20 seconds. And if Mac device makes a startup voice, then you can let
go for the keys when you hear the second sound.
Look on the Dropbox
settings
1.
Firstly, press on the symbol of Dropbox.
2.
Then, press on the Settings. It shall be towards the above at
the right-hand side corner of the pull-down menu.
3.
After that, press on Preferences.
4.
Next, click on the Import tab.
5.
Lastly, un-tick Share screenshots by using Dropbox Checkbox.
Hope you have been able to fix the screenshot problem on your
Mac device after reading this blog carefully.
Jaxson Harry is a self-professed security
expert; he has been making the people aware of the security threats. His
passion is to write about Cyber security, cryptography, malware, social
engineering, internet and new media. He writes for Norton security products
at norton.com/setup.
Source: Screenshot on a Mac Device.
Post Your Ad Here
Comments