How to Disable Real-Time Protection on Microsoft Defender Antivirus
Microsoft Defender Antivirus is an in-built anti-malware component that comes along Windows PC. It acts as a shield and defends your files from all kinds of unwanted spyware and malware.
Though it’s a powerful protection, it can stop you from working, for instance, blocking a folder you’re trying to open, which you know is safe. Not only this but sometimes it doesn’t let you download and launch applications that you’re well familiar with.
In case you urgently want to complete a task on your PC and the Defender Antivirus is blocking you from the same, you may temporarily disable the feature. There are two ways to perform this: using Windows Security and using PowerShell.
If you want to learn more about disabling the real-time protection on Microsoft Defender Antivirus, go through the two methods below.
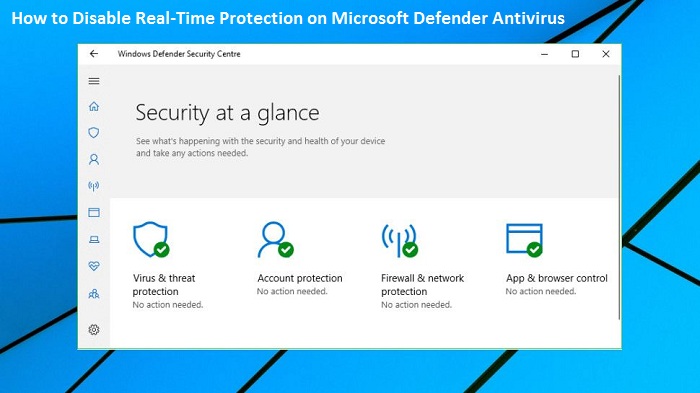
Disabling Microsoft Defender Protection Using Windows Security
The steps to disable the Microsoft Defender Protection using Windows Security are:
- Hit the ‘Start’ button on your Windows PC.
- Use the search bar to search for ‘Windows Security’ and open the application.
- Select the ‘Virus and Threat Protection’ tab from the left toolbar.
- Click on the ‘Manage Settings’ option under the Virus and Threat Protection section.
- Turn the slider off for the ‘Real-time protection’ option.
Following the steps mentioned above correctly will disable the Microsoft Defender on your Windows PC. Now, you can complete your pending task that was being blocked earlier.
Also, if you want to enable the Microsoft Defender Protection, follow the same steps and turn the slider on for the ‘Real-time protection’ option.
Disabling Microsoft Defender Protection Using PowerShell
Disabling the Microsoft Defender Protection using PowerShell is not as direct as using Windows Security. It is because the ‘Tamper Protection’ feature of Windows doesn’t allow any attempt to make changes to the antivirus settings other than using Windows Security. Thus, you’ll have to disable the ‘Tamper Protection’ feature first, and the steps to do the same are:
- Open the ‘Windows Security’ app on your Windows PC.
- Select the ‘Virus and Threat Protection’ tab from the left toolbar.
- Click on the ‘Manage Settings’ option under the Virus and Threat Protection section.
- Turn the slider off for the ‘Tamper Protection’ option.
The steps to disable the Microsoft Defender Protection using PowerShell are:
- Hit the ‘Start’ button on your Windows PC.
- Use the search bar to search for ‘PowerShell.’
- Right-click on the result and select the ‘Run as Administrator’ option from the menu.
- Type the following command in the given space: Set-MpPreference – DisableRealTimeMonitoring $ True”
- Press the ‘Enter’ key.
The Microsoft Defender Protection will be disabled temporarily. That was easy, isn’t it? If you’re one of them who is trying to use a specific application or run a task which is blocked by the Defender, try the above two methods to disable the same.
Hi, I’m Kinsley. I’m a web developer living in Pontiac, USA. I am a fan of web development, programming, and entrepreneurship. I’m also interested in innovation. You can read my blog such as, adailyo.com
Source: How to Disable Real-Time Protection on Microsoft Defender Antivirus

Post Your Ad Here
Comments