Beginner’s Guide To Stringify
The 21st century is living in a technology era, which is making our life more advanced and convenient. A person has to click a button to do the task as per his or her wish. Almost every person is equipped with some kinds of smart gadgets and devices, which swiftly perform and understand your work to execute it very well. Many people own smart devices, and use them as per their knowledge, but somewhere the majority of people do not use the devices to its full potential. Anything which does not offer performance to its fullest potential is half wastage of its existence or production. Smart devices are made to work together to give the edge of comfort living style.
Stringify is a series of flows in the user’s smart home devices set by the thoughtful action by connecting them via app. The action which will take place after a trigger will occur as an event as per its scheduled time. The service of pairing these smart devices together is known as Flows because one action flows into another action.
Below is the guide to create a simple flow with a single trigger and action:
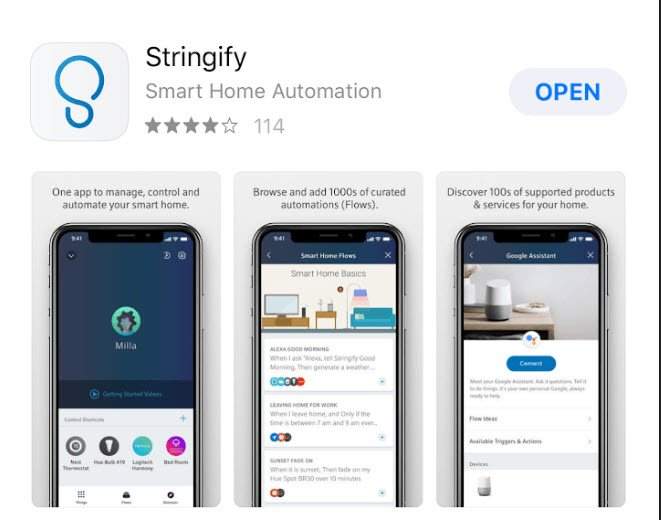
- Stringify Flows are performed through the app, so the user should download the program from the App Store (iOS) or Google Play (Android).
- Next, sign up for a Stringify Account with email and password.
- A simple verification process will follow with Stringify sending a message to your email and prompting to press an URL.
- After opening the Application, the user will be greeted with a basic tutorial explaining how the Application works.
- After finishing the tutorial, the user will be greeted by the main Stringify page. Press the Flows button, below the screen to create your first Flow.
- Stringify will give the user a quick manual on how flows work.
- At the next screen, the user will be putting the flow together. First, name your Flow above the screen.
- We are putting together a Flow that will send us a notification at a specific time; we’ll start by pressing Date and Time.
- The next list gives user different options to select for date and time. Here we’ll pick a specific time. However, the Sunset and Sunrise features adjust dynamically based on the timing at your particular location.
- Fill in the details the way you want.
- Next, you can add the notification action which will trigger each day. Once again, click the plus button. On the next screen, tap Notification.
- To receive a push notification on our phone, add that in, and then make sure you have notification activated for the Application on your device.
- After confirmation of details, you should able to see the final format of your Flow..
Robert Coleman is a Microsoft Office expert and has been working in the technical industry since 2002. As a technical expert, Robert has written technical blogs, manuals, white papers, and reviews for many websites such as office.com/setup .
Source - https://robertcoleman25889008.wordpress.com/2018/12/25/beginners-guide-to-stringify/
Post Your Ad Here
Comments (1)
Vlad S.1
Dancer, Entrepreneur, DJ
Thanks - great info!