 Articles
A Very Detail Review on Autel MaxiCOM MK808 in 2019
by Alex Carter Mechanic AssistantContents including:
MK808 Purchase & Unpacking
MK808 register & setup
MK808 update
MK808 change language
MK808 test & diagnose
I don’t have expensive models available for coding.
Up to $1000 exceeds my planned budget. So I decided on this model first.
I made an order on May 10th.2019, $465 free shipping.
Up to $1000 exceeds my planned budget. So I decided on this model first.
I made an order on May 10th.2019, $465 free shipping.
It arrived on 16th of a week through DHL.
I am glad to share the unpacking machine and registration information in case who need it.

The first impression of the diagnostic machine that took out the package and peeled it off.

Black plastic case looks like this

When you open the case, you’ll see manual and vehicle connectors. The cables are in their respective positions.

here is the MK808 main unit
The thick rubber protector is firm
The thick rubber protector is firm

back site of the unit

it is like this when it stand

at the top of the diagnostic unit is the power button, USB port, OBDII cable 16-pin connector
for connection, MicroSD slot, charge port is located
for connection, MicroSD slot, charge port is located

press and hold the power button for 3 seconds, the product logo appears for a moment then disappears,
The diagnostic program is run automatically
The default is in English
The diagnostic program is run automatically
The default is in English
I asked my dealer on how to change the device to Korean (I am Korean).
The next morning, a message arrived from obdii365.com:
“Hi, friend, Can you provide your device Serial number to us? So we can activate the language for you.
After activate the language, you need to creare ID first.
Then follow steps below to activate:
Then follow steps below to activate:
“Settings”->Backup & Reset factory data reset, tick “Erase SD card”; click “Reset tablet”, then you should download
all softwares again, finally set language you desired. If you have any problem, please feel free to contact us”
all softwares again, finally set language you desired. If you have any problem, please feel free to contact us”
I’m going to follow the instructions. Let’s register Autel MK808 first!

First, visit the manufactuer website www.autel.com
Click on the “Register” icon on the top right corner of the window.
Click on the “Register” icon on the top right corner of the window.

You must first create an accpount
Click the “Create an Autel ID” button

ID account to use your email account
Enter your email account and click “Get verification code”
when you click the button, confirm with email account send the code
*If you cannot find it, look for spam folder.
when you click the button, confirm with email account send the code
*If you cannot find it, look for spam folder.
Enter the verification code you send, password to use etc
Enter the required information and click Create an Autel ID button
Enter the required information and click Create an Autel ID button

Then the registration completed screen appears
To access it immediately, click the Sign in now
Click on the Sign in
To access it immediately, click the Sign in now
Click on the Sign in

After entering the registered account, password and confirmation code
Click on the Sign In button

This screen appeared at the first login
The product registration screen appears
Product serial number and password are required for registration
You have to enter it, the description is shown at the bottom of the screen
Product serial number and password are required for registration
You have to enter it, the description is shown at the bottom of the screen
You can see “How do i get…”

Press and hold the power button on the diagnostic unit foR about 3 s, the mk808 diagnostic scanner turns on automatically
Click on Settings button

When the setting screen appears, scroll down the left menu

Click on the About item
You can see Serial number and Password
Finally enter the code and press Submit button

The products listed in my account are displayed
If you do so, the product registration procedure ends. You can check details of the SW.
Now let’s work on Korean.
Now that you have registered the MaxiCOM MK808 , let’s hurry to work on it!
To Update the diagnostic system, WiFi should be enabled.
If you don’t have a wireless LAN environment,you can use your mobile phone as a “mobile hotspot”.
To Update the diagnostic system, WiFi should be enabled.
If you don’t have a wireless LAN environment,you can use your mobile phone as a “mobile hotspot”.
* Does not support 5GHz WiFi. The connection continues to fail, eventually I had to use the 2.4GHz WiFi.

If you don’t setup WLAN connection, press the Update button, as picture shown above, it prompts “Software upgrade or after factory reset” to use for the first time. Internet connection is required. Connect the internet.”
A pop-up window is displayed.
Click on the “Networking” button in the upper right corner of the pop-up window
Click on the “Networking” button in the upper right corner of the pop-up window

Then WiFi setting screen appears inside the diagnostic operating system (Android based)
after changing the WiFi state from OFF->ON
Among the many, WiFi SSIDs displayed on the right screen
Select my SSID and connect
Then click the first icon (Back) at the bottom of the screen
after changing the WiFi state from OFF->ON
Among the many, WiFi SSIDs displayed on the right screen
Select my SSID and connect
Then click the first icon (Back) at the bottom of the screen

The diagnostic program will appear again.
A red “1” appears above the Update button
Click on the “Update” button
A red “1” appears above the Update button
Click on the “Update” button

MK808 prompts to update OS (operating system)
Let’s do it. Click on the arrow in the red circle.

Highly recommend you backup the diagnostic data in the Scan folder of the root directory of your memory.
You can restore them in case of data loss or accidental deletion.
You can restore them in case of data loss or accidental deletion.
Ii did not do anything, so click the OK button

Then download the required software.
Installation work is performed.
By the way, the capacity seems to be small.
Be patient and wait download completed.
Installation work is performed.
By the way, the capacity seems to be small.
Be patient and wait download completed.
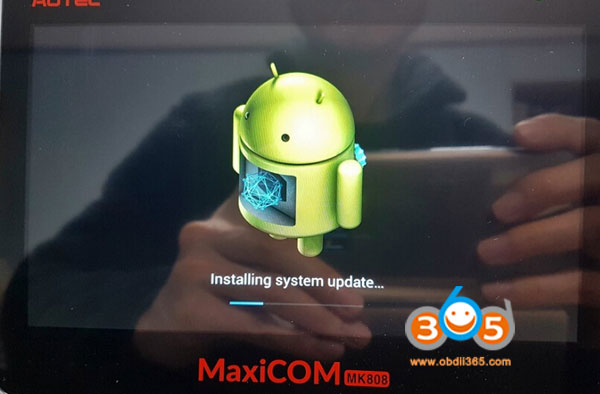
When the download is finished, the diagnostic scanner is rebooted.
OS update is in progress.
OS update is in progress.

Update OS completed. Back to main menu
After the update operation is completed. The diagnostic unit reboots, the diagnostic program will run. Again on the Update button, A red “1” appeared, click the “Update” button
Sponsor Ads
Created on May 21st 2019 01:36. Viewed 265 times.

Comments
No comment, be the first to comment.
