Laser Engraving Laser Welding in One Workflow: Color Stainless, 3D Relief, and Mixed Thickness
If you run a small metal-marking or fabrication shop, it’s easy to get stuck in a “single-process” mindset: engraving is for branding, welding is for joining, and that’s it. In reality, the best ROI often comes from building a repeatable workflow—one that lets you move from surface marking to texture/relief effects, and then to stable welding on real-world parts that aren’t perfectly uniform.
Below is a practical workflow I recommend for teams who want predictable results and fewer trial-and-error hours. I’m also linking the exact guides I reference so you can follow the steps as written.
Start with a stable baseline machine + repeatable setup
Before diving into advanced effects, treat your first week as “process stabilization.” That means:
Lock down consistent focus/height routines
Standardize cleaning and surface prep
Save parameter presets by material and finish
Build a quick checklist for every job (lens, air assist, fixture alignment, file settings)
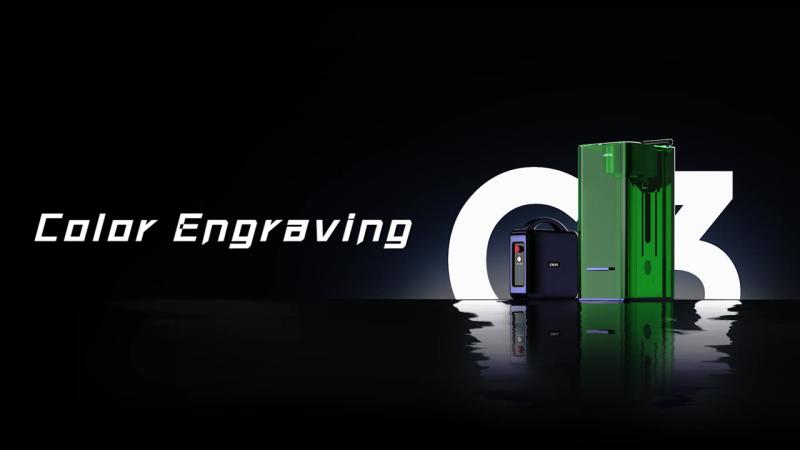
If you’re evaluating a dedicated fiber platform for metal marking and production work, here’s the product page I’m referencing for the full specs and positioning of the G3 system:
G3 product overview
Practical note: the goal is not just “good-looking output,” but output that can be repeated across batches with minimal operator variability.
Add high-impact value with color engraving on stainless steel
Color engraving is one of the easiest ways to create a premium look (and charge premium pricing) without adding mechanical complexity. But it’s also where many users struggle—usually because they chase random settings instead of controlling the few variables that matter most.
In practice, successful stainless color engraving comes down to:
material choice and surface condition (e.g., mirror vs brushed)
layer strategy / density control in your artwork
tight focus + consistent cleaning routine
a parameter logic that prioritizes stability over “maximum color range”
If you want a complete step-by-step walkthrough specifically for stainless color results, use this guide:
How to do color engraving on stainless steel
This is also a great “portfolio builder” because you can document the process and show customers a clear before/after with repeatable outcomes.
Move from “flat marking” to 3D relief and embossing effects
Once your 2D marking is stable, the next jump is adding depth and texture. 3D relief/embossing (even subtle versions) can turn ordinary products into premium items—think plaques, metal tags, decorative panels, or giftable pieces.
The key is to think in layers:
grayscale height mapping or layered depth strategy
test coupon calibration (small, fast iterations)
consistent material removal per pass
cleaning between layers so the depth remains crisp
Here’s a practical, production-oriented guide to 3D relief/embossing workflows:
3D laser engraving (relief & embossing)
When done right, relief work is one of the most defensible services you can offer because it’s harder to copy than simple marking.
Use welding guides to avoid the most common “looks OK, fails later” problem
Welding is where many shops lose time because the joint might look acceptable, but the process window is unstable—leading to inconsistent penetration, overheating, porosity, or weak joints.
A reliable approach is to treat welding like a controlled recipe:
define your target penetration and bead profile
standardize wire use (or eliminate it when not needed)
ensure the joint fit-up is realistic (not “perfect lab samples”)
keep a defect log: what the issue looked like and what fixed it
Start with a general, structured walkthrough here:
Laser welding machine guide
A simple “ladder” I recommend (so you don’t overwhelm the team)
If you want a plan that scales in difficulty without chaos:
Stabilize marking fundamentals (setup, focus, presets)
Master stainless color engraving (high-value output, repeatable)
Add 3D relief/embossing (premium differentiation)
Standardize welding basics (defect control, process window)
Tackle mixed-thickness welding (real production complexity)
This progression helps you build confidence and keep jobs profitable while expanding capability.
If you’re currently running jobs across metal marking and welding, the linked guides above are a solid starting point for building a repeatable workflow—without guessing settings every time.
Post Your Ad Here
Comments