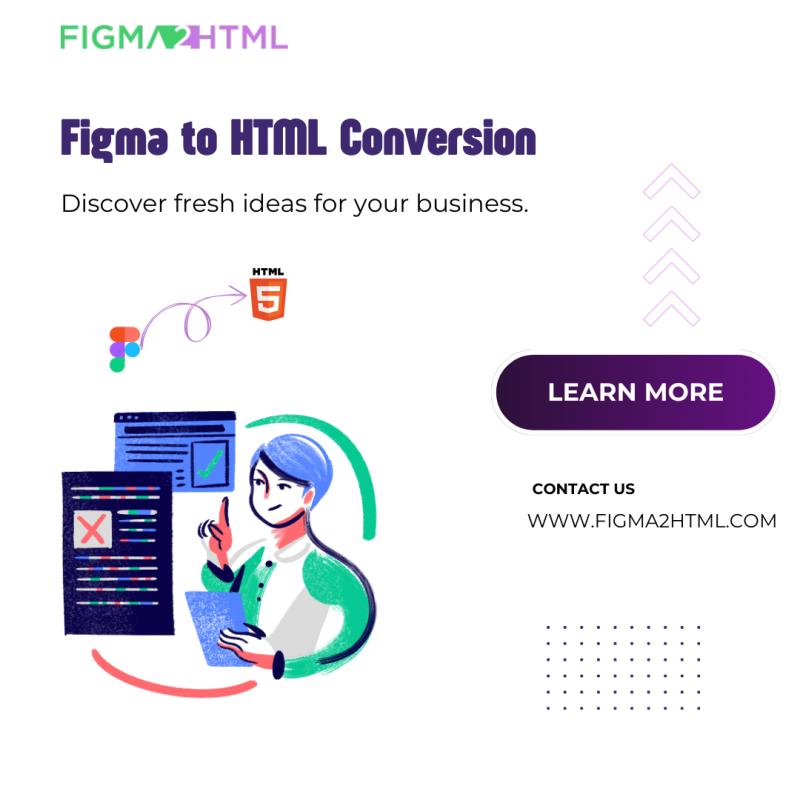
Maximizing Design Integrity in Figma to HTML for Seamless Conversion
In today’s fast-paced web development landscape, design tools like Figma have become an integral part of creating visually stunning websites. However, transforming Figma designs into clean, functional HTML code while maintaining the design integrity can be a challenge. With the growing demand for responsive and pixel-perfect websites, it’s essential to master the process of converting Figma designs to HTML.
In this article, we’ll explore best practices, tips, and tools to help you maximize design integrity when converting Figma designs into HTML. Whether you are new to the process or looking to optimize your current workflow, this guide will provide actionable insights to ensure that your designs are translated accurately from Figma to HTML and CSS.
Why Design Integrity Matters in Figma to HTML Conversion
Before we dive into the specifics, let’s first understand why design integrity is so critical in Figma to HTML conversion. Design integrity refers to maintaining the visual consistency, layout structure, fonts, colors, and overall aesthetic of the original Figma design when it’s translated into HTML.
When you export a design from Figma to HTML, ensuring that every detail from spacing and font size to color schemes and animations is preserved is paramount. The result should be a fully responsive website that not only looks like the design but functions well across different devices.
Poor design integrity can lead to a disjointed user experience, making the website appear unprofessional, difficult to navigate, and potentially damaging the brand’s credibility. Therefore, it’s essential to focus on key areas of design integrity when converting Figma to HTML.
Step 1: Preparing Your Figma Design for Export
Before you even start the conversion process, preparation is key. Figma offers a range of features to help you create designs that are optimized for export. By organizing your file properly and ensuring the design is clean, you can minimize issues down the line during the conversion process.
1.1 Organize Your Figma File
An organized Figma file is easier to convert to HTML and CSS. Group elements logically, name layers appropriately, and ensure that there is no unnecessary or hidden content. This structure will save you time during the conversion and help prevent errors in the exported HTML.
Use Figma’s Frames to organize different sections of your design, such as the header, footer, content, and sidebar. These frames will map well to corresponding divs or sections in HTML.
1.2 Use Consistent Styles
Ensure that you’ve used consistent styling throughout your design. This includes typography, colors, and spacing. Figma allows you to define styles for text, color, and effects, which can be replicated in CSS during the conversion.
Figma’s Design System feature is especially useful here. By creating reusable components and styles, you can ensure that your design elements, like buttons and headings, are uniform and consistent across your entire project.
1.3 Set Up Grids and Layouts
Grids and layout systems are fundamental for responsive design. Figma allows you to set up grids that can mimic how your design will behave once it’s converted into HTML and CSS. This ensures that elements align correctly and that the design will adapt to different screen sizes.
Use Figma’s Auto Layout feature to create flexible containers that adjust as you resize the frames, ensuring that content remains well-aligned on any device.
1.4 Export Assets from Figma
Once your design is ready, the next step is exporting the assets you’ll need for your website. This includes images, icons, and other media files. Figma allows you to export assets in different formats like PNG, SVG, and JPEG.
For icons and vector-based elements, exporting them as SVGs is the best practice because SVGs are scalable, lightweight, and can be easily styled with CSS.
Step 2: Converting Figma to HTML
Now that your design is prepared, it’s time to convert Figma to HTML. The conversion process involves several steps to ensure that your design integrity is preserved.
2.1 Use HTML and CSS Best Practices
To maximize design integrity when converting from Figma to HTML, it’s crucial to follow best practices in HTML and CSS. The foundation of every great website is clean, semantic HTML and well-organized CSS.
-
Semantic HTML: Use semantic HTML tags (like
<header>,<footer>,<section>, and<article>) to organize the page’s content logically. This not only helps with accessibility but also ensures that the design’s structure is maintained. -
Responsive CSS: Figma’s design often needs to be adjusted to fit various screen sizes. Use responsive CSS techniques like media queries to ensure your design looks great on desktops, tablets, and smartphones.
-
Flexbox and CSS Grid: Figma’s layout tools can easily be translated into Flexbox or CSS Grid systems in HTML. These two CSS layout methods offer powerful ways to create responsive designs that adjust to screen sizes and resolutions.
2.2 Convert Figma Layers to HTML Elements
In the Figma design, each element (button, text box, image, etc.) is a layer. When converting to HTML, you’ll map these layers to HTML elements. For example:
-
A text layer in Figma would be converted to a
<p>or<h1>,<h2>, etc., in HTML. -
A button layer in Figma would be converted to a
<button>or<a>link in HTML. -
An image in Figma would become an
<img>tag in HTML.
The goal is to match each element in Figma with the corresponding HTML element, ensuring that the layout and positioning stay intact.
2.3 Exporting Figma to HTML CSS Code
For precise control over the styling of your HTML elements, Figma’s CSS export feature can be incredibly useful. When you select an element in Figma, you can copy the generated CSS for that element. You can then paste this into your external CSS file.
However, keep in mind that exported CSS from Figma may not be perfect. You’ll likely need to adjust the generated code to ensure it’s optimized and works across browsers.
Step 3: Addressing Common Issues in Figma to HTML Conversion
Even with careful preparation and adherence to best practices, some common issues can arise during the conversion from Figma to HTML. Below are some potential problems and solutions:
3.1 Incorrect Layout or Spacing
One of the most common issues during conversion is a mismatch in layout or spacing. This can happen when padding, margins, or alignments are not replicated accurately in CSS.
Solution: Ensure that Figma’s Auto Layout and spacing are translated correctly into CSS properties like
padding,margin, and `flexbox/grid alignment. Testing and tweaking the layout in the browser will help you fine-tune spacing.3.2 Inconsistent Fonts and Colors
Fonts and colors may look great in Figma, but they sometimes appear differently in the browser, especially if the proper web-safe fonts or color codes are not used.
Solution: Use web-safe fonts or implement web font services like Google Fonts to ensure consistency. For colors, use precise hexadecimal or RGB values from Figma to avoid discrepancies.
3.3 Handling Images and Assets
Images and assets that look good in Figma may need to be optimized for the web. This includes ensuring the correct file format, size, and resolution.
Solution: Compress and optimize images for faster loading times. Use SVGs for vector images when possible to reduce file size and improve scalability.
3.4 Responsiveness and Media Queries
Figma designs often need to be adjusted for different screen sizes. Without proper media queries in your CSS, the design may break on smaller screens.
Solution: Implement responsive design principles in your CSS using media queries to adjust the layout and font sizes based on screen width. Tools like CSS Grid and Flexbox are perfect for creating flexible, responsive layouts.
Step 4: Testing and Refining the HTML Output
Once the HTML and CSS code is in place, testing is crucial. This step ensures that the design remains intact across different browsers and devices.
4.1 Cross-Browser Testing
Browsers can render HTML and CSS slightly differently. It’s essential to test your site on multiple browsers (Chrome, Firefox, Safari, Edge) to ensure it looks and behaves consistently.
4.2 Device Testing
Since modern websites must work well on both desktops and mobile devices, testing on various devices is essential. Use tools like Chrome DevTools to simulate different screen sizes and test responsiveness.
Conclusion: Best Practices for Seamless Figma to HTML Conversion
Maximizing design integrity during Figma to HTML conversion is essential for creating professional, functional websites. By carefully preparing your Figma design, following HTML and CSS best practices, and addressing common issues during the conversion process, you can ensure that your designs are translated accurately into HTML.
Remember, Figma export to HTML is not always perfect, and some adjustments are often necessary to maintain design integrity. Whether you’re converting Figma to HTML CSS manually or using tools for faster conversion, the key is attention to detail and continuous testing. By adhering to these best practices, you’ll be able to create websites that stay true to your original designs while offering a smooth user experience.
-

Comments