How to Match Your Figma Design Exactly in WordPress
Converting a Figma design into a WordPress website can be a challenging process, especially if you want to ensure pixel-perfect accuracy. Many designers and developers struggle with maintaining the visual integrity of their designs while ensuring responsiveness and performance. In this guide, we’ll walk you through the best practices and techniques to convert Figma to WordPress while ensuring that your final website looks exactly like your original design.
Why Pixel-Perfect Figma to WordPress Conversion Matters
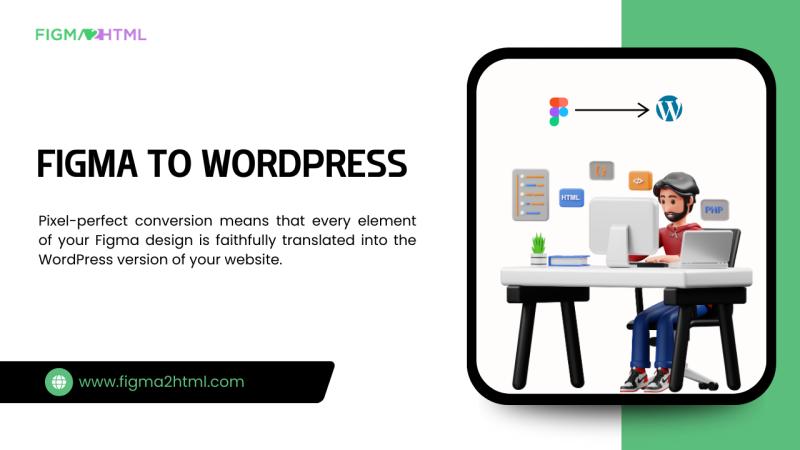
Pixel-perfect conversion means that every element of your Figma design is faithfully translated into the WordPress version of your website. This is crucial because:
Maintains brand consistency across different pages.
Enhances user experience by delivering a polished and professional website.
Reduces client revisions and increases customer satisfaction.
Optimizes development time by avoiding unnecessary changes later.
Let’s dive into the step-by-step process to convert Figma to WordPress while maintaining design precision.
Step 1: Prepare Your Figma Design for WordPress Conversion
Before you start converting your Figma design, it’s important to prepare it properly:
1. Organize Your Design Files
Use clear naming conventions for layers and components.
Group related elements (e.g., headers, footers, buttons, sections).
Keep a consistent spacing between elements.
2. Define a Grid and Layout System
Use a 12-column grid system to ensure responsiveness.
Set proper margins and padding to avoid inconsistencies.
Align elements properly using Auto Layout in Figma.
3. Export Design Assets Properly
Export images in the correct formats: PNG, JPG, SVG, WebP.
Optimize images to reduce file size and improve performance.
Export icons in SVG format for better scalability.
Step 2: Choose the Right Approach to Convert Figma to WordPress
There are multiple methods to convert Figma to WordPress, and the right one depends on your project requirements.
1. Manual Development (Best for Custom Websites)
Convert the Figma design into HTML, CSS, and JavaScript.
Integrate the static files into a custom WordPress theme.
Use PHP to create dynamic components.
2. Page Builders (Best for Non-Developers)
Use Elementor, Divi, or WPBakery to create pages visually.
Import Figma assets and adjust styles accordingly.
Fine-tune margins, paddings, and alignments to match the design.
3. Figma to WordPress Plugins and Tools
Use Figma to WordPress conversion tools like Anima or Locofy.
Convert Figma layers into WordPress-compatible elements.
Ensure proper responsiveness post-conversion.
Step 3: Convert Figma to WordPress with Custom Coding
For a truly pixel-perfect design, a manual approach using custom coding is often the best choice. Here’s how to do it:
1. Convert Figma to HTML and CSS
Use semantic HTML to structure your website properly.
Implement CSS Grid and Flexbox for responsive layouts.
Ensure consistent typography, colors, and spacing.
2. Integrate HTML into a WordPress Theme
Create a custom WordPress theme folder.
Break the HTML file into WordPress template files (header.php, footer.php, index.php).
Use WordPress loops to display dynamic content.
3. Use CSS and JavaScript for Interactivity
Implement animations using CSS transitions or GSAP.
Optimize JavaScript to avoid performance issues.
Ensure that all hover effects and UI interactions match the original design.
Step 4: Ensure Responsive Design and Mobile Compatibility
Your WordPress website should work seamlessly across all devices. Here’s how to ensure that:
1. Use CSS Media Queries
Apply different styles for mobile, tablet, and desktop views.
Adjust font sizes, button padding, and margins dynamically.
2. Test on Multiple Screen Sizes
Use browser developer tools to test responsiveness.
Adjust layouts based on real-world testing across devices.
3. Optimize Images for Mobile
Use WebP format for better compression and quality.
Load different image sizes using srcset attributes.
Step 5: Maintain Design Consistency with WordPress Theme Customization
To ensure a perfect match between Figma and WordPress, make use of theme customization options.
1. Set Up Theme Customizer Settings
Define global styles such as typography, colors, and buttons.
Use WordPress Custom Fields for easy content updates.
2. Use Advanced Custom Fields (ACF) for Dynamic Content
Implement ACF to dynamically pull content into pages.
Ensure flexible layouts without breaking the design structure.
3. Optimize Fonts and Icons
Use Google Fonts or Adobe Fonts to match typography.
Implement icon fonts (FontAwesome, IcoMoon) or SVGs for scalable icons.
Step 6: Test and Optimize the WordPress Site
Once your Figma to WordPress conversion is complete, thorough testing is essential.
1. Cross-Browser Testing
Test on Chrome, Firefox, Safari, Edge to ensure compatibility.
Use tools like BrowserStack for comprehensive testing.
2. Performance Optimization
Minify CSS, JavaScript, and HTML to improve load speed.
Use caching plugins like WP Rocket or W3 Total Cache.
Optimize images using Smush or Imagify.
3. Accessibility and SEO Checks
Ensure proper heading structure (H1, H2, H3) for SEO.
Test contrast ratios for better readability.
Add alt text for images to enhance accessibility.
Step 7: Deploy and Maintain Your WordPress Website
Once testing is complete, it’s time to launch the site.
1. Choose a Reliable Hosting Provider
Use fast and secure hosting like SiteGround, Kinsta, or WP Engine.
Enable SSL for HTTPS to secure user data.
2. Perform a Final Pre-Launch Check
Check all links and forms to ensure they function properly.
Verify mobile responsiveness and browser compatibility.
3. Regular Maintenance and Updates
Update WordPress core, plugins, and themes regularly.
Monitor website performance using Google PageSpeed Insights.
Perform security scans using Wordfence or Sucuri.
Final Thoughts: Achieving a Pixel-Perfect Figma to WordPress Conversion
Converting Figma to WordPress with pixel-perfect accuracy requires attention to detail, proper planning, and the right tools. By following the steps outlined in this guide, you can ensure that your WordPress website matches your Figma design exactly while maintaining responsiveness and performance.

Comments