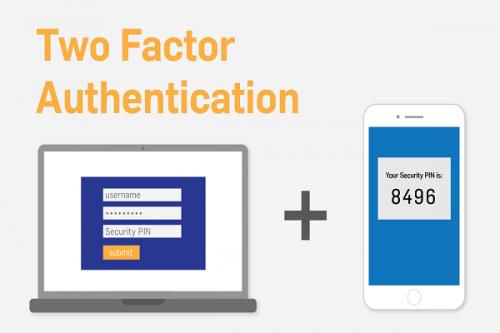
How to Turn on Two-factor Authentication on the Google Account?

Security has become a major concern nowadays as countless
threats roam on the web. Google comprises our sensitive data, and it is
reasonable for you to be concerned about it. One good way to secure your data
is enabling two-step verification on Google. So, here are the steps , let’s get
started.
Set up Google
Pop-up Two-factor Authentication
If you wish to set up Google pop-up two-factor authentication,
then pursue the given instructions.
- Go to the ‘myaccount.google.com’ and sign in to the Google
account on the system.
- You should click on the Security button on the left-hand side.
- Then select the 2-Step Verification.
- You have to click on the Get Started.
- Input the Google password to verify it’s you or not.
- You should click on the Try It Now.
- Select the Yes option at the Google prompt that comes on the
tablet/phone.
- You have to verify the contact number as a backup choice if
Google pop-up does not work.
- Input the code which is texted to the number and click on the
Next.
- You should click on the Turn On to allow the two-factor
authentication.
- Now, you have two-factor authentication geared up to rock on
the Google account. You will access only the password like general if
signing in to trusted devices, but when you have a new mobile or attempt
to sign in on a public system, be ready to get the mobile on hand to
verify the Google Prompt.
Set up the
Google Authenticator Two-factor Authentication
If you would like to set up the Google Authenticator two-factor
authentication, then abide by the given steps.
- Navigate to a 2-Step Verification screen, move down, and select
the Set Up beneath the Authenticator application.
- You should select which mobile you are using and click on the
Next option.
- After that, go to your Android device and launch the Google
Play Store.
- You have to browse ‘Google authenticator’ into the search bar.
- Select the top option from the result and tap on the Install
option.
- Then launch the application and select the Begin option.
- You should tap on the Skip button at the lower left-hand side
of the screen.
- Go to the ‘Scan a barcode’ option and tap on it.
- Reach the Allow option to grant camera access.
Set up the
Backups
If you would like to set up the backups, then abide by the given
steps.
- Navigate to the Google Account on your system.
- After that, tap on the Security option.
- Reach the panel of ‘Signing in to Google,’ tap on the 2-Step
Verification option.
- Now, add a minimum one more second instruction such as Backup
phone, Authenticator App Codes, or Backup Codes.
Finalize
Everything
If you wish to finalize everything, then pursue the given
instructions.
- You should click on the Next option.
- After that, input the ode display on the application of Google
Authenticator on the mobile device.
- You have to click ok the Verify option.
- Now, click on Done.
Robert Green is an avid technical
blogger, a magazine contributor, a publisher of guides at mcafee.com/activate,
and a professional cyber security analyst. Through her writing, she aims to
educate people about the dangers and threats lurking in the digital world.
source. Two-factor Authentication

Comments