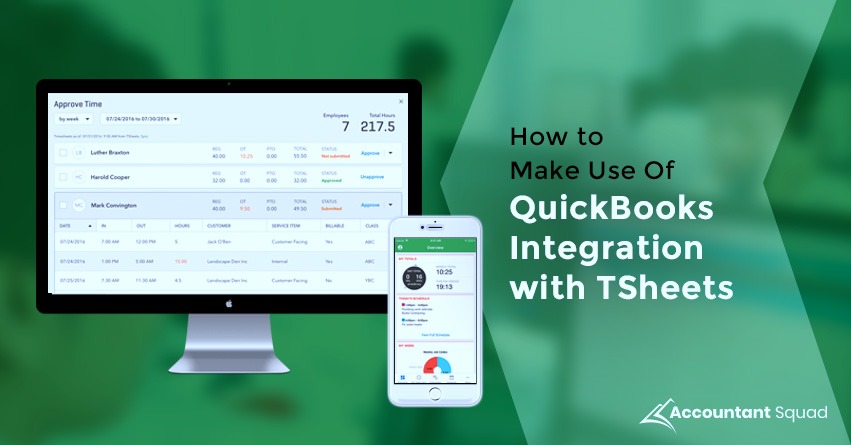
Tsheets QuickBooks - How to integrate?
by Accountant Squad Quickbooks assistance to SMEs and Startups
QuickBooks includes numerous products that offer amazing features. The products that are being offered by QuickBooks is QuickBooks Online, QuickBooks Desktop, QuickBooks Self-employed, and QuickBooks Mac.

How to integrate Tsheets with QuickBooks?
The rules for the integration of Tsheets with QuickBooks are same for all computers.
Reference URL - https://www.smore.com/g086d-tsheets-quickbooks-integration
- QuickBooks Online is best for small to medium-sized businesses that primarily sell services.
- QuickBooks Desktop is best for small to medium-sized businesses in any industry.
- QuickBooks Self-employed product is best for independent contractors, realtors, etc.
- QuickBooks Mac is best for small to medium-sized businesses in any industry that need a Mac solution.
What is Tsheets QuickBooks?
Tsheets by QuickBooks is an app which was developed for time tracking and employee scheduling. Tsheets was co-founded by CEO Matt Rissell and CTO Brandon Zehm in 2006. The app proved to be very helpful for companies needing to track, manage and report time. The service runs either on a web browser or on mobile phones and also integrates with various payroll and accounting platforms like QuickBooks, Xero, etc.
How to integrate Tsheets with QuickBooks?
The rules for the integration of Tsheets with QuickBooks are same for all computers.
- You need to launch the QuickBooks Desktop.
- Then you need to open the QuickBooks Desktop company file that you want to integrate with Tsheets, sign in as the main administrator and in single-user mode.
- At the last, sign in to Tsheets as an administrator.
Also Read: How to use Audit Trail in QuickBooks Desktop?
Install and sync the Integrated Tsheets and QuickBooks Desktop
- In the QuickBooks Tsheets software service, in the left menu, go to the SET UP > Add-ons.
- In this list, now you have to find QuickBooks Desktop Integration and click install.
- In the first step, you need to select options window, make your selections and click next
- It may happen that a warning window displays if it is displayed then read the warning and if you want to proceed, type delete and click continue.
- In the second step, you need to set up a web connector window and click the blue Tsheets QuickBooks Web Connector Setup Link and run the downloaded .exe file.
- Sign into the Tsheets when prompted.
- Click install web connector when the launch QuickBooks window displays.
- Click ok in the authorize new web service window.
- Open the QuickBooks-application certificate window, then select yes, whenever this QuickBooks file is open > continue.
- Click done in the access confirmation window.
- Check the box to the left of the TSheets application in the QuickBooks Web Connector Window and click update selected. A sync is performed by the system.
- Now in the TSheets, in the congratulations window, follow the next steps there.
How to manually integrate Tsheets and QuickBooks Desktop using the Web Connector?
- In QuickBooks, turn on the full payroll preferences.
- Make sure that your week starts date matches in both QuickBooks and Tsheets.
- Take care that the use of time data to create paychecks is checked in both company-wide preferences and for each active employee.
- Make sure that all employees are set up with at least one payroll item.
- You must be able to sign in as the main admin.
- You should work on that computer only which you will be using to sync Tsheets and QuickBooks Desktop because the sync can be performed only on one location.
- Make sure that all the users that need to have time exported to QuickBooks are added in QuickBooks either as a vendor or an employee.
Reference URL - https://www.smore.com/g086d-tsheets-quickbooks-integration
Sponsor Ads
Created on Dec 26th 2019 01:21. Viewed 285 times.
Comments
No comment, be the first to comment.


