Show you how to edit the paper size in the printer

Have you ever felt annoyed because when you ordered to print documents, documents (in Word or Excel) on A4 paper size, but the results were not as expected ... ??? The top and bottom margins of the page remain blank (even though you have formatted the paper size in Page Setup as A4). So how to be able to correct the printing paper size technically, and most correctly?
All information will be revealed by us below this article, please take the time to refer to the tutorial on editing the printed paper size from Blogmayin.com.
Introduction and How to edit the paper size in the printer
Here, our team of members will share with readers some of the most detailed and specific steps to set up, install, and edit the paper size in the printer.
Steps to correct the paper size in the printer
Many people may experience printing of a document to the printer, but they don't display the same way as it appears on the editing screen. Specifically, the case you see in the Microsoft Word editor is one page but when printing the output is two pages, in other cases like a document about 30 pages but when reprinted to 32, 33 pages - including many illustrations, the table was moved to the following page, causing a bad layout.
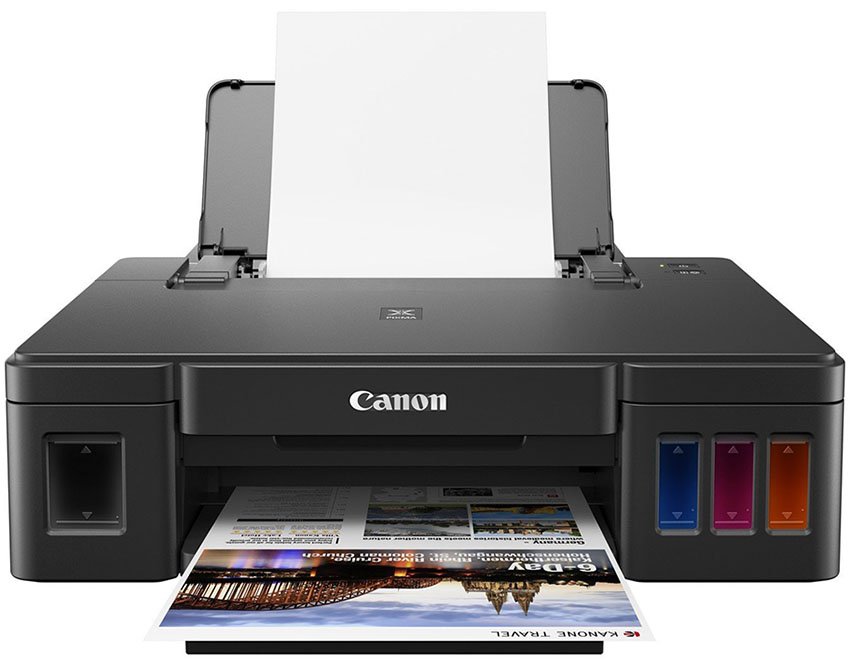
You have found the product like that, if not, please see here: best copy machines
So what causes the above situation? The main reason is due to the default settings of the text editor and printer, in this article I would like to show how to fix that.
To set the printing of text, images with the most accurate size, without skewness, overflow, the following ways to adjust the paper size in the printer below will help you to set the paper size alignment on your printer from the machine. count.
Step 1: On the Windows operating system, open the Control Panel from the Start Menu, or you can click on the search icon on your computer and enter the words "control panel" and then the item you are looking for. will appear.
Tap and open the Control Panel, in this category window, pay attention to the View by: Category setting, under Hardware and Sound, select and click the subdivision named: View devices and printers.
The second step: In the Devices and Printers section, select the printer name that you are using to connect to your computer, then double-click the icon of the printer to edit and set. to set the paper size in the printer.
The third step: In the printer window, choose Printer -> Select Properties.
Fourth step: Find and click the option Preferences…
The final step: In this step, in the Paper section Size - With this section you can set and edit the default paper size for the printer according to the formats and sizes that your printer allows.
You can choose any size you want, from which your printer will print exactly in that format. After the setup is complete, click OK to finish editing, select the paper size in the printer.
So with only five easy and easy steps, we have successfully set up, installed, and modified the printing paper size in the printer. With this application, it is very useful for you to print documents according to that standard, in addition to solving the problem of incorrect printing, or printing more paper ...
In addition, if you find the printer setup through the steps mentioned above to be messy, you can create a Printer Queue queue shortcut to perform printer fine-tuning or paper jams more quickly.

Comments