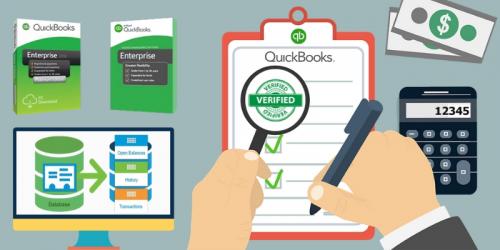
How to Verify and Rebuild Your QuickBooks Data
 It is quite hard for businesses to resolve data damage to their company files which later causes severe damage to the business. To avoid such issues, business should run Verify and Rebuild data utilities on their system. When was the last time you did it? Get step-by-step procedure!
It is evident that data is the most important asset for any business. No matter how big or small your business is, data plays a very important role, and thus, it is the utmost responsibility of a business owner to ensure its security. Loss of important document causes damage to business which cannot be fixed immediately, therefore to avoid such delays, businesses avail hosted QuickBooks solutions.
QuickBooks cloud hosting services ensure 24*7 data protection to SMBs and huge enterprises. It is more than important for businesses and accounting firms to take proper actions if any kind of suspicious activity noticed in their company data files. According to experts, businesses should verify and rebuild their QuickBooks data every quarter as it reduces the point of loss.
However, to track such activities businesses can run verify and rebuild data utilities on the system where their files are stored. The step by step procedure to run these utilities are given below:
Step 1: Run the Rebuild Data utility
Go to the Main File menu
Select Utilities then click on Rebuild Data
Hit Ok when the QuickBooks Information popup appears
Follow each and every shown prompt to accurately save the backup
Click Ok when “Rebuild process has completed” appears on the main screen.
Note: You might think that your QuickBooks is not responding. However, as long as you can see your mouse cursor move, Rebuild process still ongoing. Wait for it to complete.
Step 2: Run the Verify Data utility
Start from the File Menu and go to Utilities, then select Verify Data.
If your screen shows “QuickBooks detected no problem with your data”, then select Ok and continue file use.
Whereas if Verify captures any kind of issue, you will be prompted to Rebuild Now or View Errors found.
To continue, follow below mentioned steps that too only when you’re able to review QBWin.log or the QuickBooks.log file.
Find QBWin.log or QuickBooks.log files in your system.
To check the log file: Press Ctrl+F to begin the Verify and locate the most recent file.
Search for the line that contains LVL_ERROR and check Top data damage errors in QuickBooks Desktop.
Note: It is possible that errors in both log files are not same but their representation will be in same format.
We’ve shared the easiest way to resolve data related issues on your company files by telling you the procedure of Verify and Rebuild data utilities. Cloud-based QuickBooks is, however, a generic approach that enriches the business productivity as it maintains the overall data of the business.
If you find it hard to troubleshoot data damage related issues of QuickBooks company file on your own, then always reach out to some expert who can make it easy for you.
Final Words:
It is very crucial for businesses to track all the activities within their business. Most of the times internal threat damages a company’s reputation more than the external threat ever could. Therefore, businesses should always follow a routine when it comes to verify and rebuild QuickBooks data.

Comments