How to Convert an Image to a Vector in Illustrator
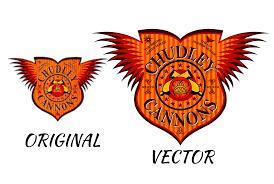 Vector images are mainly shapes and lines with dynamic color columns. There will be no change in the quality of the image while scaling them, that is their key benefit above rasterized static images.
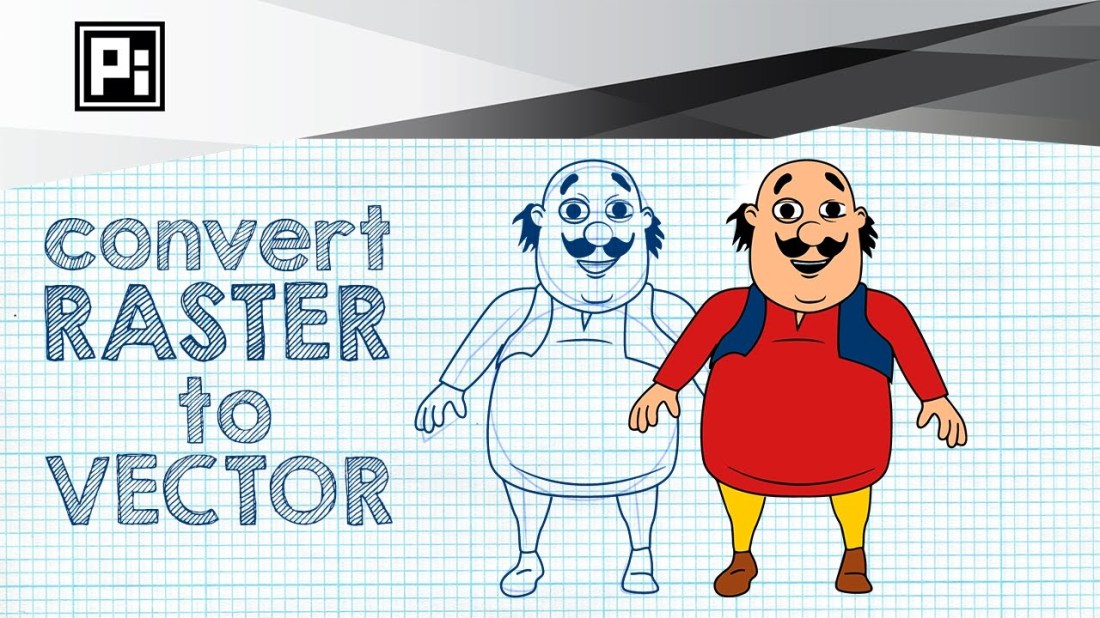
Source:Convert an Image to a Vector in Illustrator , Brother Printer Support
Most of the times, it is necessary to change the regular image to the dynamic vector image. This article will teach you how to convert an image to a vector in Illustrator, and you can complete this process easily by following the steps mentioned below.
Here’s How to Convert an Image to a Vector in Illustrator
1. Select an image
• Go to the Adobe Illustrator.
• Press on the File located on the menu list.
• Choose the New option for opening an empty canvas.
• Select the format.
• Click on the OK button.
• Press on the File once again,
• Choose the Open option.
• Go to the image.
• Press on the Open button.
Image Trace in Adobe Illustrator
• High Fidelity and Low Fidelity are the principles for pictures, artwork, and pictures, which includes much information.
• High Fidelity creates a detailed vector image, but the Low Fidelity will create a fewer vector image.
• Low Fidelity is usually good for the lower resolution pictures.
• The colors 3, 6, and 9 are the desired predetermined for symbols and artwork that use fewer colors.
• The grey color will create a grayscale picture.
• The symbol, which is black and white, has only two colors to vector an image.
• Select the preset, which depends on the picture you wish to vectorize.
• In case this procedure does not work at once, then you need to follow the same steps to do this again.
2.Vectorize an image
• Choose the picture by using the Selection tool.
• Change the picture position.
• Press on the small triangle symbol given near the Image Trace option for opening the menu list of all the presets.
• Select the desired picture.
• Wait until the illustrator completes the conversion process.
3. Tweak the Image
• After completing the Illustrator, you have to start the process for tweaking an image.
• Go to the image pane by going to the taskbar to get more options.
• Choose the Mode option to change between groups color and change the color box to vectorize an image.
• Press on the Expand option provided on the taskbar to get the composite shapes which vectorize an image.
• You need to right-click on a picture and after that, choose the Ungroup option to changes into a particular vector.
• Once you have completed the ungrouping process, click twice on every vector to customize it.
4. Save an Image
• Press on the File option.
• Choose the Export option.
• Select any formats from the given list such as SVG.
Lauren Smith is an inventive person who has been doing intensive research in particular topics and writing blogs and articles on Brother Printer Support Number and many other related topics. She is a very knowledgeable person with lots of experience.
1 people like it

Advertise on APSense
This advertising space is available.
Post Your Ad Here
Post Your Ad Here
Comments