How Professionals Would Paint Sings On Wood?
Whether you decide to use it outdoors or in your home, the paint signs on wood add a rustic touch to your decor. For this job, you need to find a reliable painter in Wollongong to make a beautiful wood sign. The professional painters first identify the right piece of wood and after that, they wash, cut, and sand the wood to make a stylish and clean sign. Once they have done with it, they apply paint, letters, and wood stains to decorate the sign. Here are the steps that professional painters take to paint signs on wood.
Step 1: Finding the Cleaning Wood
- Buying a block of wood, especially softwood like beech, spruce, or pine from a craft store or hardware to make good wood signs.
- Cleaning the wood using water and soap. The professional painters scrub the entire woodblock surface using the washcloth, focusing on particularly dusty or dirty areas.
- Cutting the woodblock to size when required. In this situation, they apply the painter’s tape and then secure the woodblock to a flat surface.
- Sanding the woodblock by pressing a sandpaper block on top of it. Then the professional painters rub it in circular motions until the entire block becomes smooth to touch.
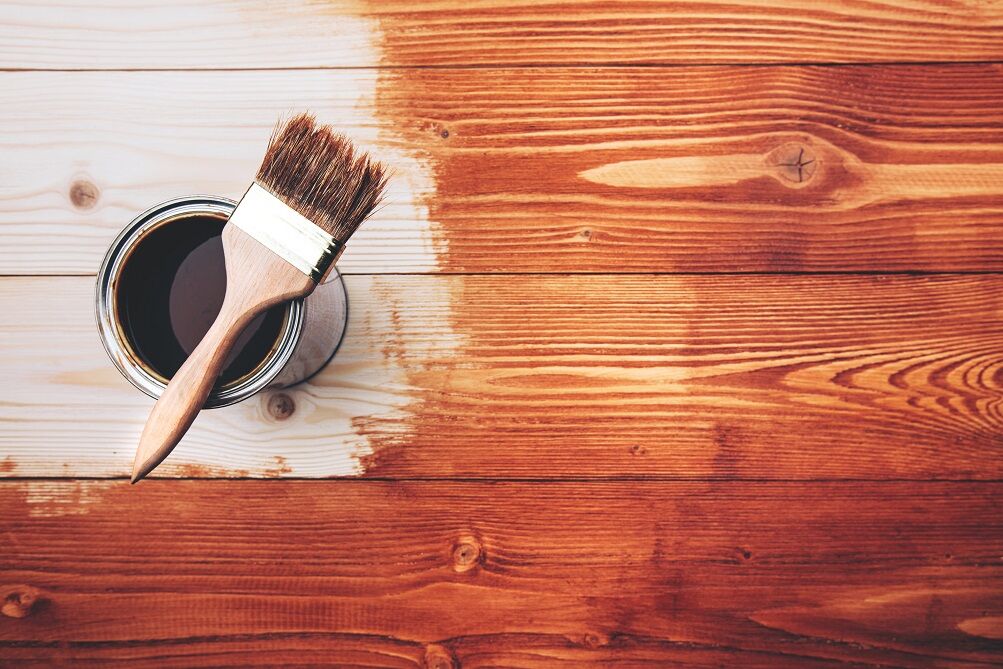
Step 2: Painting or Staining Wood Signs
- Applying wood primer to the surface of the wood sign. After application, they clean any excess primer using a washcloth and let it dry for some time.
- Painting the entire surface of the wood in solid and bold colours. They mainly use water-based paint or latex, which is appropriate for painted signs. The painters get these from the hardware or craft stores.
- The professional painters also apply a wood stain to add a more rustic look using a bristle brush. They apply long strokes to cover the entire wood surface.
- Adding a wood sealant to protect the outdoor signs, which you can buy from online stores as well as from hardware or craft stores. They make use of water-based polyurethane stains or oil, which works best for the wood signs.
Step 3: Adding Letters or Other Designs
- Spray painting the letters or designs about 2 to 3 inches away from the surface by making use of a stencil.
- Applying decal stickers to provide a more smooth and sleek surface.
- Professional painters can able to create decal stickers or seek the assistance of a graphic designer for vinyl stickers.
- Tracing the letters with paint onto the wood using a bristle brush.
- The painters then draw the letters using a paint pen or felt-tipped marker.
- The final step relates to adding an extra wood sealant layer to protect the design from tear and wear.
Hope, you came to know how professionals would paint signs on wood. If you find the content of this article helpful, don’t forget to share it with your friends, and give thumbs up!
The author is a renowned painter in Wollongong and is an avid blogger.
Post Your Ad Here
Comments