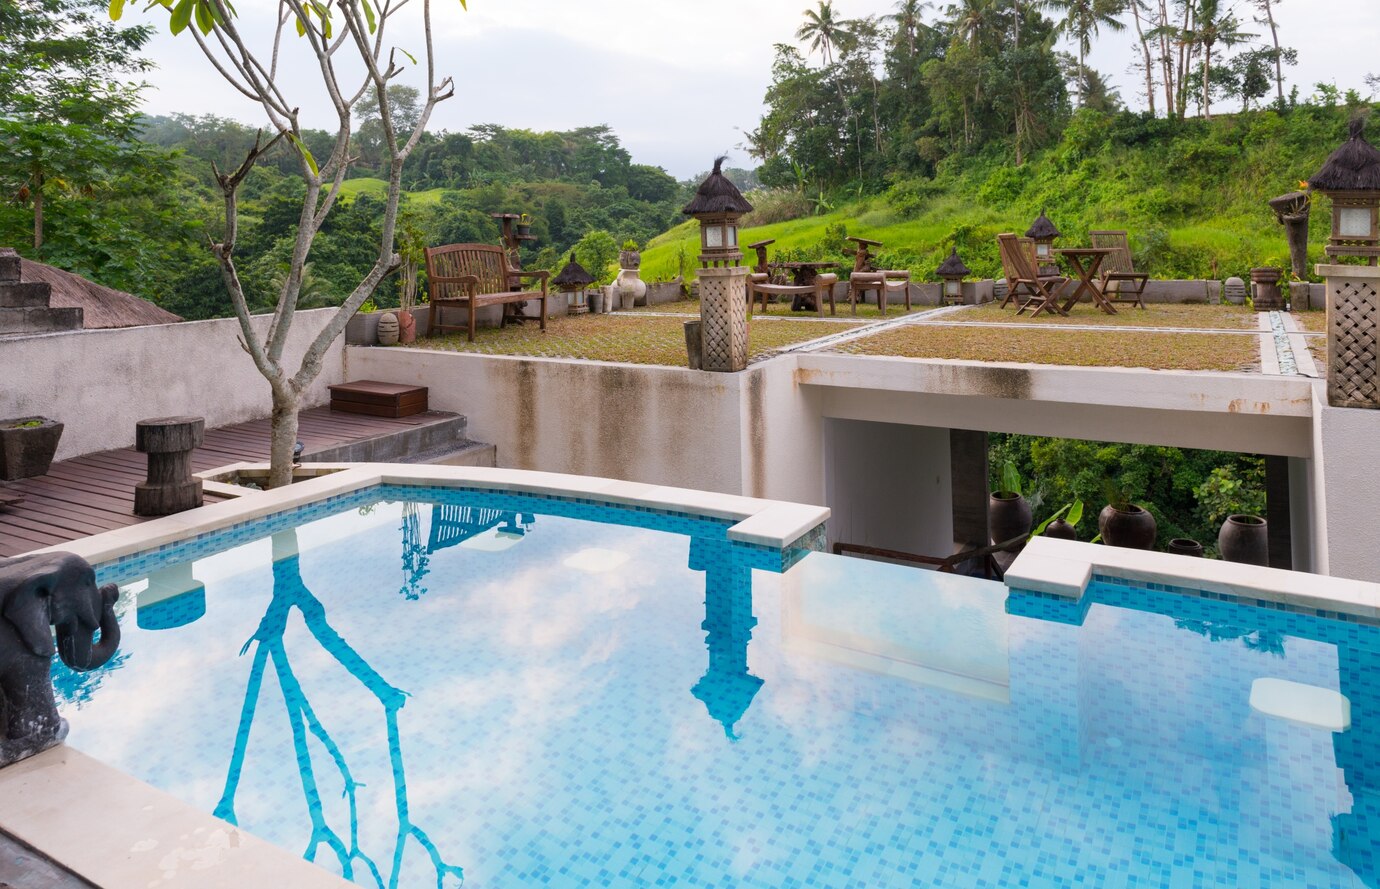
Step-by-Step Guide to Building a Concrete Pool in Melbourne

Building a concrete pool in Melbourne is a major undertaking that requires careful planning, technical expertise, and a significant financial investment. Concrete pools are popular for their durability, customization options, and ability to withstand the harsh Australian climate. This step-by-step guide will walk you through the process, from initial planning to the final swim.
1. Planning and Design Phase
The first and most crucial step in building a concrete pool is to develop a clear vision of what you want. This stage involves planning the pool’s size, shape, location, and style, and considering your budget and timeline.
Things to consider:
Size and Shape: Concrete pools are highly customizable, so choose a size and shape that fits your yard and meets your needs.
Depth: Melbourne's climate can vary significantly, so the pool's depth should be designed to suit both recreational and swimming activities.
Local Regulations: Melbourne has strict planning regulations regarding pool construction. You must consult with the local council to obtain necessary approvals and ensure compliance with safety standards such as fencing and accessibility.
Budget: Determine how much you're willing to spend. Concrete pools are generally more expensive than fiberglass or vinyl pools due to the material and labor involved.
Tip: Engage with a professional pool designer or contractor to help bring your vision to life.
2. Obtaining Permits and Approvals
Before construction begins, you’ll need to obtain several permits from your local council. This can include planning permission and safety approval, especially in areas with specific building codes.
Things to check:
Zoning Laws: Ensure that your pool’s proposed location fits within zoning laws. It should be a safe distance from your property boundary, trees, or other structures.
Safety Regulations: In Melbourne, pool safety regulations are stringent. You will need to install a compliant fence with a self-closing gate to prevent unauthorized access.
Site Inspection: A site inspection by local authorities may be required to ensure that your plans meet all safety and zoning requirements.
3. Excavation and Site Preparation
Once you’ve obtained the necessary permits, excavation can begin. Excavation involves digging the hole for the pool and preparing the site for the concrete structure.
What’s involved:
Marking the Site: The pool’s location and shape will be marked on the ground, ensuring that the dimensions are accurate.
Excavation: Heavy machinery such as excavators and bobcats will be used to dig the hole. This step requires careful planning to avoid underground utilities and other hazards.
Site Clean-up: Once excavation is complete, the site will be cleared, and the foundation will be prepared.
Tip: Ensure that there is proper drainage in the pool area to avoid water accumulation, which could affect the pool structure.
4. Steel Reinforcement and Formwork
The next step is to install steel reinforcement, which provides structural strength to the concrete pool. This involves placing a steel frame (rebar) that will help the concrete withstand pressure and the elements over time.
What happens during this stage:
Rebar Installation: Steel rods are placed in the excavated area to form a skeleton for the pool. The rebar is carefully placed and tied together to ensure strength and stability.
Formwork: Wooden or steel forms are set up to shape the pool walls and floor. These forms will hold the concrete in place until it hardens.
Tip: Work with experienced professionals to ensure that the rebar is correctly positioned for optimal strength.
5. Concrete Pouring
Once the steel reinforcement and formwork are in place, it's time to pour the concrete. This is one of the most important stages in the construction of a concrete pool.
Process details:
Concrete Mix: A special mix of concrete, sand, and aggregates is poured into the pool structure. A concrete pump may be used to ensure even distribution and to reach difficult-to-access areas.
Smoothing and Shaping: As the concrete is poured, workers will smooth it out and ensure that it conforms to the desired shape and depth.
Tip: Be prepared for the concrete to cure over several days. Avoid rushing the process to ensure a solid foundation for your pool.
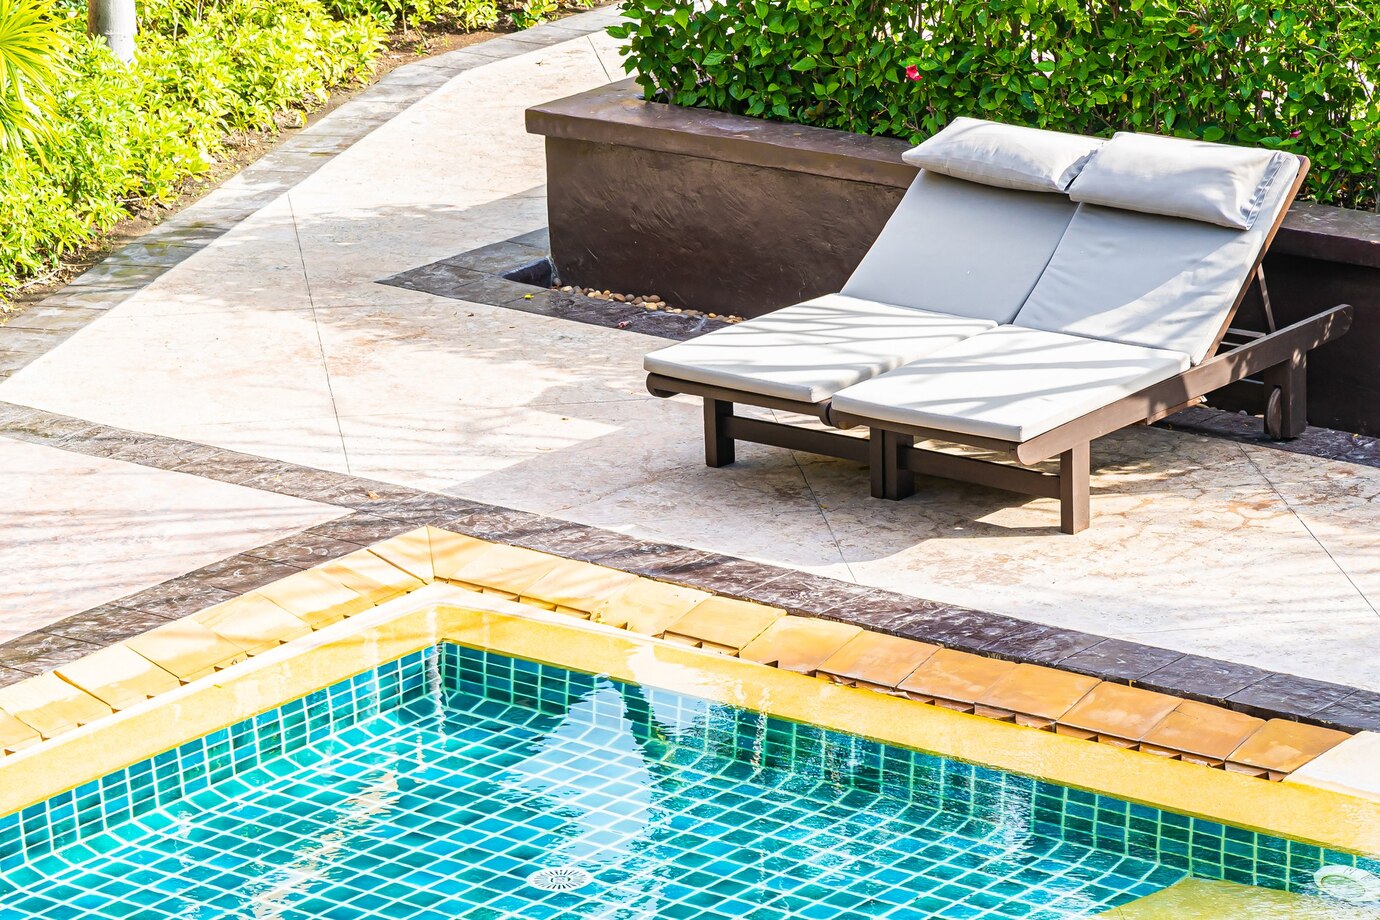
6. Tiling, Coping, and Finishing Touches
Once the concrete shell is cured, the next step involves tiling and adding finishing touches to make the pool both functional and visually appealing.
Tasks in this stage include:
Tiling: Choose durable, non-slip tiles for the pool’s interior. Tiling is an essential part of the pool's aesthetic, with options for mosaic, ceramic, or glass tiles.
Coping: The coping is the material that borders the pool. Options include stone, concrete, or tile, and it adds a polished look to your pool.
Plumbing and Electrical: Install the necessary plumbing systems for water circulation, drainage, and filtration. Electrical systems are also set up for pool lights and equipment.
Tip: Select materials that complement the overall design of your home and outdoor space.
7. Filling the Pool and Testing Equipment
After the pool shell is completed and all the finishes are in place, it’s time to fill the pool with water. During this stage, the pool’s equipment (such as pumps, filters, and heaters) will be tested to ensure they are working correctly.
What’s involved:
Filling the Pool: Slowly fill the pool with water. This process can take several hours to days, depending on the size of the pool.
Testing Equipment: Check the pumps, filtration system, and heating elements to ensure that everything is functioning as expected.
Tip: Make sure the pool’s water chemistry is properly balanced before using it. This includes testing for pH levels, alkalinity, and chlorine.
8. Final Inspection and Handover
Before you can enjoy your new concrete pool, the final inspection must be completed. A professional will check everything, including safety features, structural integrity, and equipment functionality.
Steps in this phase:
Council Inspection: In some cases, a final inspection by the local council may be necessary to ensure compliance with regulations.
Handover: Once everything is approved, the pool will be officially handed over to you. You can now begin enjoying your new outdoor space.
Tip: Familiarize yourself with regular pool maintenance tasks to keep your pool in top condition, such as cleaning filters, maintaining the pump, and checking water quality.
Conclusion
Building a concrete pool in Melbourne is an exciting but complex project. It requires careful planning, skilled labor, and attention to detail at every stage. By following this step-by-step guide and working with experienced professionals, you can enjoy a high-quality, long-lasting concrete pool that enhances your property and provides years of enjoyment.
Post Your Ad Here
Comments